
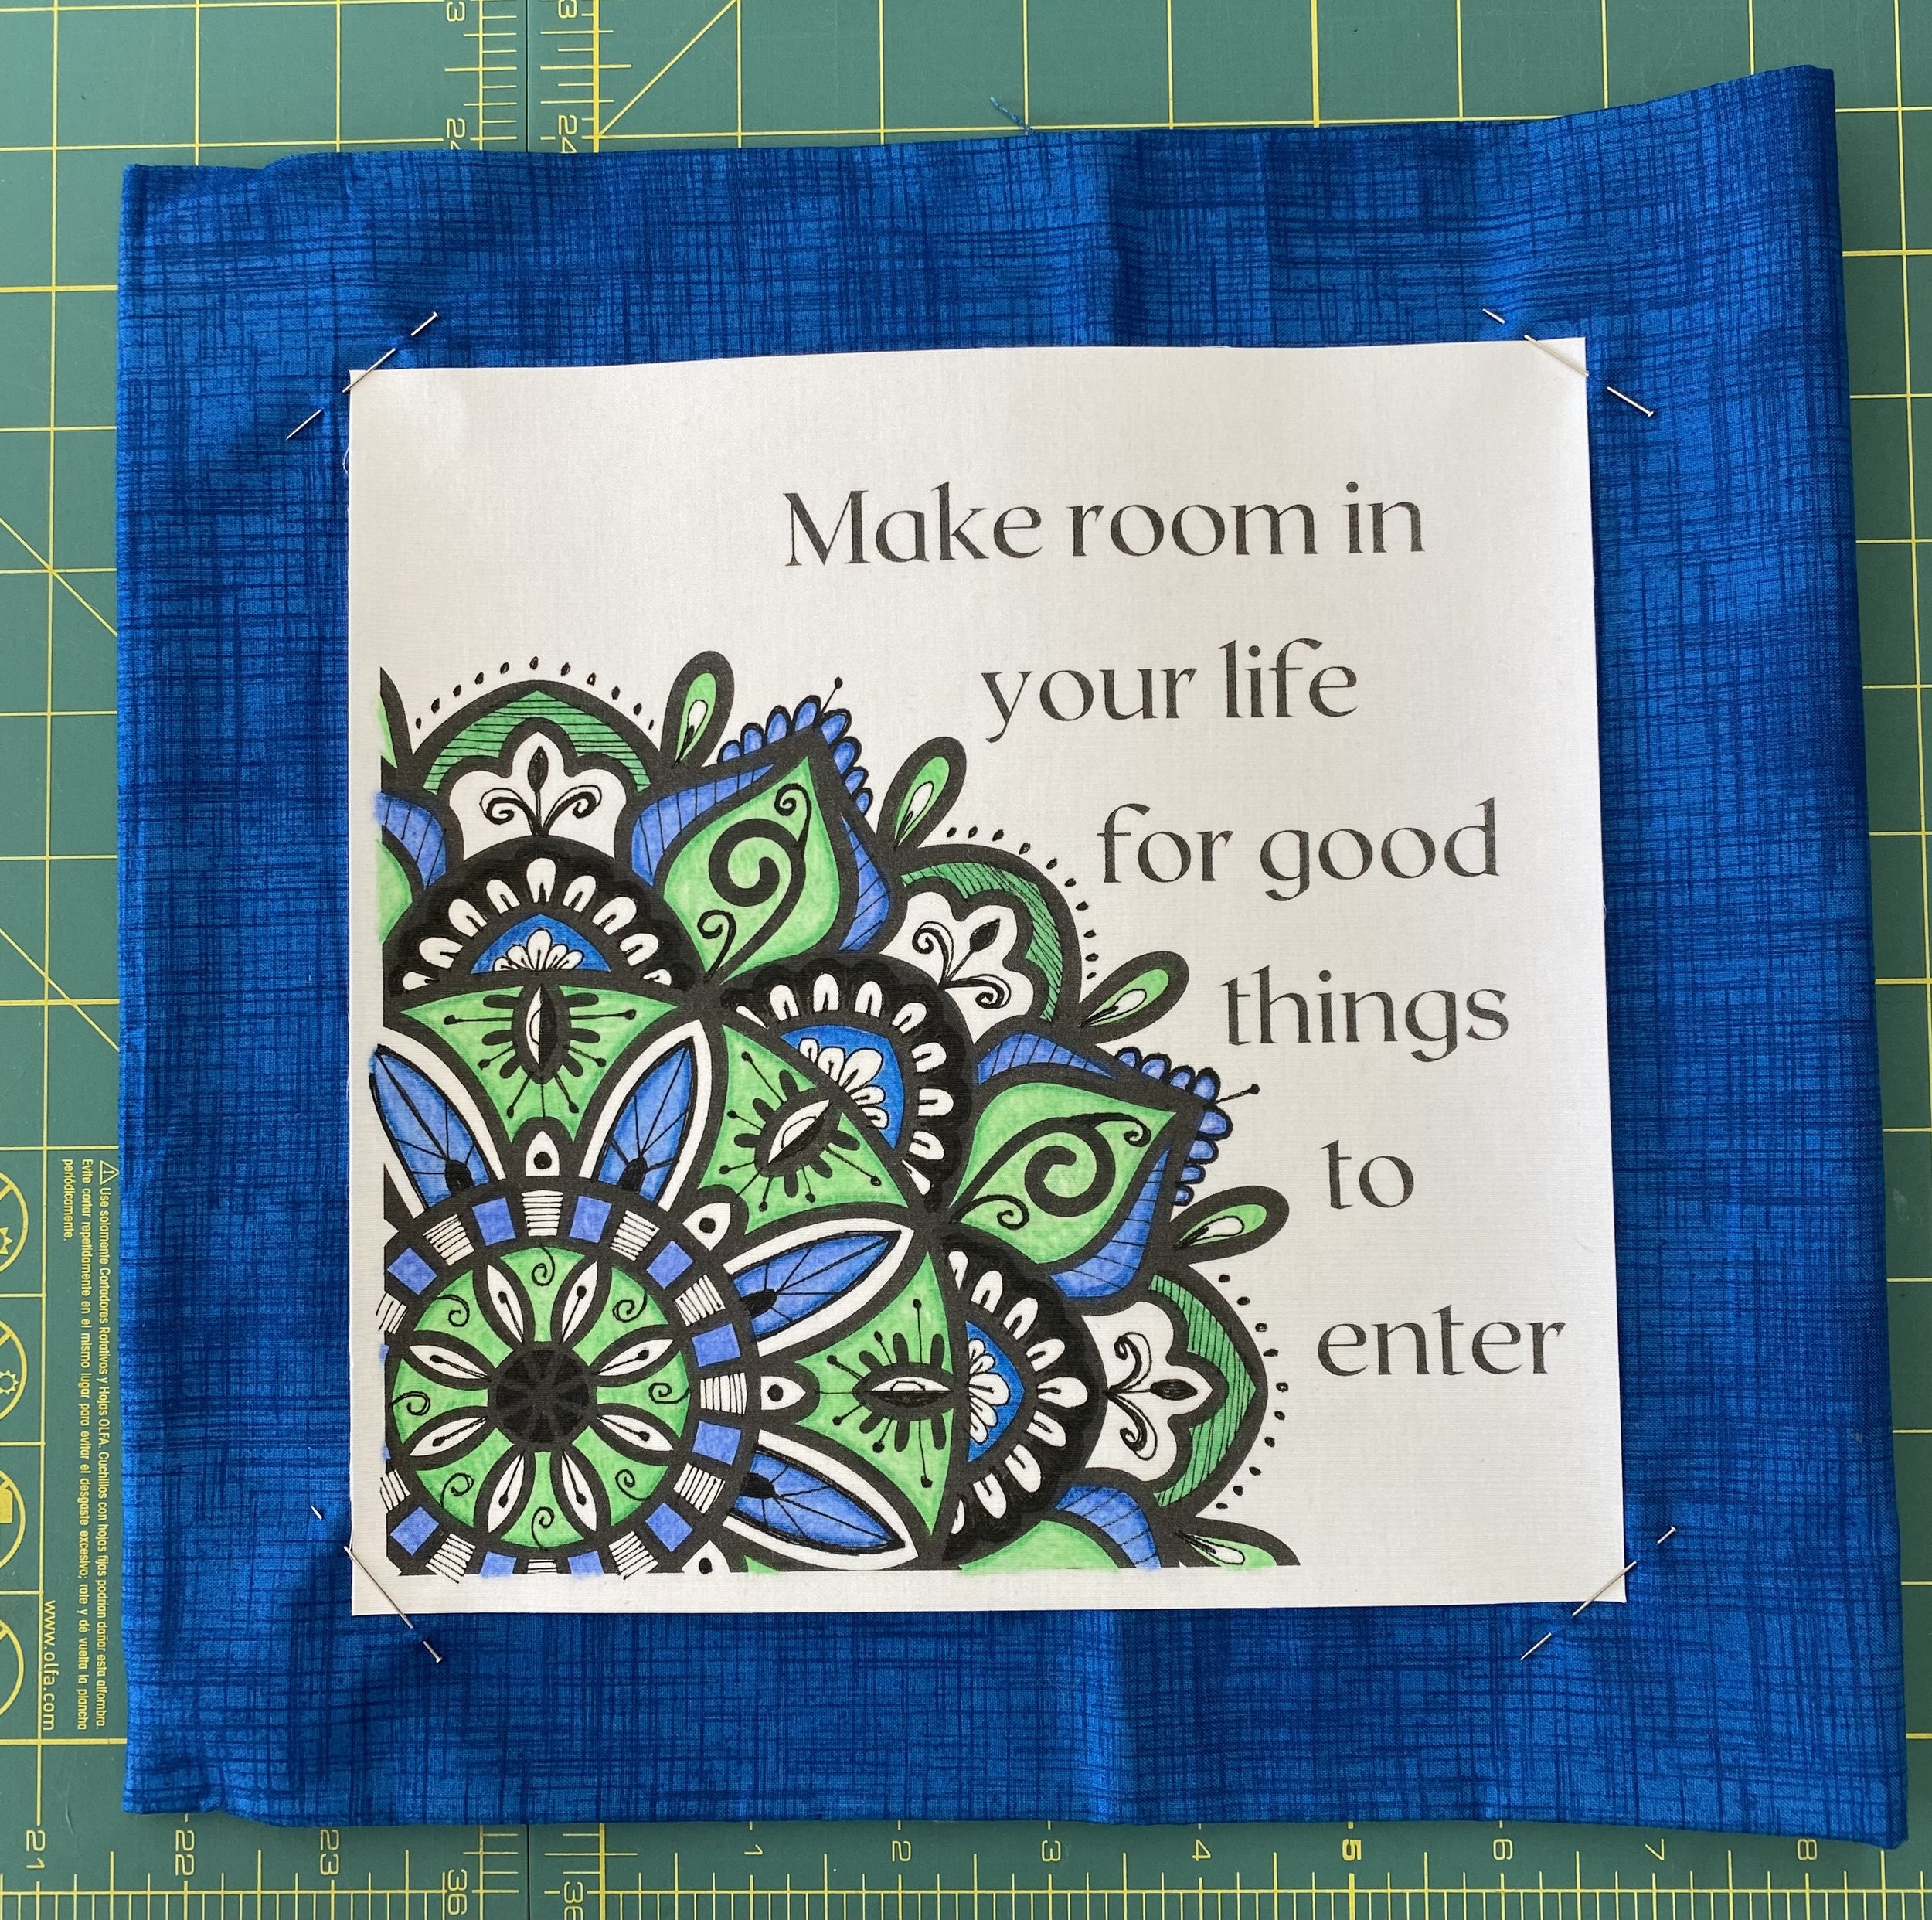
Make room in your life for good things to enter
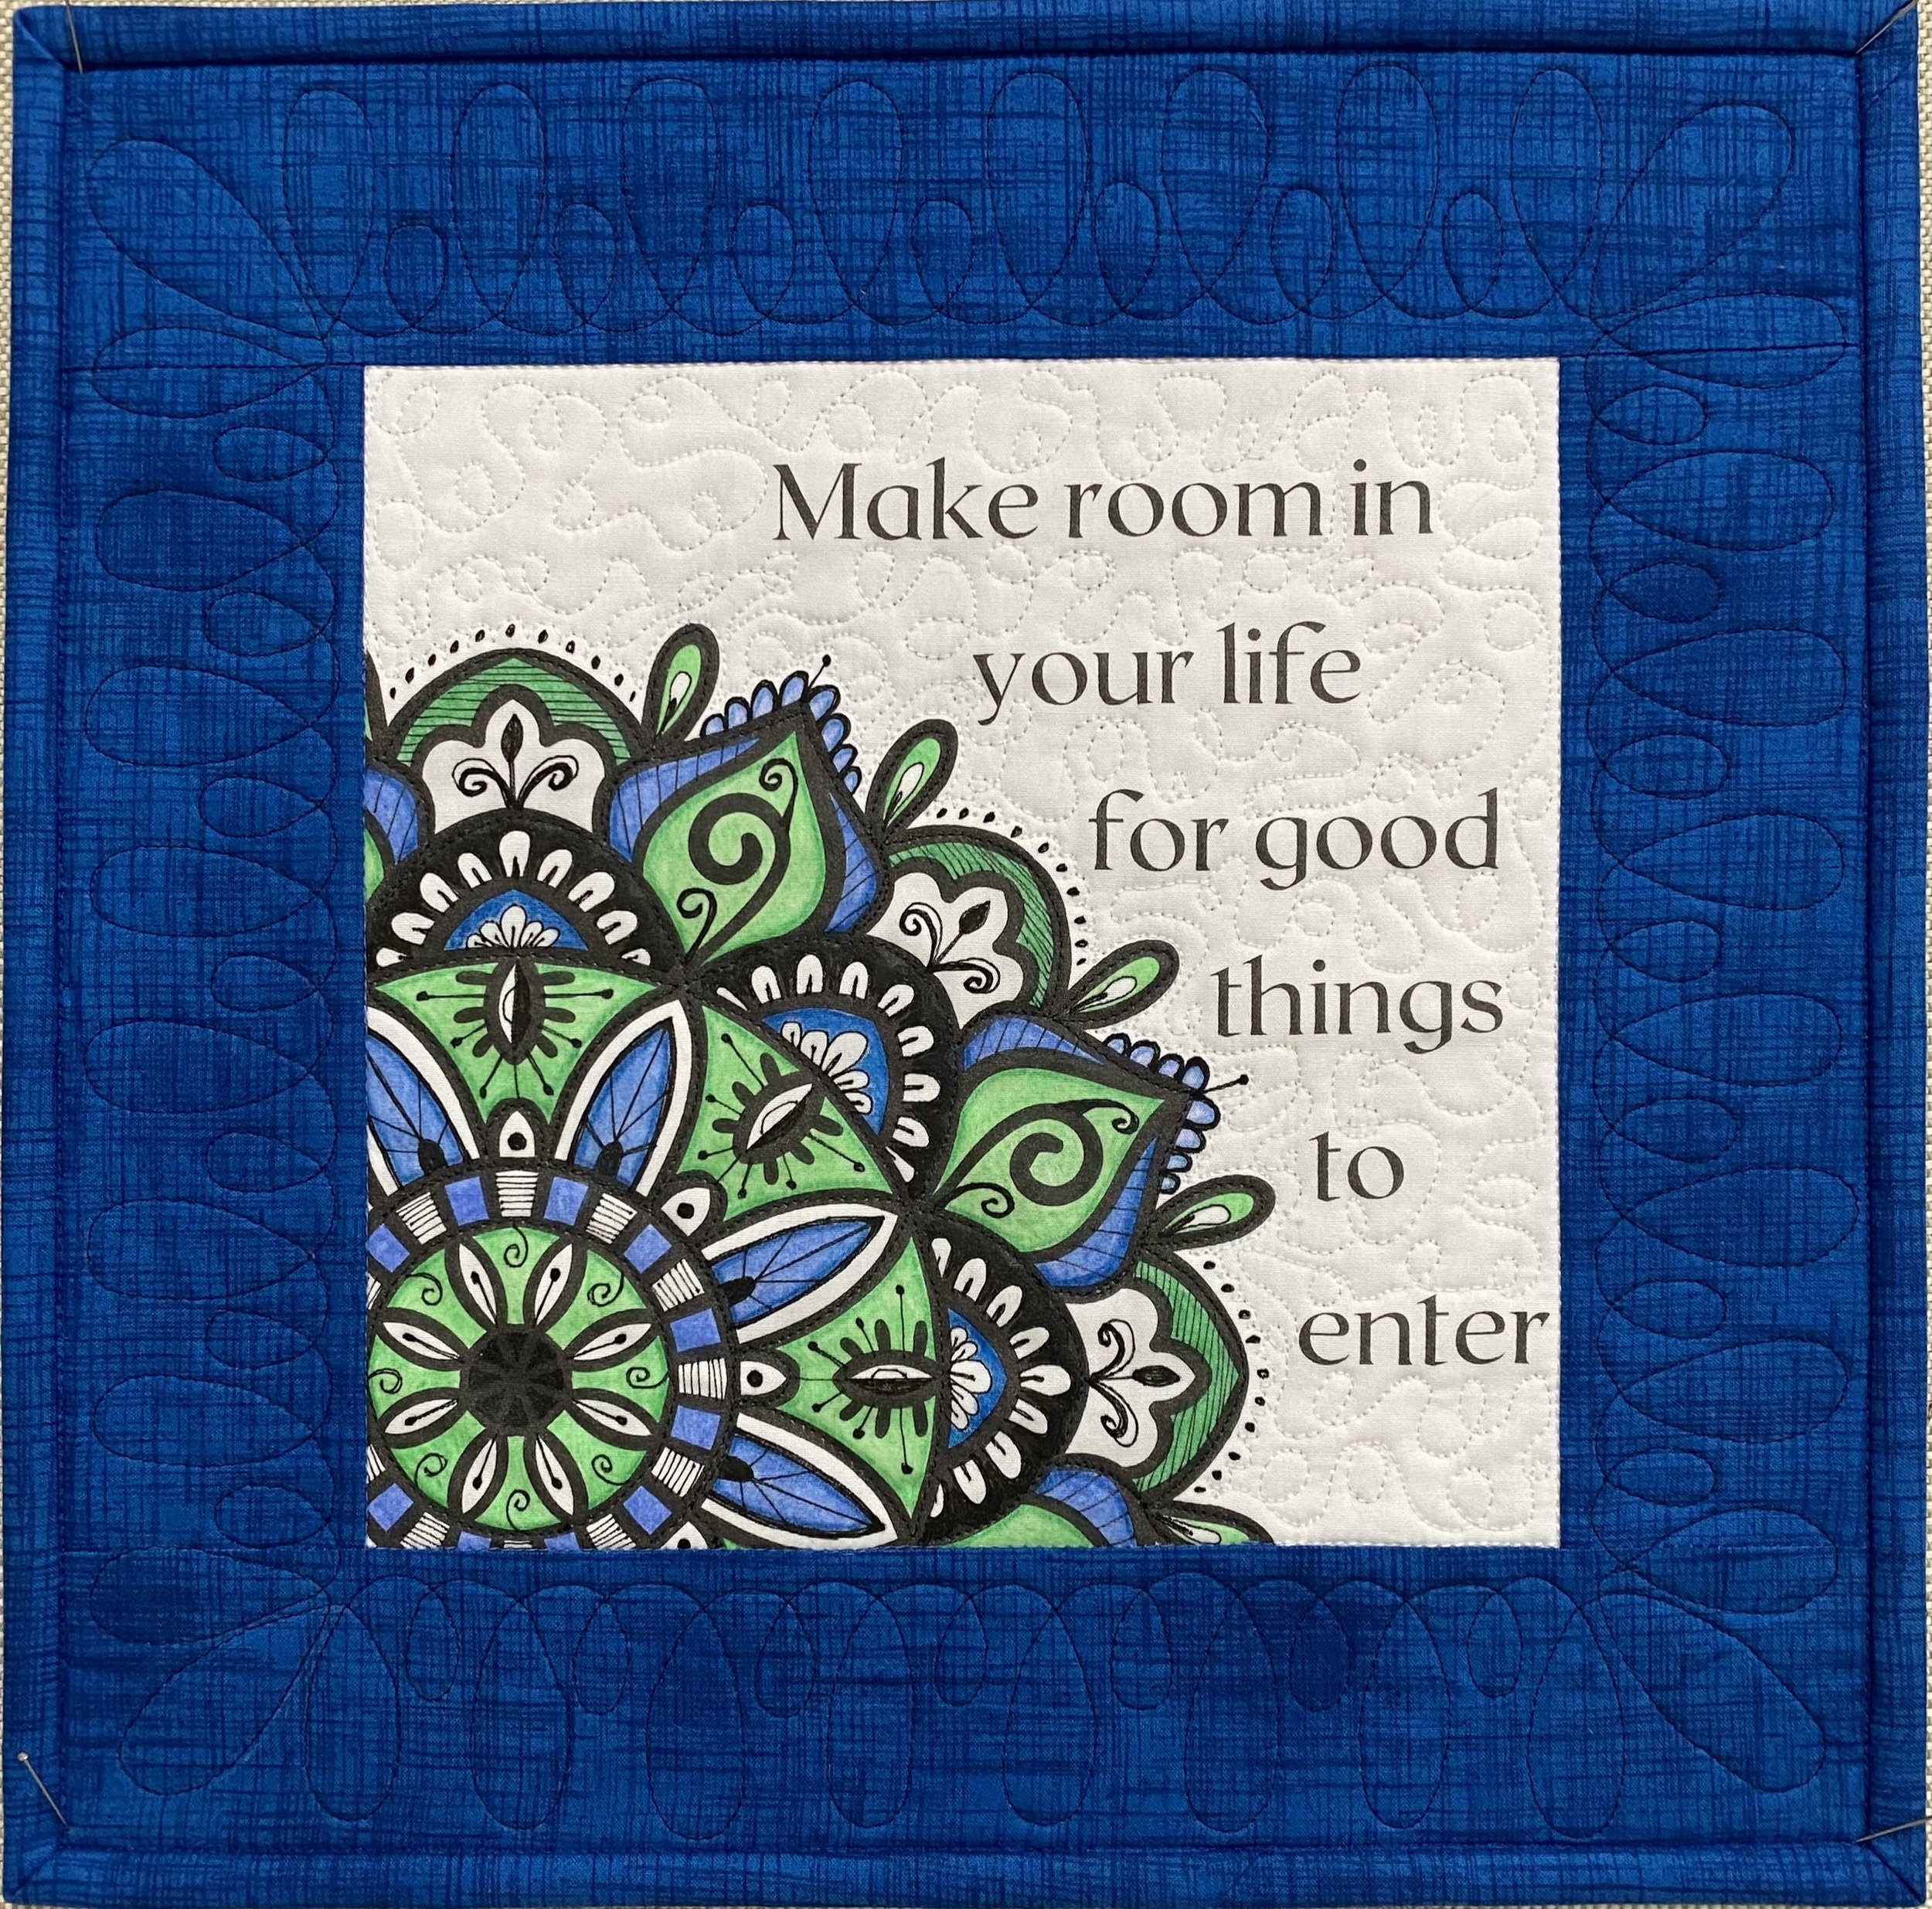
This months mini quilt is my “prompt” for 2023. As my husband and I move forward with our intention of relocating to Portugal in 2024 we will be downsizing to live a bigger life. Making room will be our mantra in the coming months as we empty our house of belongings, of lots of “things” that no longer serve us and that we would not even consider taking with us. After nearly 22 years in this house there has been a lot of accumulation! Our cabinets, garage and my studio are all packed solid with “stuff”.
My studio also contains a lot of unfinished projects. 2 years of my online Rettabug’s UFO Club have helped me to complete a big chunk of those projects. This year as I make my list of 9 projects to finish by the end of November, I’ll be looking at my remaining projects (still quite a few more than 9) and asking the same questions I’m asking about all my possessions, “Do I LOVE this?, Does it spark joy?, Would I take it with me when we move?” only projects that pass this 3 question test are going on my UFO Club list. We draw the 1st number for this years round of UFO Club on March 1, so there is still time to join us if you have projects you want to finish with a “support group” you can find the details here. Rettabug's UFO Club
I created this mandala design with room to add not only color but some of your own personal expression within the mandala itself. To test out my ideas for adding additional “flair” I printed the design on paper, and looked at mandala designs on Pinterest to get ideas for the details - the swirls, lines and dots that I added inside and outside of the original image. I tried a few things I didn’t like (that’s why working ideas out on paper is a good idea!) but I did achieve a design I love and feel adds to the overall look. I then added colored pencil to my paper drawing.
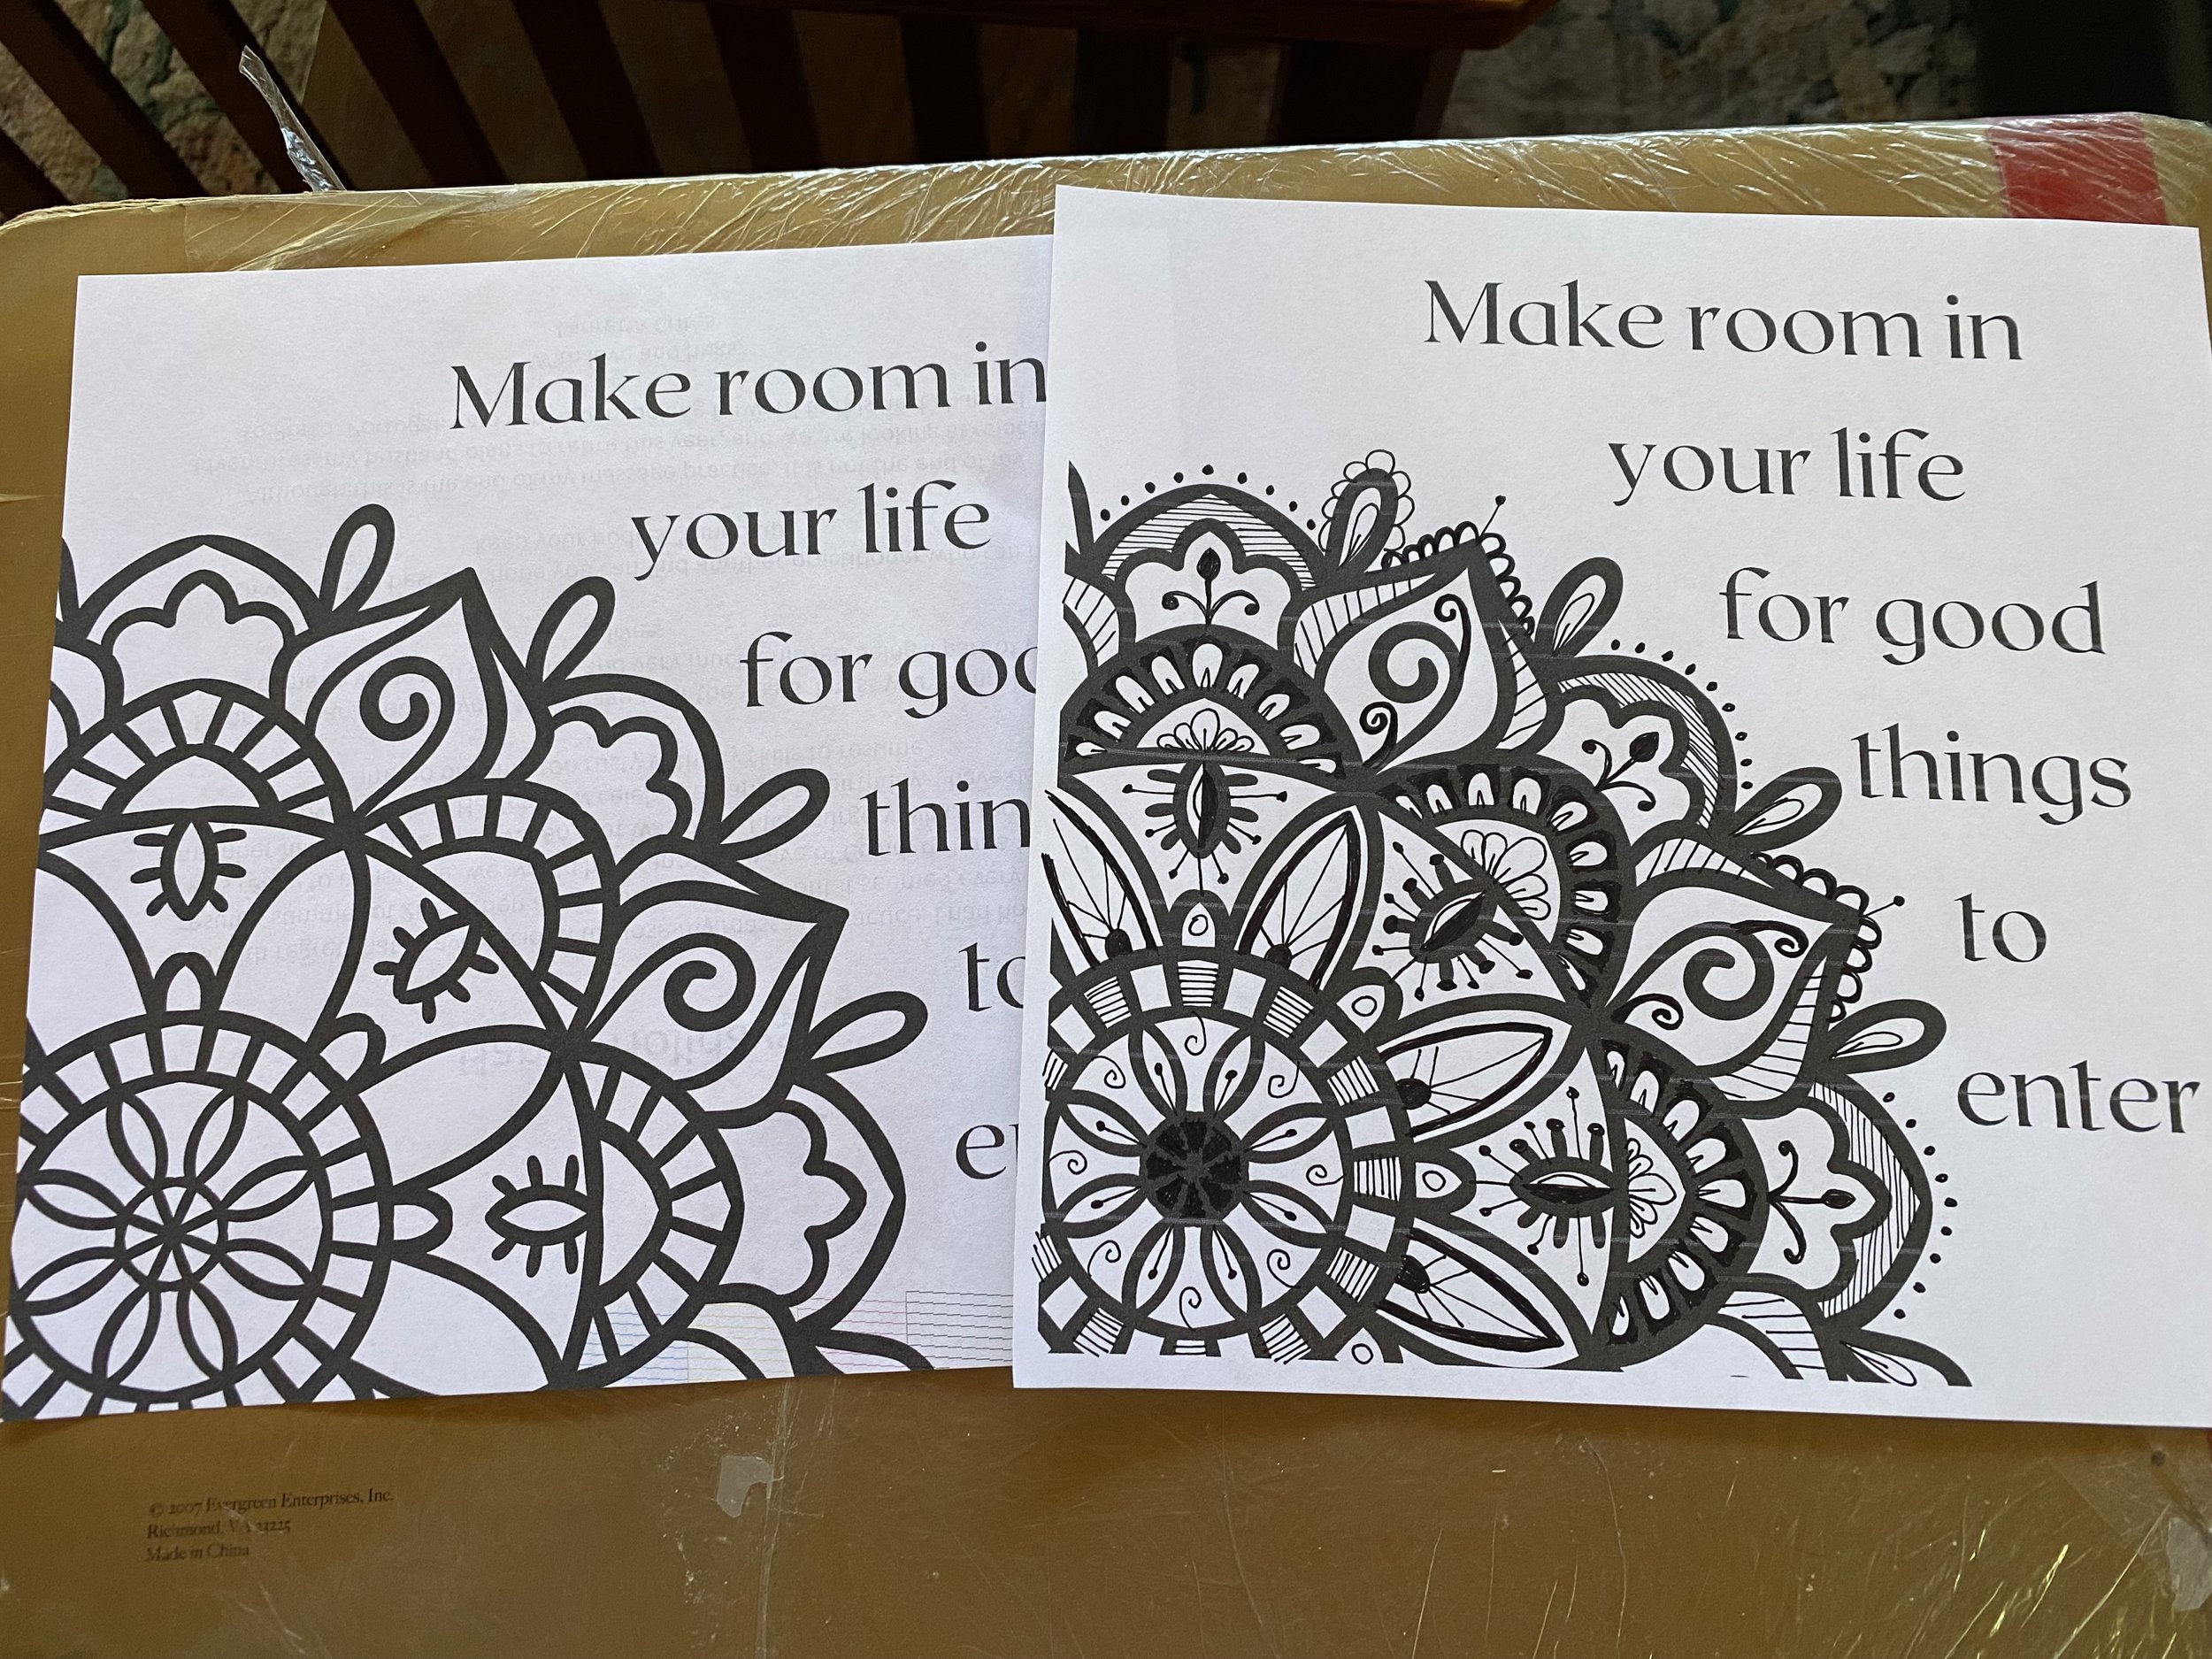

I almost always color a paper version before the fabric one, for the same reason I tested the ink designs on paper, paper is much cheaper than fabric. I’d much rather make my mistakes on paper! I printed the design onto the inkjet printer sheet, then I used a micron pen to draw the details I had decided on, moving quickly to avoid bleeding. When the ink designs were complete I covered the image with a piece of parchment paper, my preferred “press cloth” and pressed the ink to set it. I didn’t want to take a chance the ink would smear when I colored over it.
This is the way I typically audition mini quilt border fabrics, I fold them into a roughly 12” x 12” square and place the trimmed mini quilt design on top. For this mini I auditioned 3 different fabrics for the border and I had a hard time choosing between the middle fabric and the one on the right.
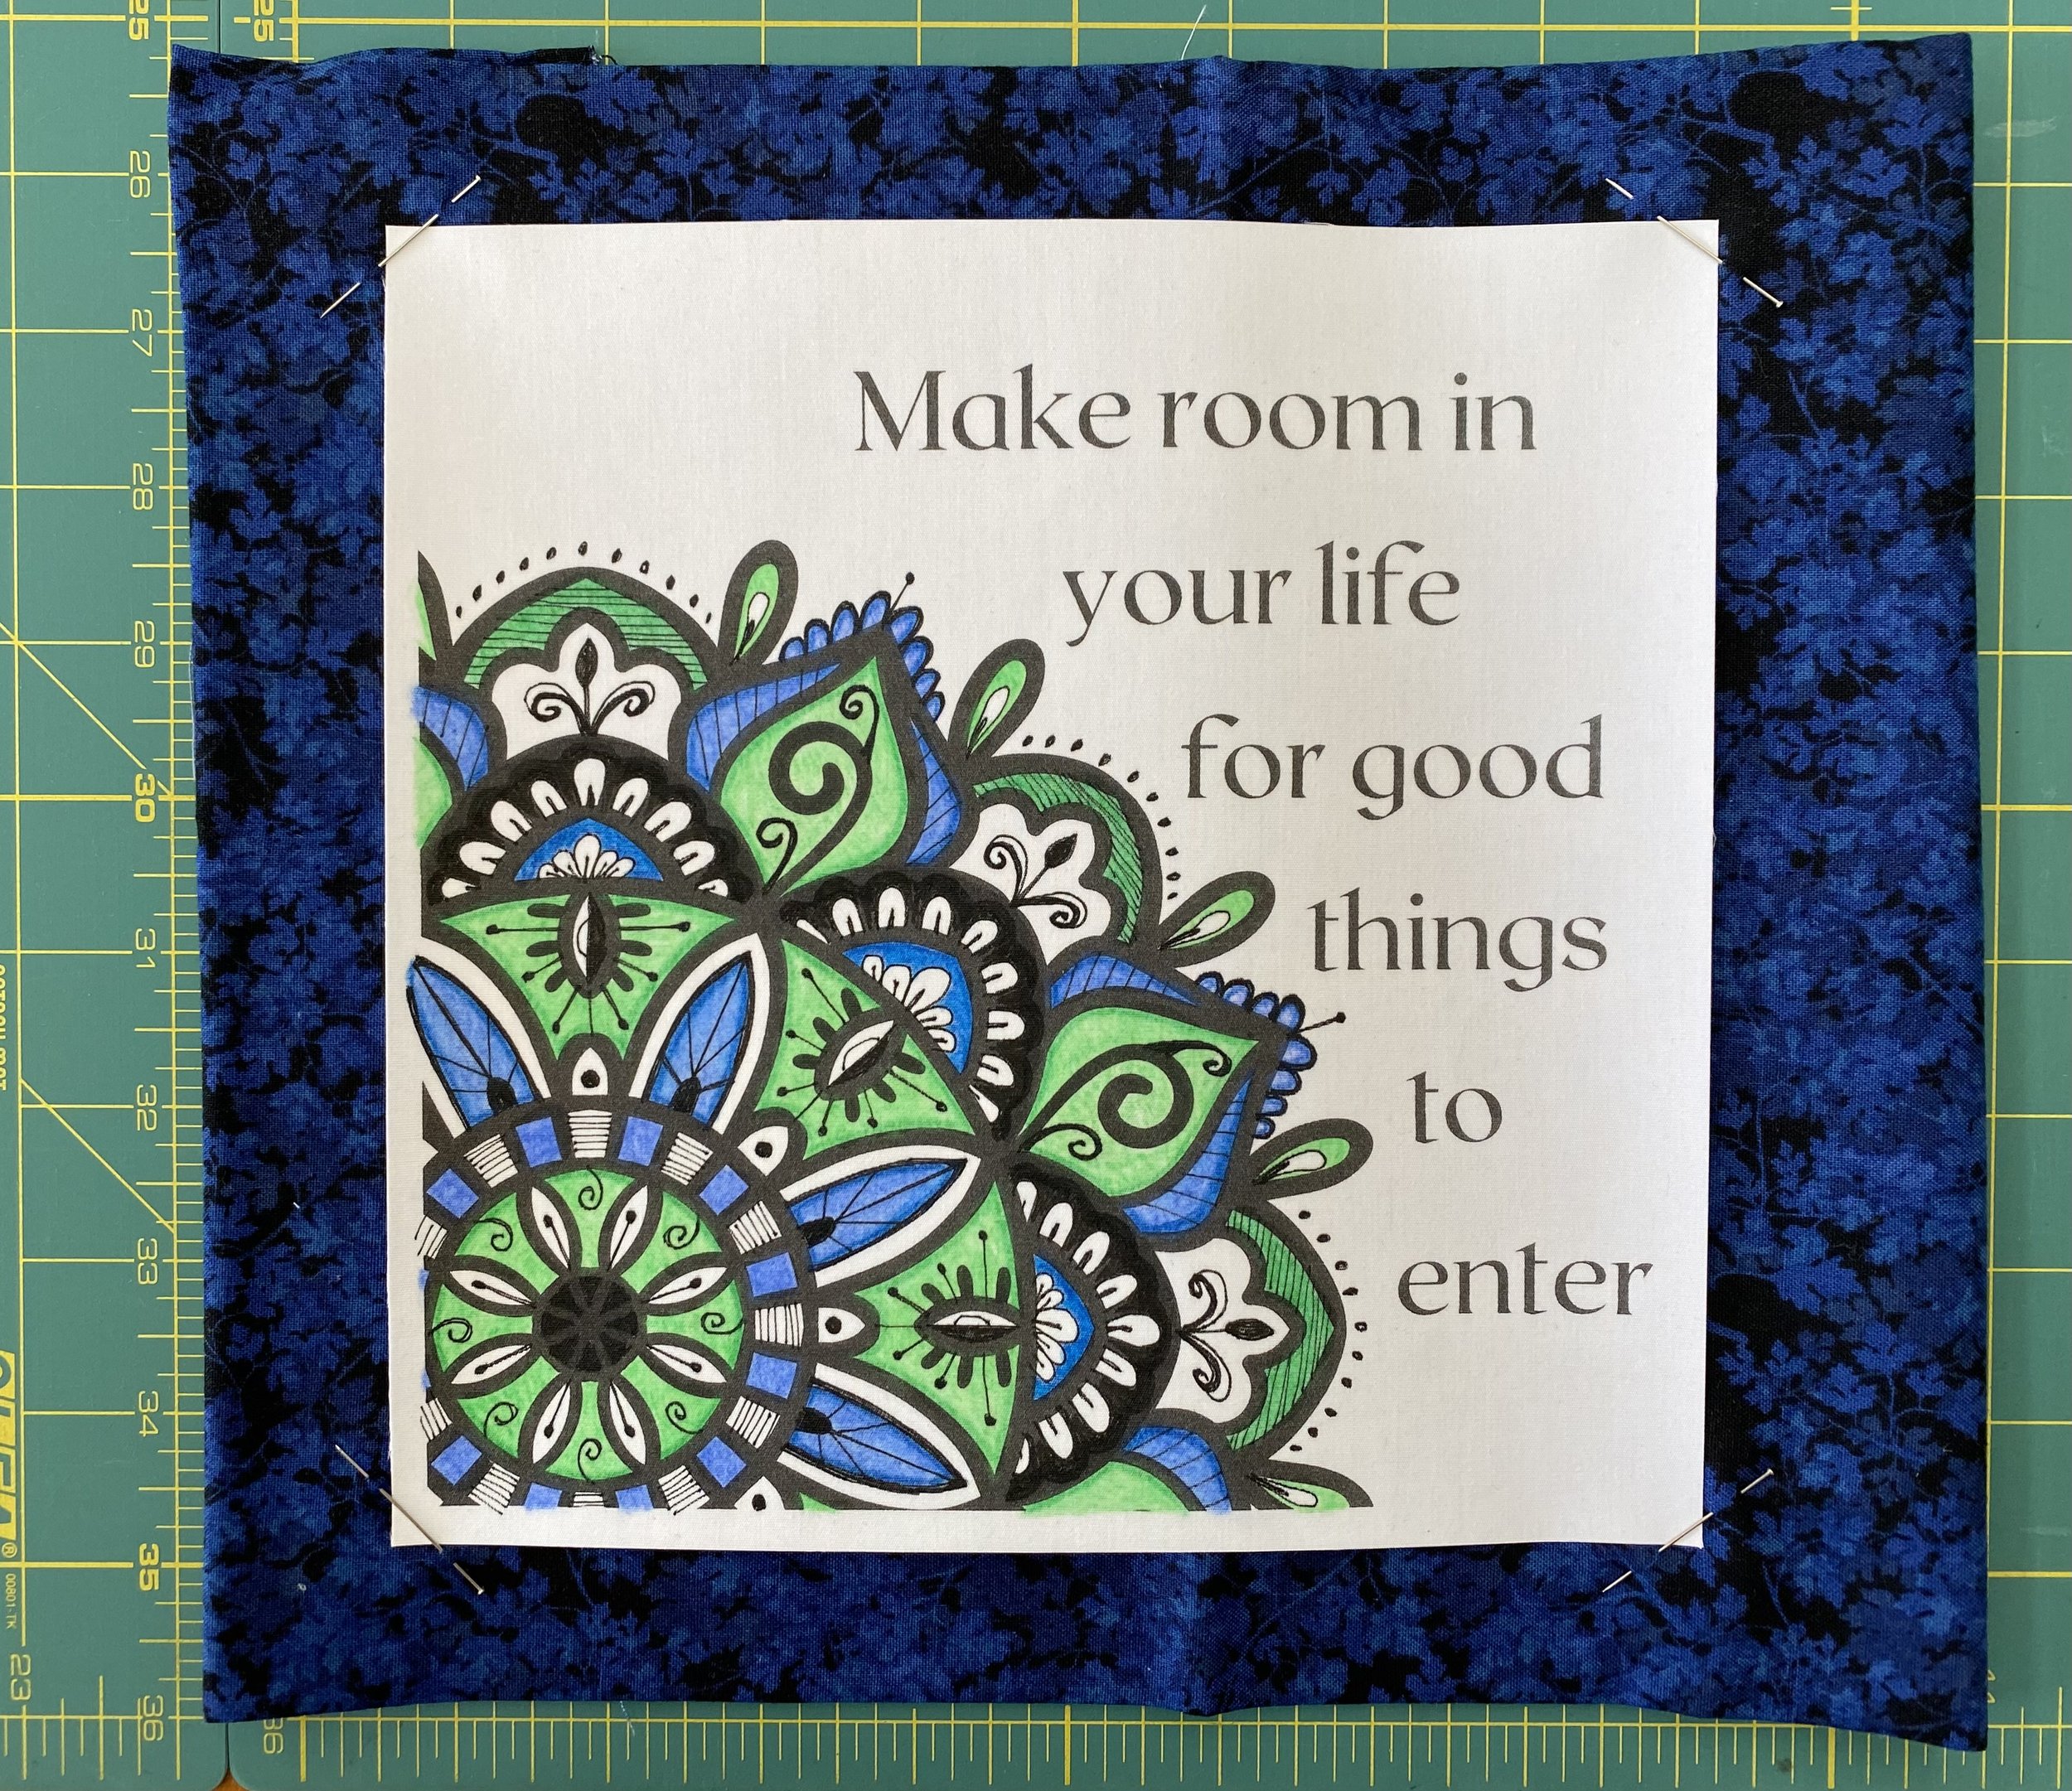
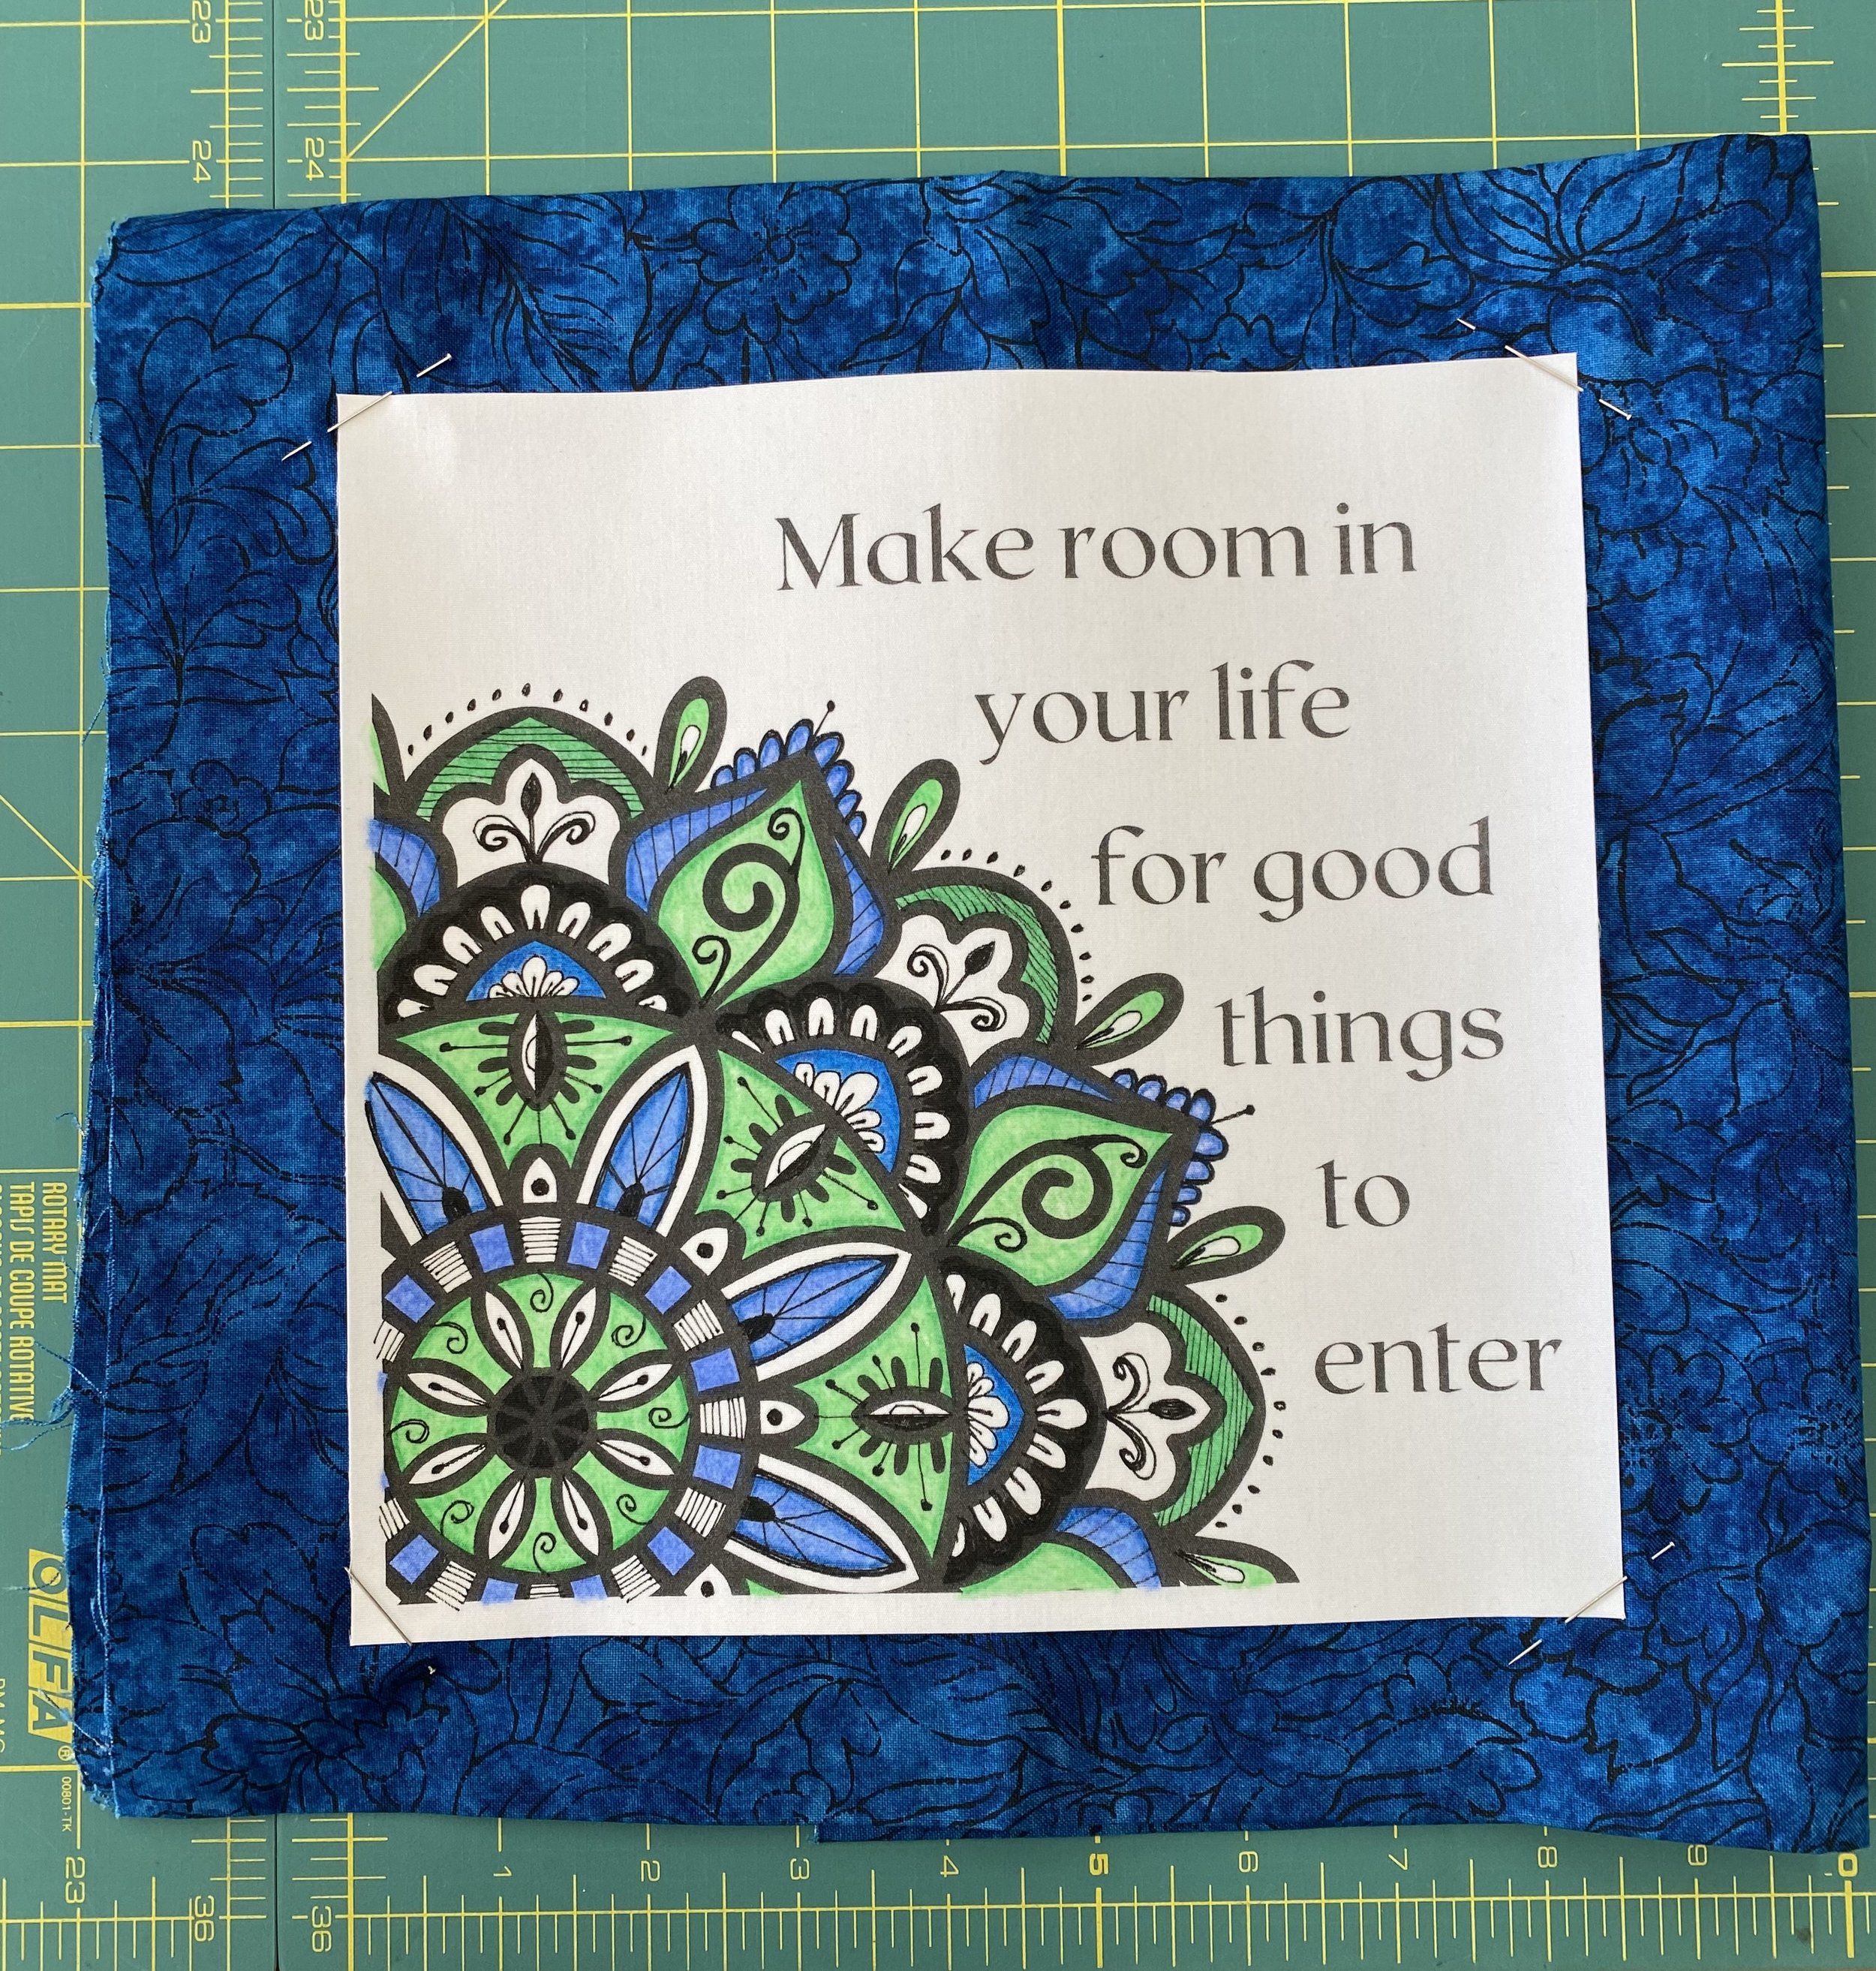
In the end I felt the fabric on the right, made the design “pop” just a bit more and that made the decision. All the ink and coloring was done on a Friday afternoon. Choosing the fabrics, adding the borders, layering, quilting and binding was done the following afternoon. I find it so satisfying to be able to complete a project, especially one that flows and comes together easily and well.
If you want to create space for new projects to come in or just make space in your sewing room with fewer boxes or bins of unfinished projects, please join us in UFO Club. It’s fun and there are prizes, but the true prize is the space you will create and the projects you will finish.
My mini quilt will be displayed where I can see it everyday to keep me moving toward my hearts goal, to make space in my life - and I look forward to the good to come.

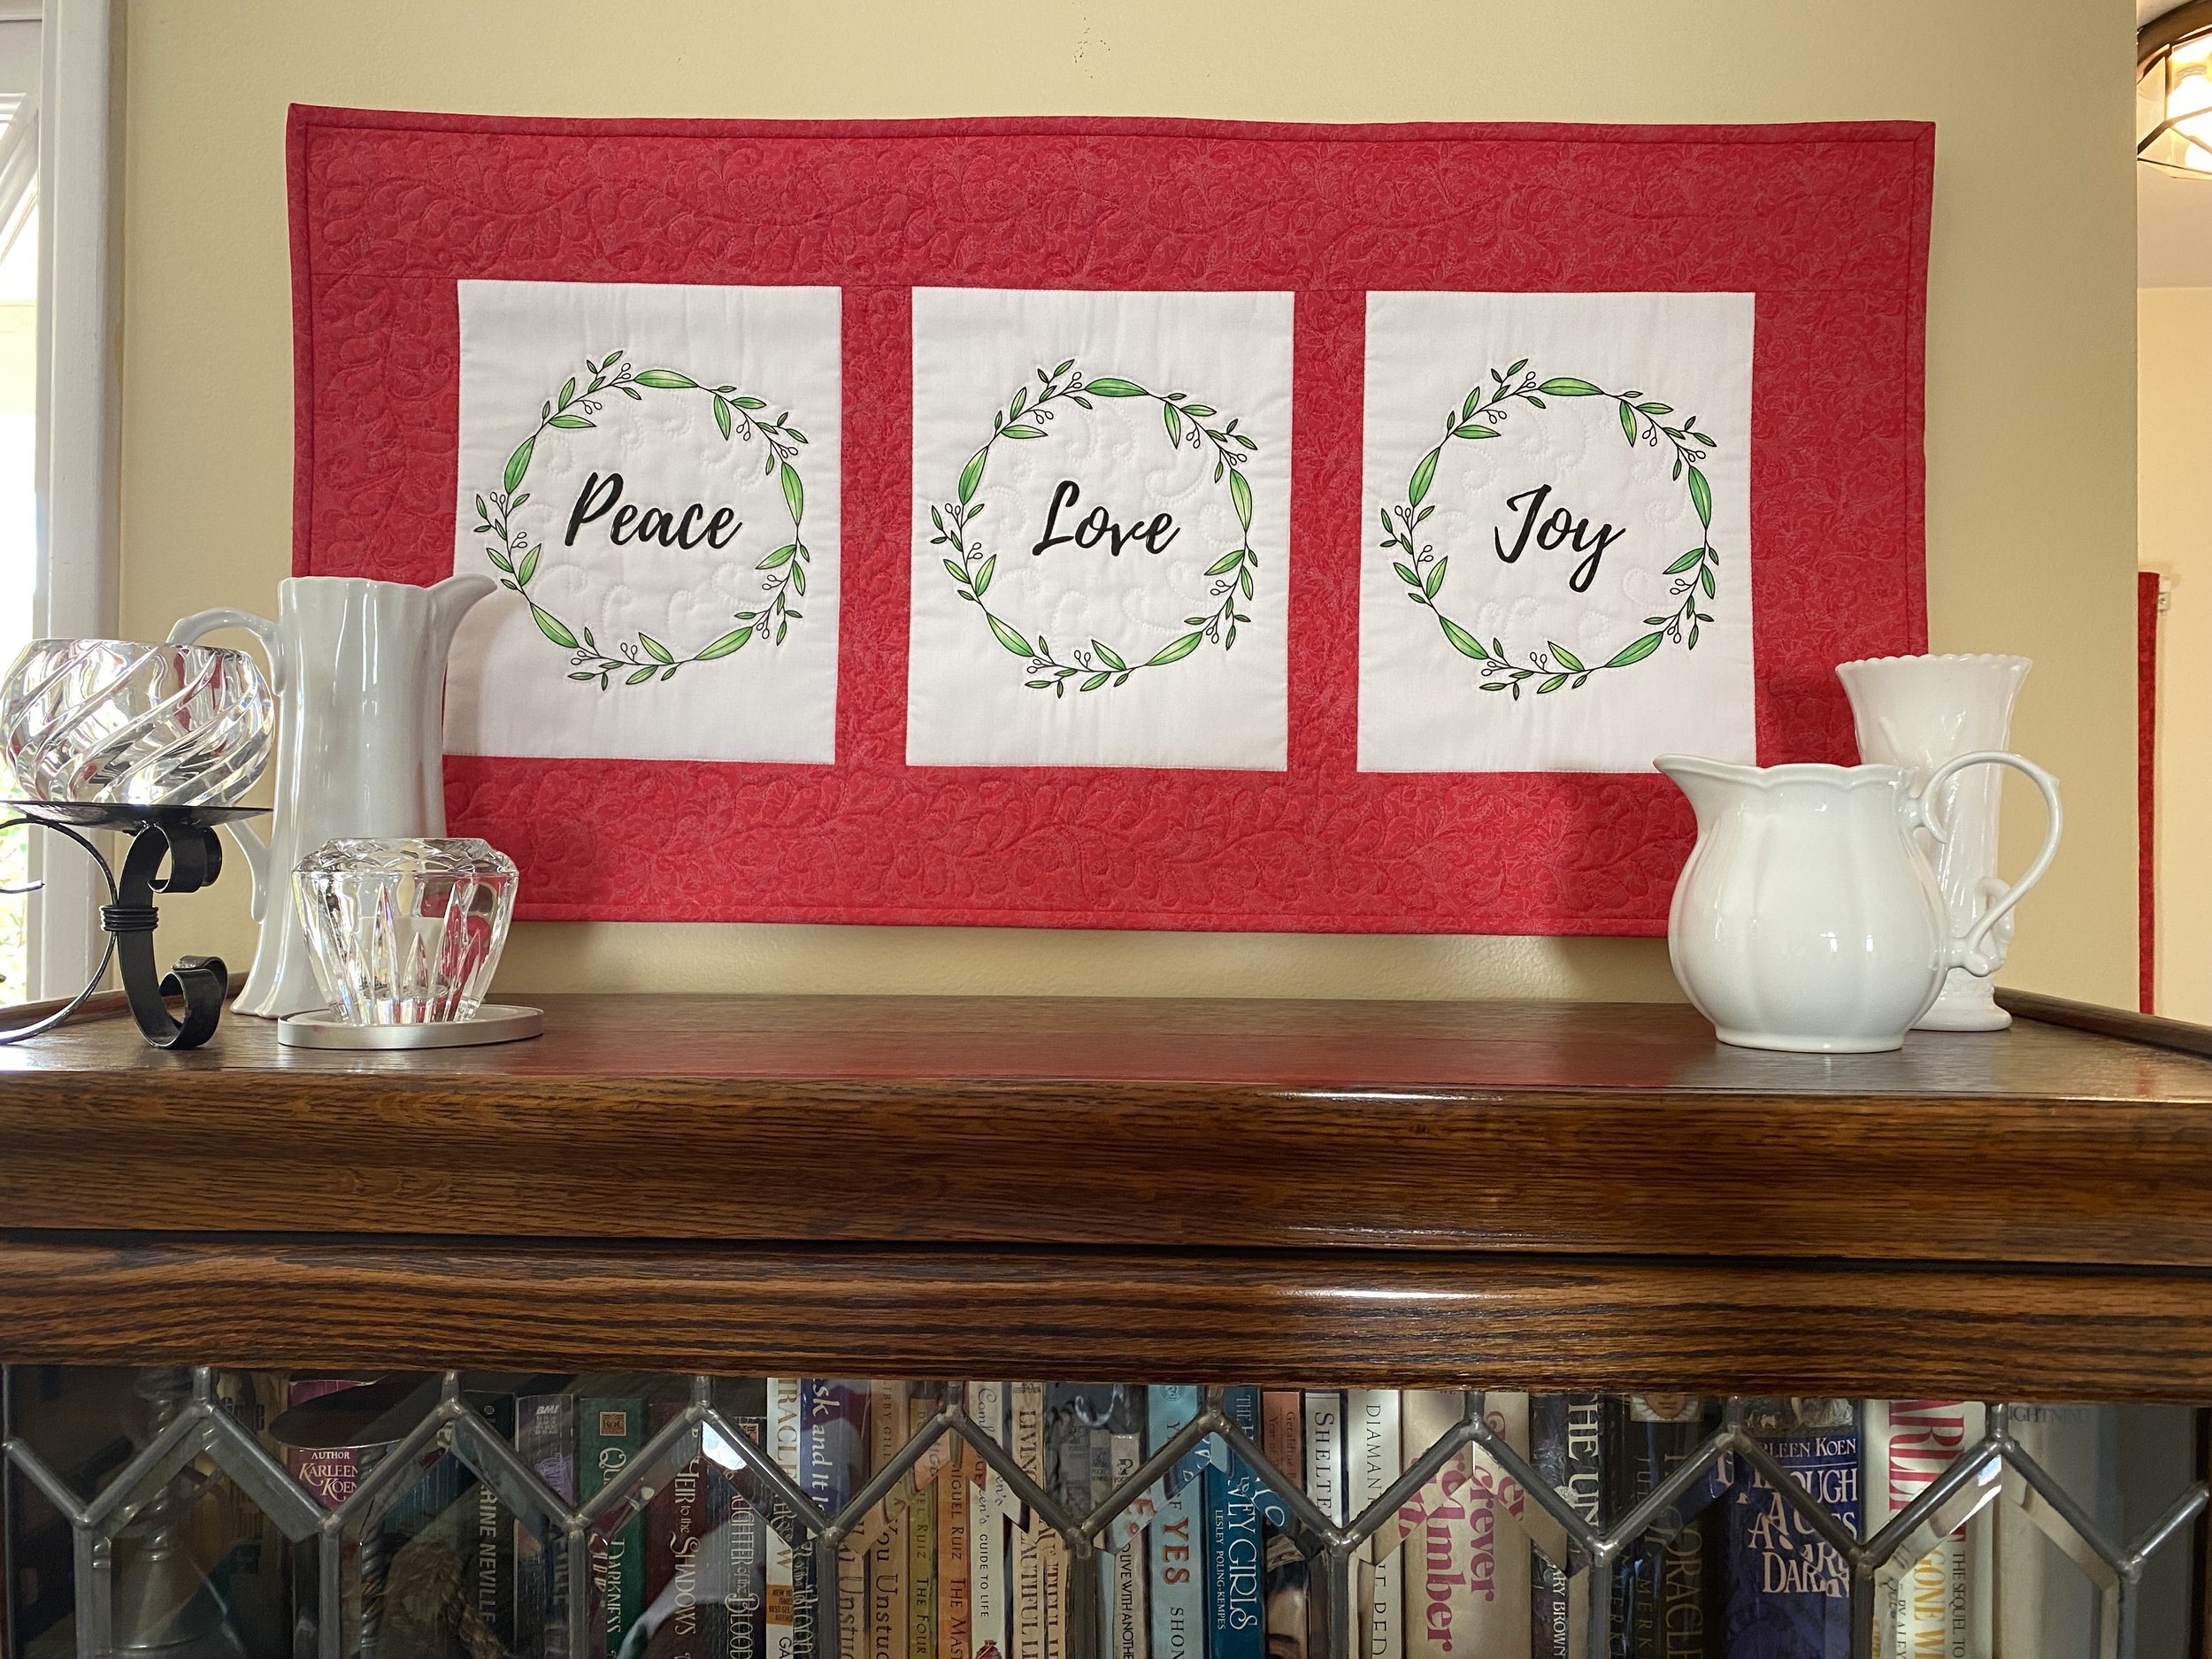
More Peace, Love & Joy for 2022
I’ve decided to take a page from Big Magic by writer Elizabeth Gilbert and start a love affair… with quilting. “Aren’t you already having a love affair with quilting?” you might ask, you’d think so, considering how much time we’ve spent together, but really, I’ve just been romancing quilt TOPS, that’s the part I find fun, exciting, and adventurous. The act of stitching through the 3 layers to turn the top into a quilt, has always felt more like a tired marriage, with the focus on how much work it all is, and tedious work at that! My quilting choices have mostly focused on not ruining my top and leaned toward lots of stitching around elements and trying to stitch the appliques and backgrounds as little as possible! But, if I want to be able to quilt at the level I want to quilt at, I’m going to have to fall in love with quilting.
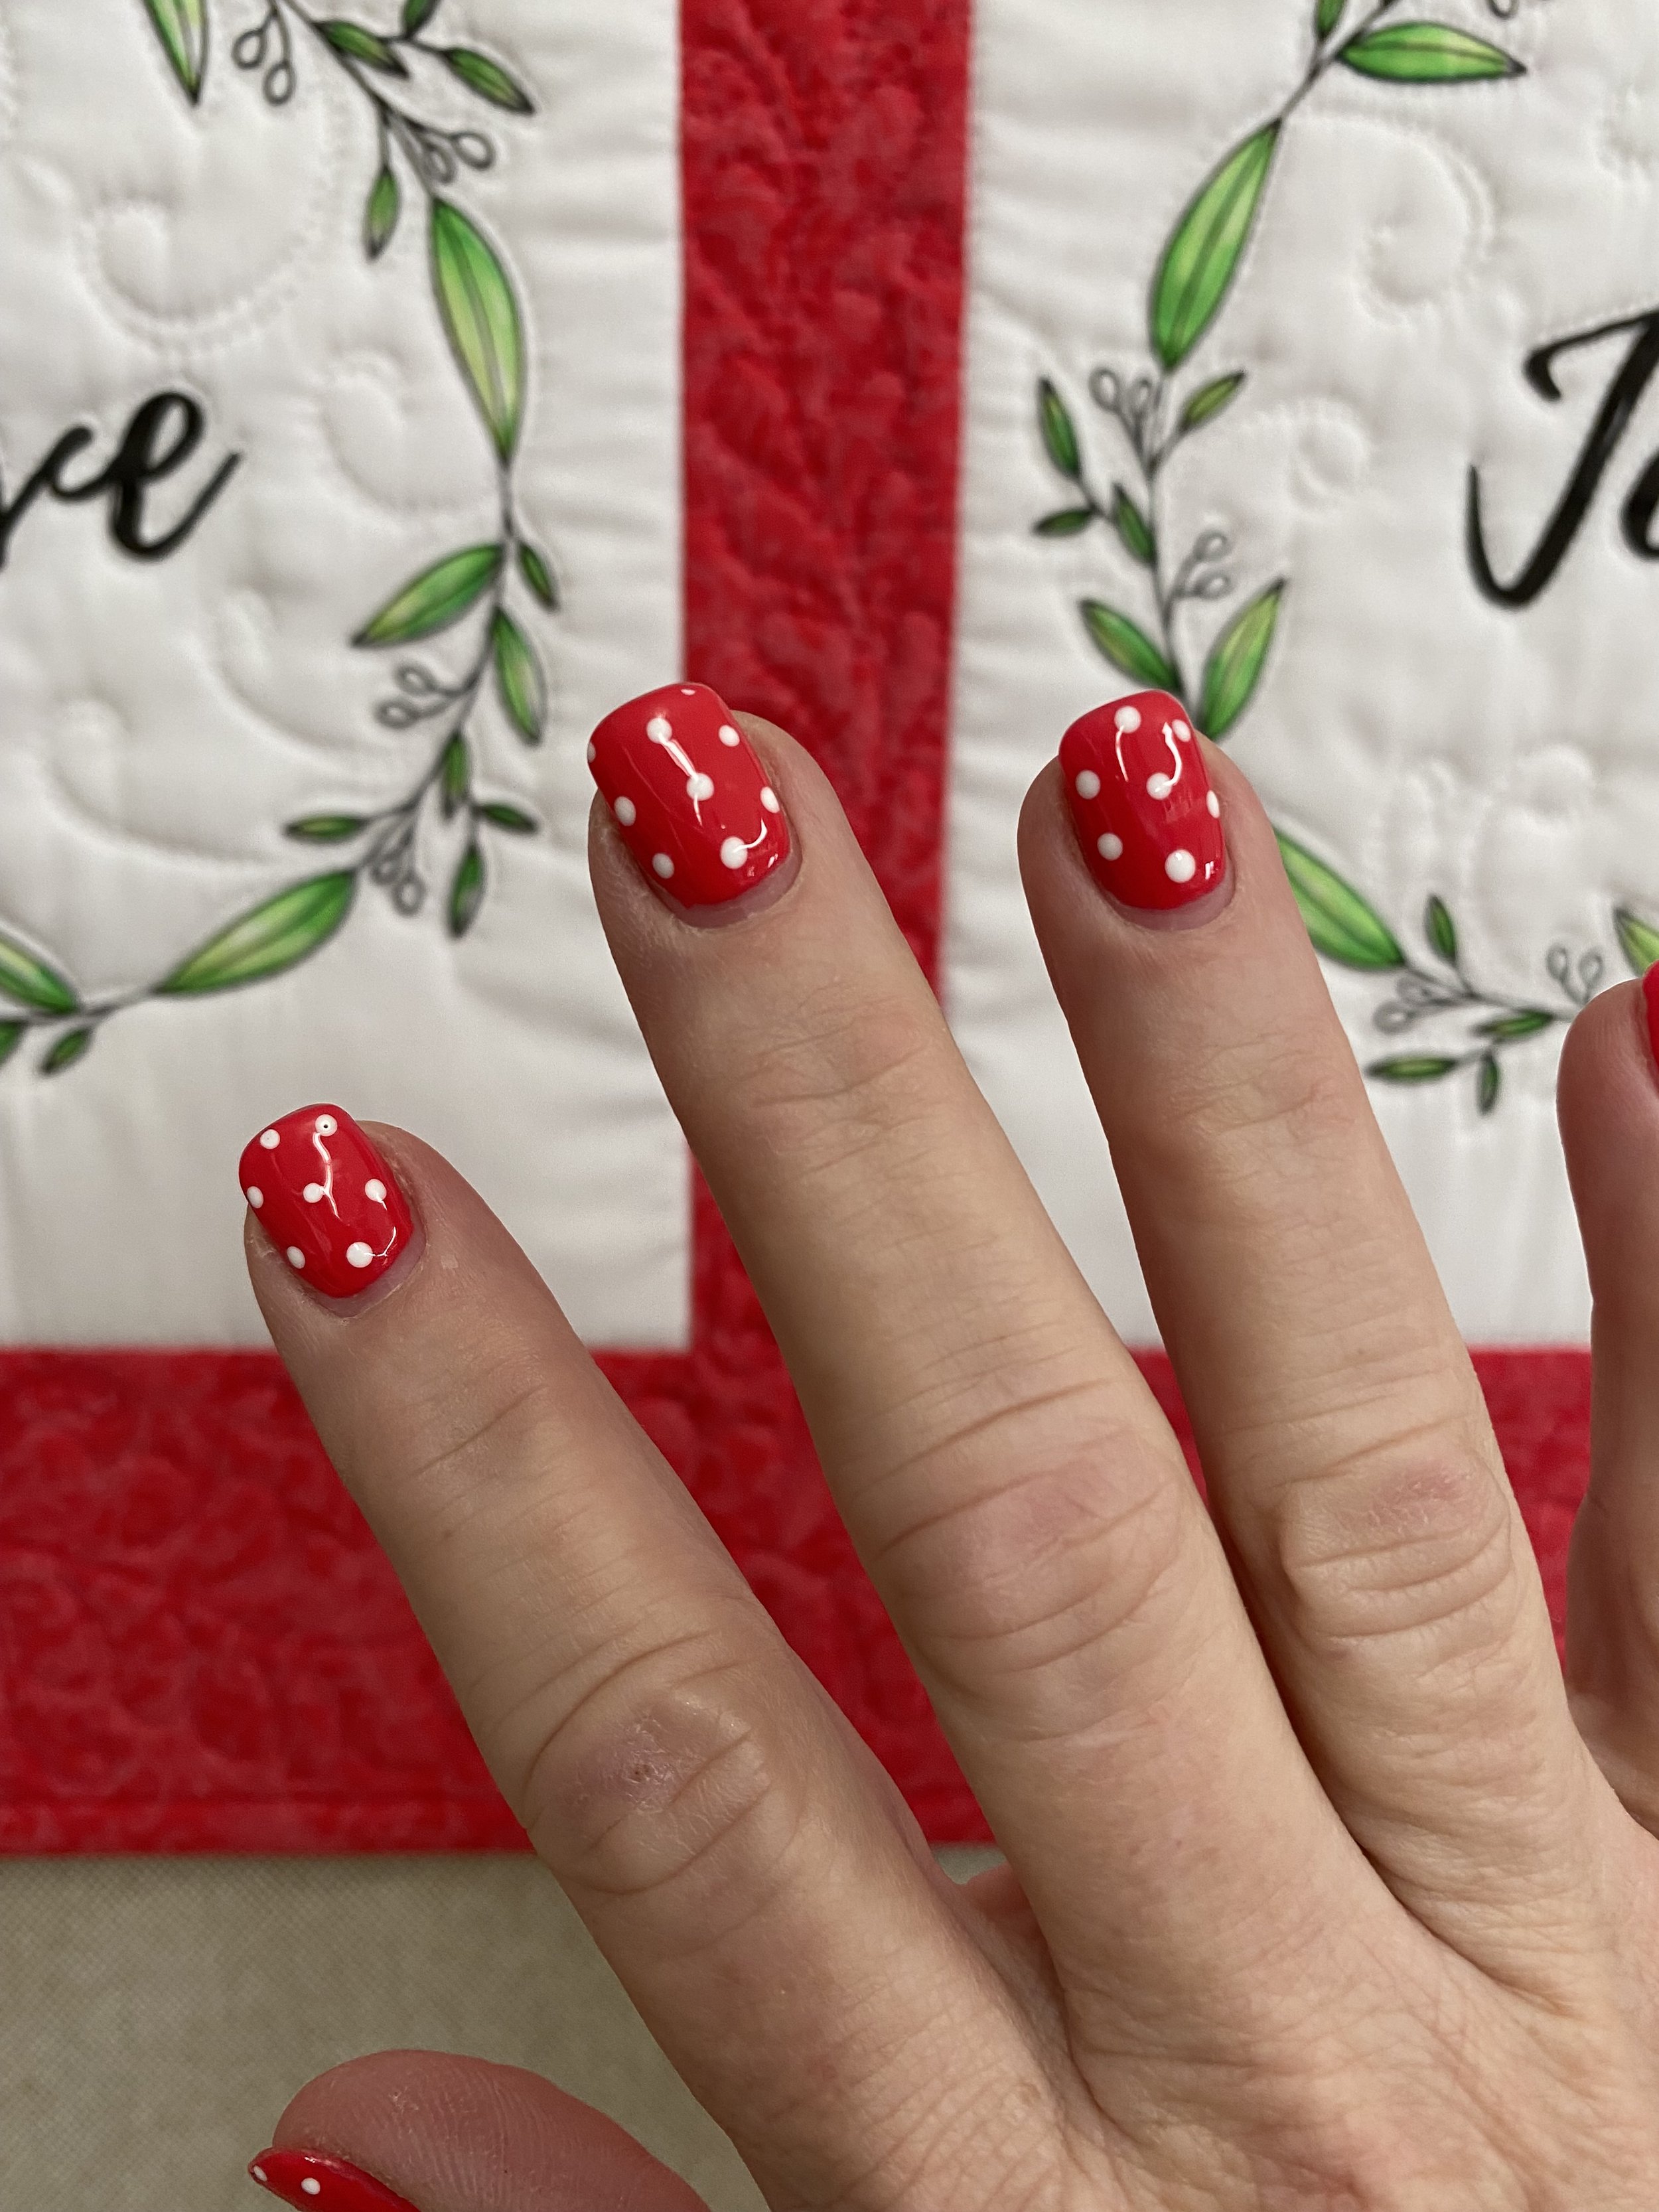
I quilted 2 versions of the mini quilt tryptic (free this month with code PEACE ) a promising start to my love affair (I also love that the fabric of the quilt, matched my nail polish!!!)
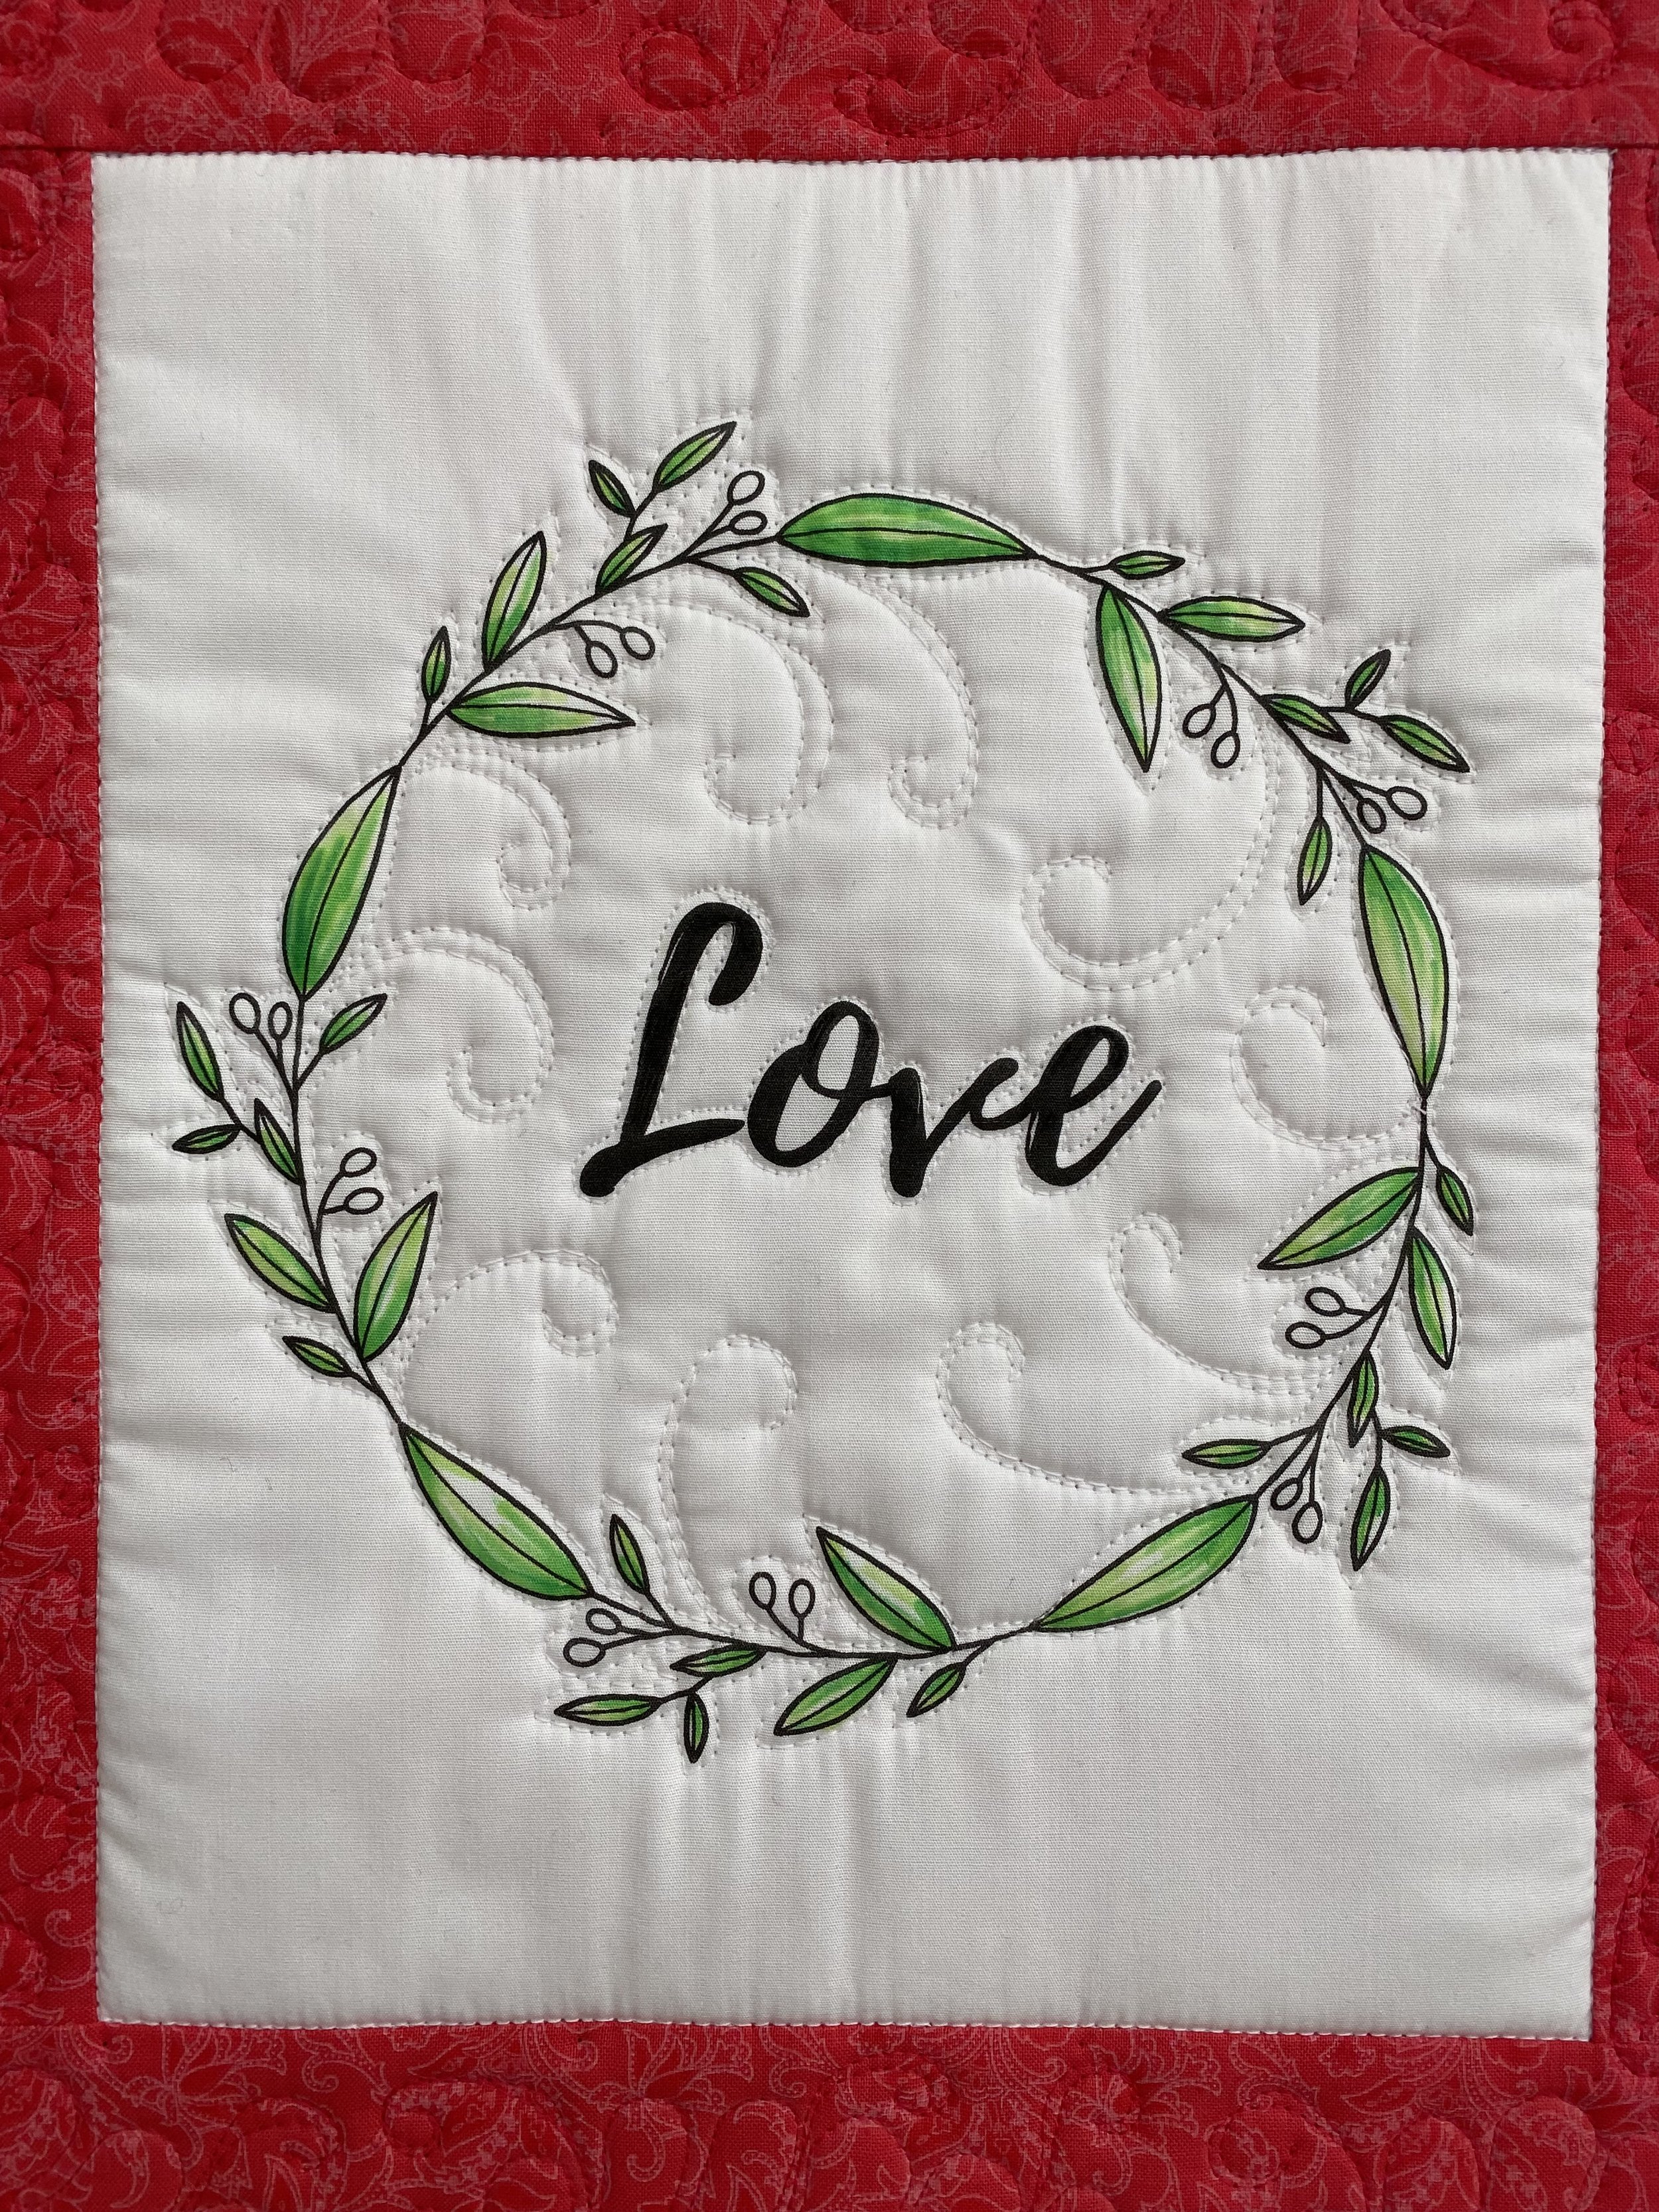
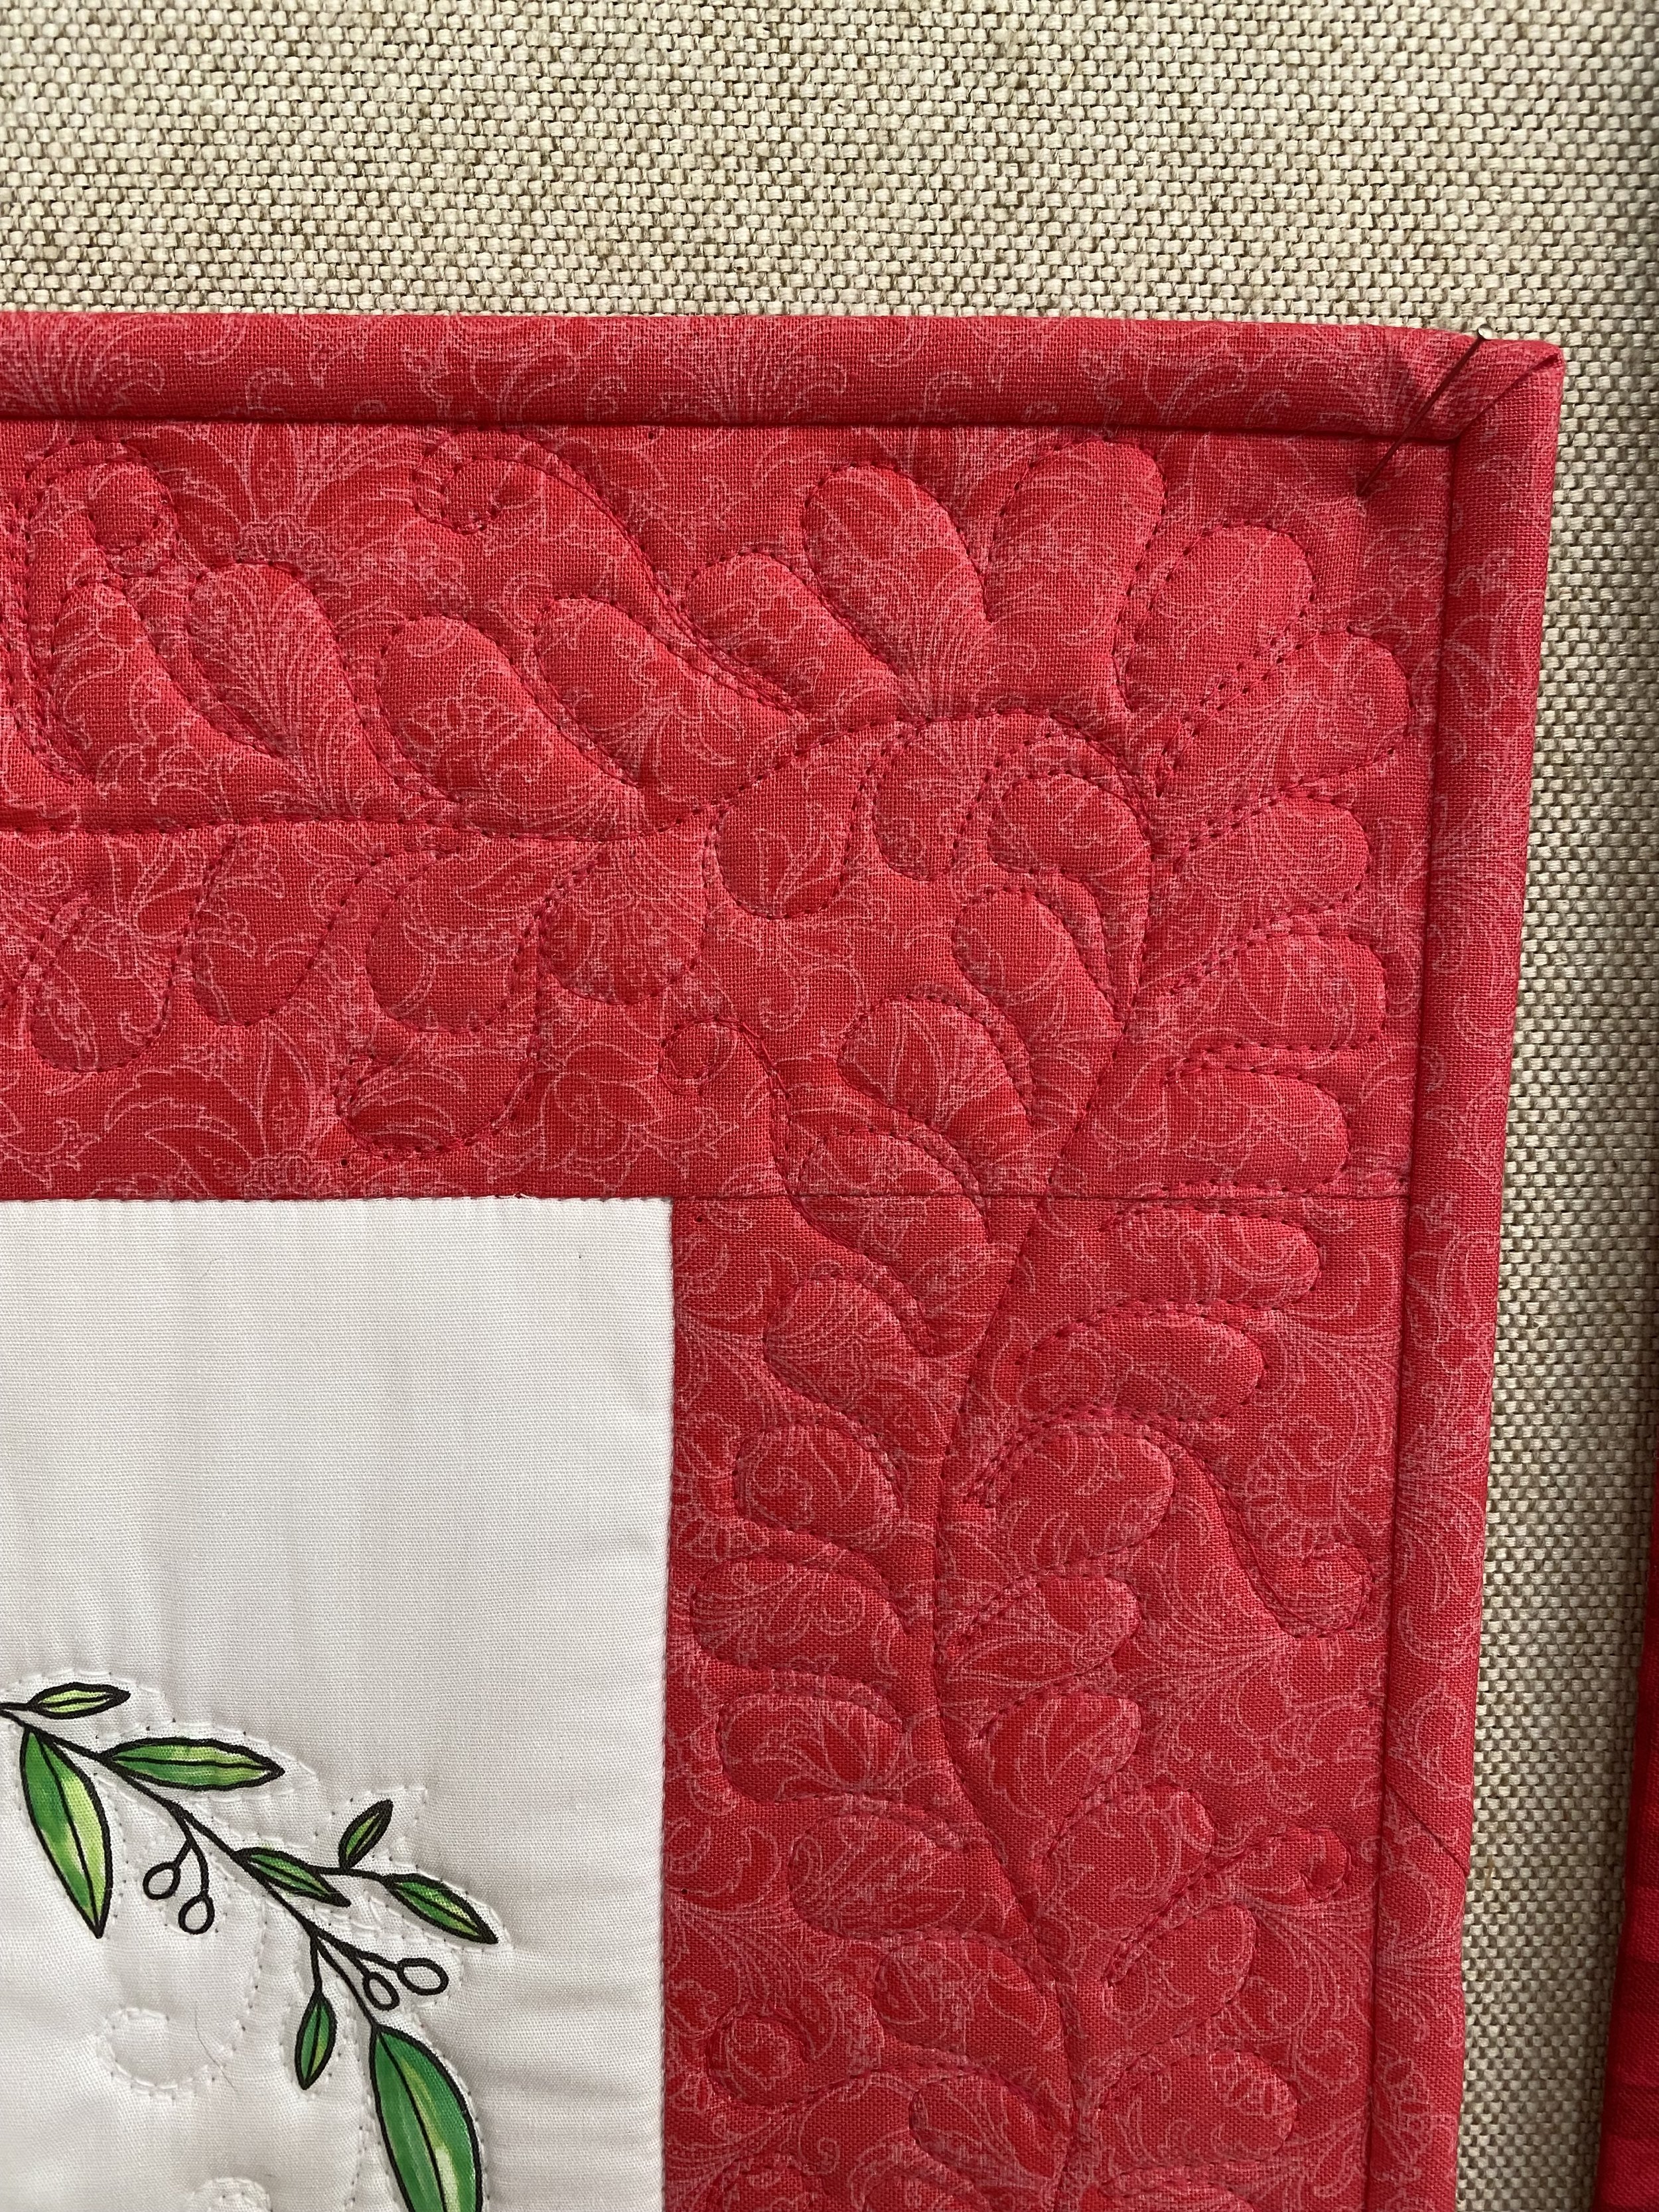
Much of the time I don’t quilt the Mini Quilts until after they have been in the newsletter - working under deadline often means taking a few shortcuts. But this month I had a bit more time, and I really wanted the valentine’s edition for my own wall, (and not as unquilted “textile art”) so I decided to quilt it. I still was unsure how to quilt the negative space around the wreaths, but I stitched around the leaves and buds. (in my mind they are flower buds, not berries for this time of year) adding some curling vines coming out from the wreath into the center. I chose the feather border because I had a pounce-able template, making for fast marking, and chose the undulating version so I could add in some of the curling vines, tying the design back into the quilting in the blocks.
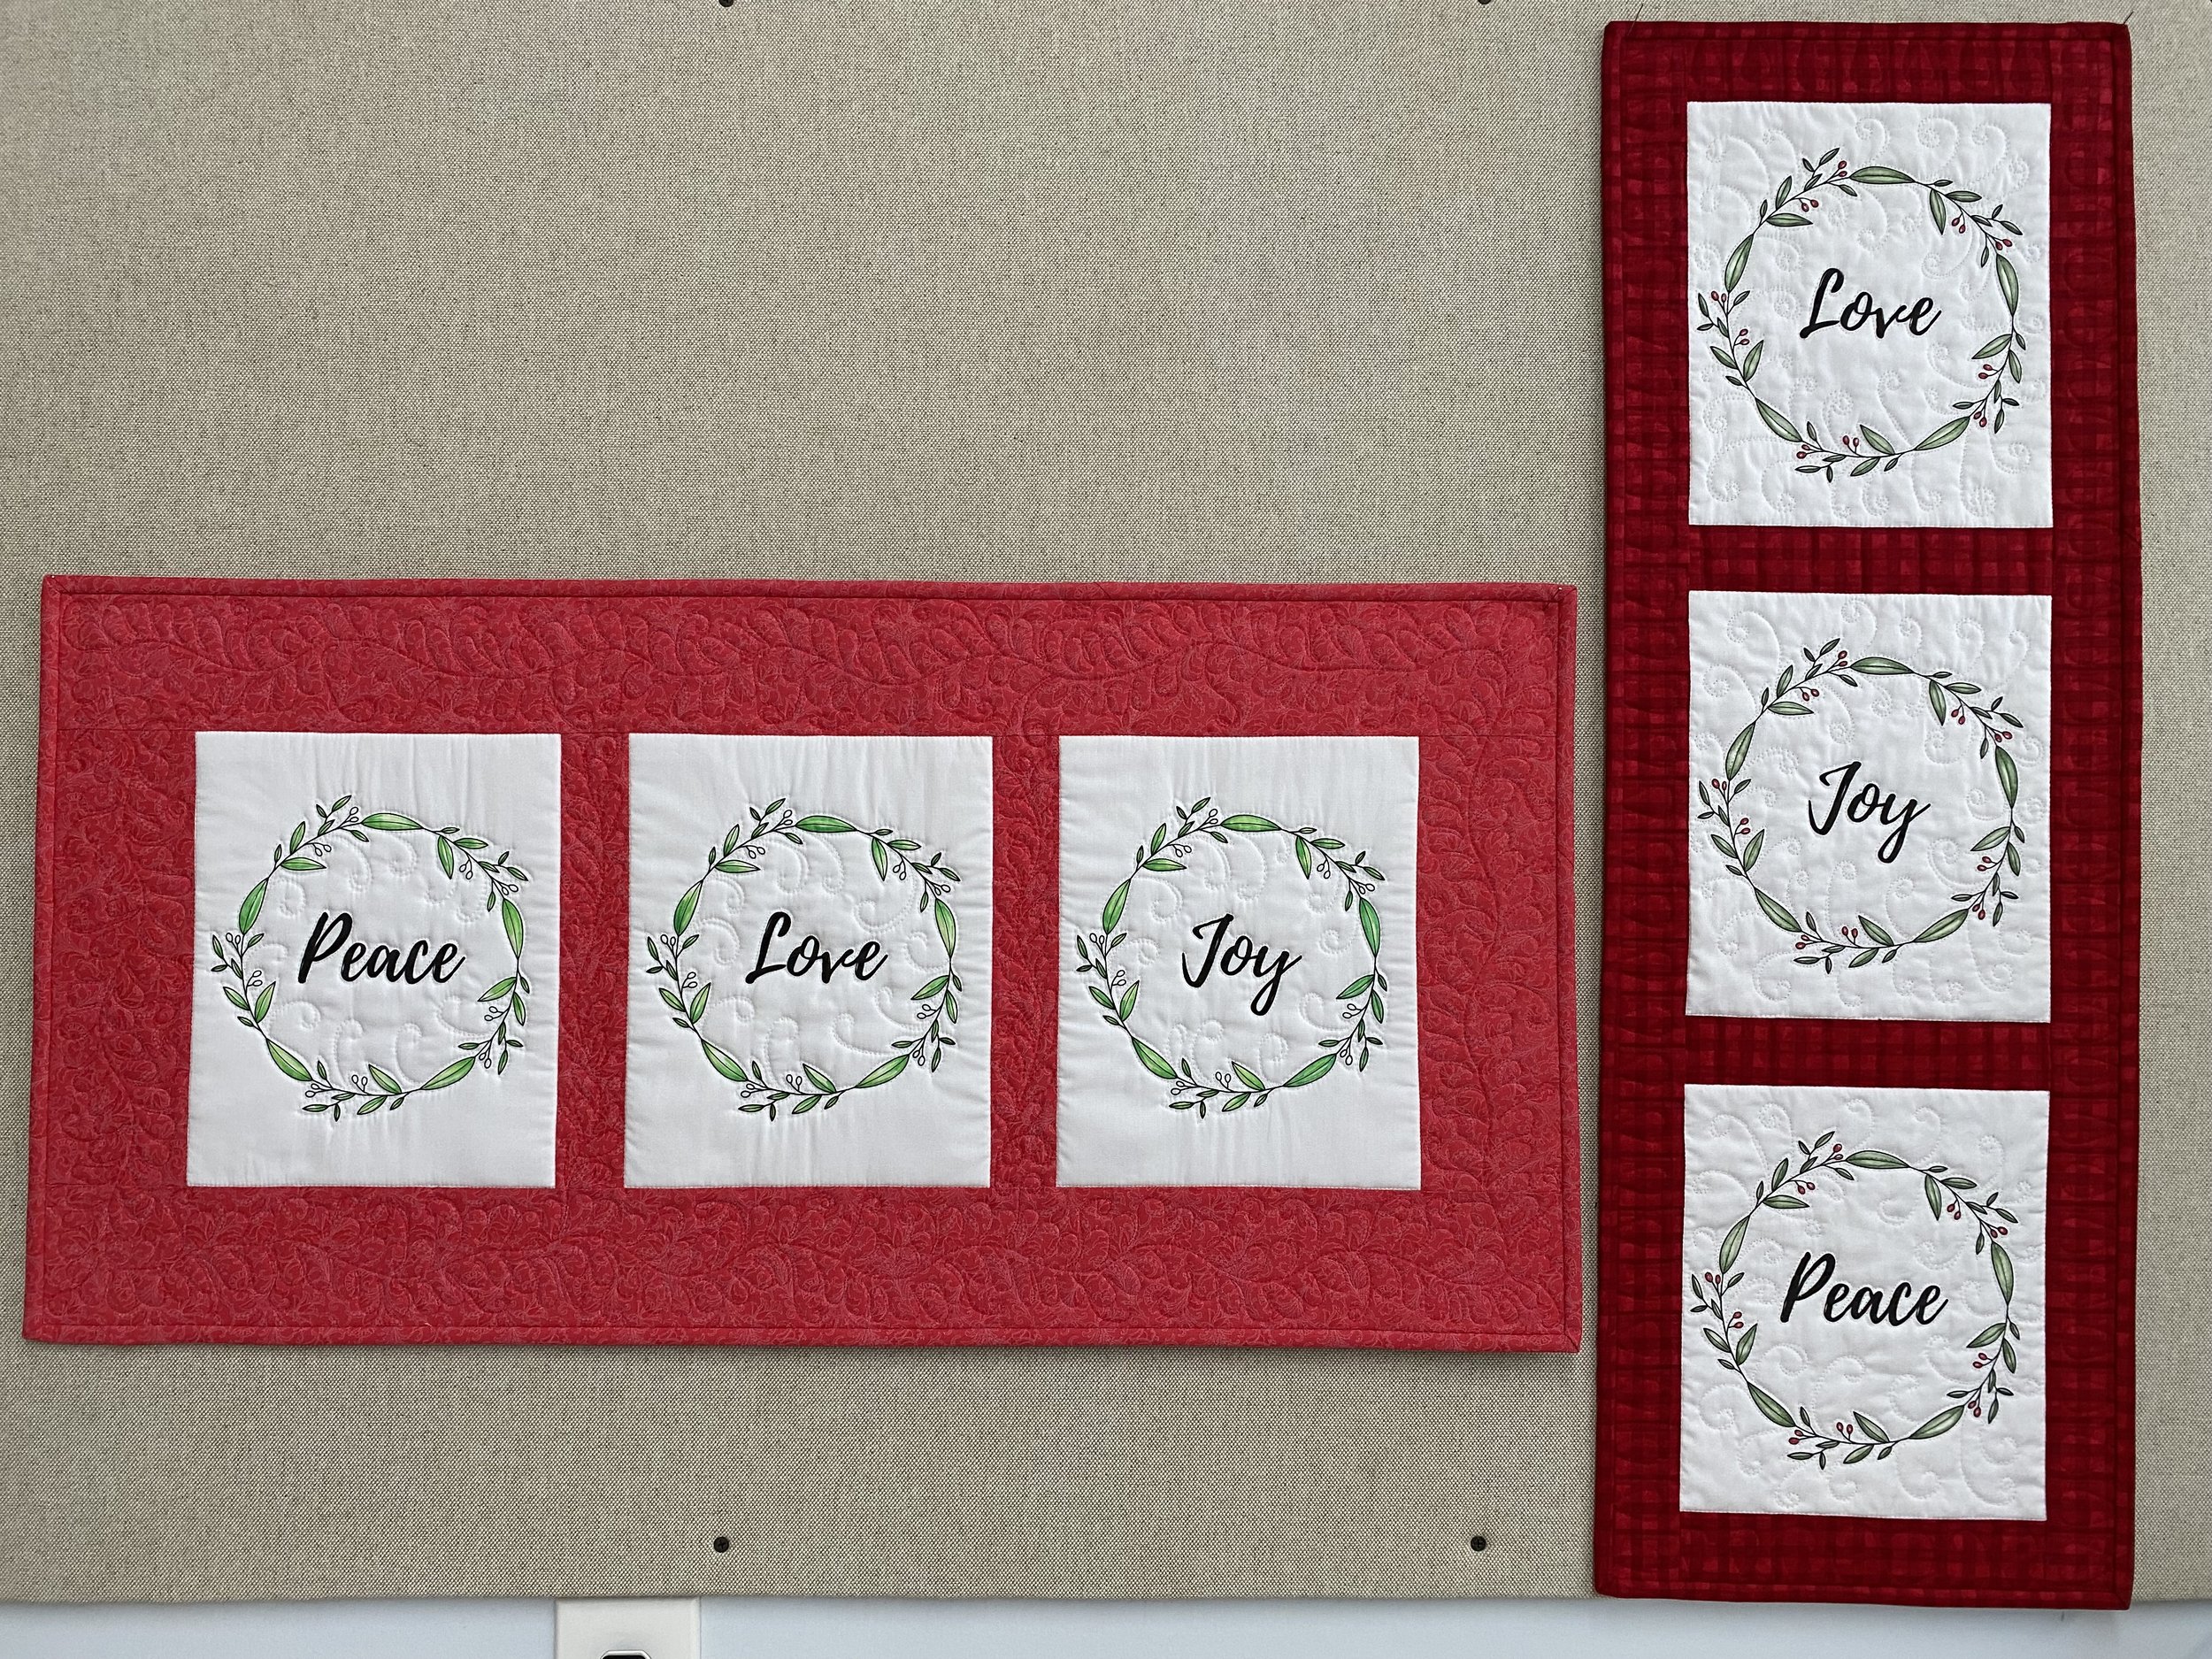
And do you know what? I enjoyed it! As a matter of fact, I enjoyed it so much I decided to quilt the vertical version from Christmas. Since I had already published it unquilted, I wasn’t concerned about publishing it again, so I felt a bit freer, (In other words, more willing to wreck it!) I wasn’t thrilled with the drag lines showing after blocking the horizontal version, due to a lack of quilting outside of the wreath. So, for the Christmas version, I used the same curling vines but added them outside of the wreath, not just inside. I was happy with how that helped fill the negative space around the wreath. The border on the vertical version were much narrower so I couldn’t use the same feather design. I first just quilted straight lines using the plaid border as my guide, I felt that was not quite enough quilting to give me an evenly quilted surface, so I filled in between the lines with teardrop shapes.
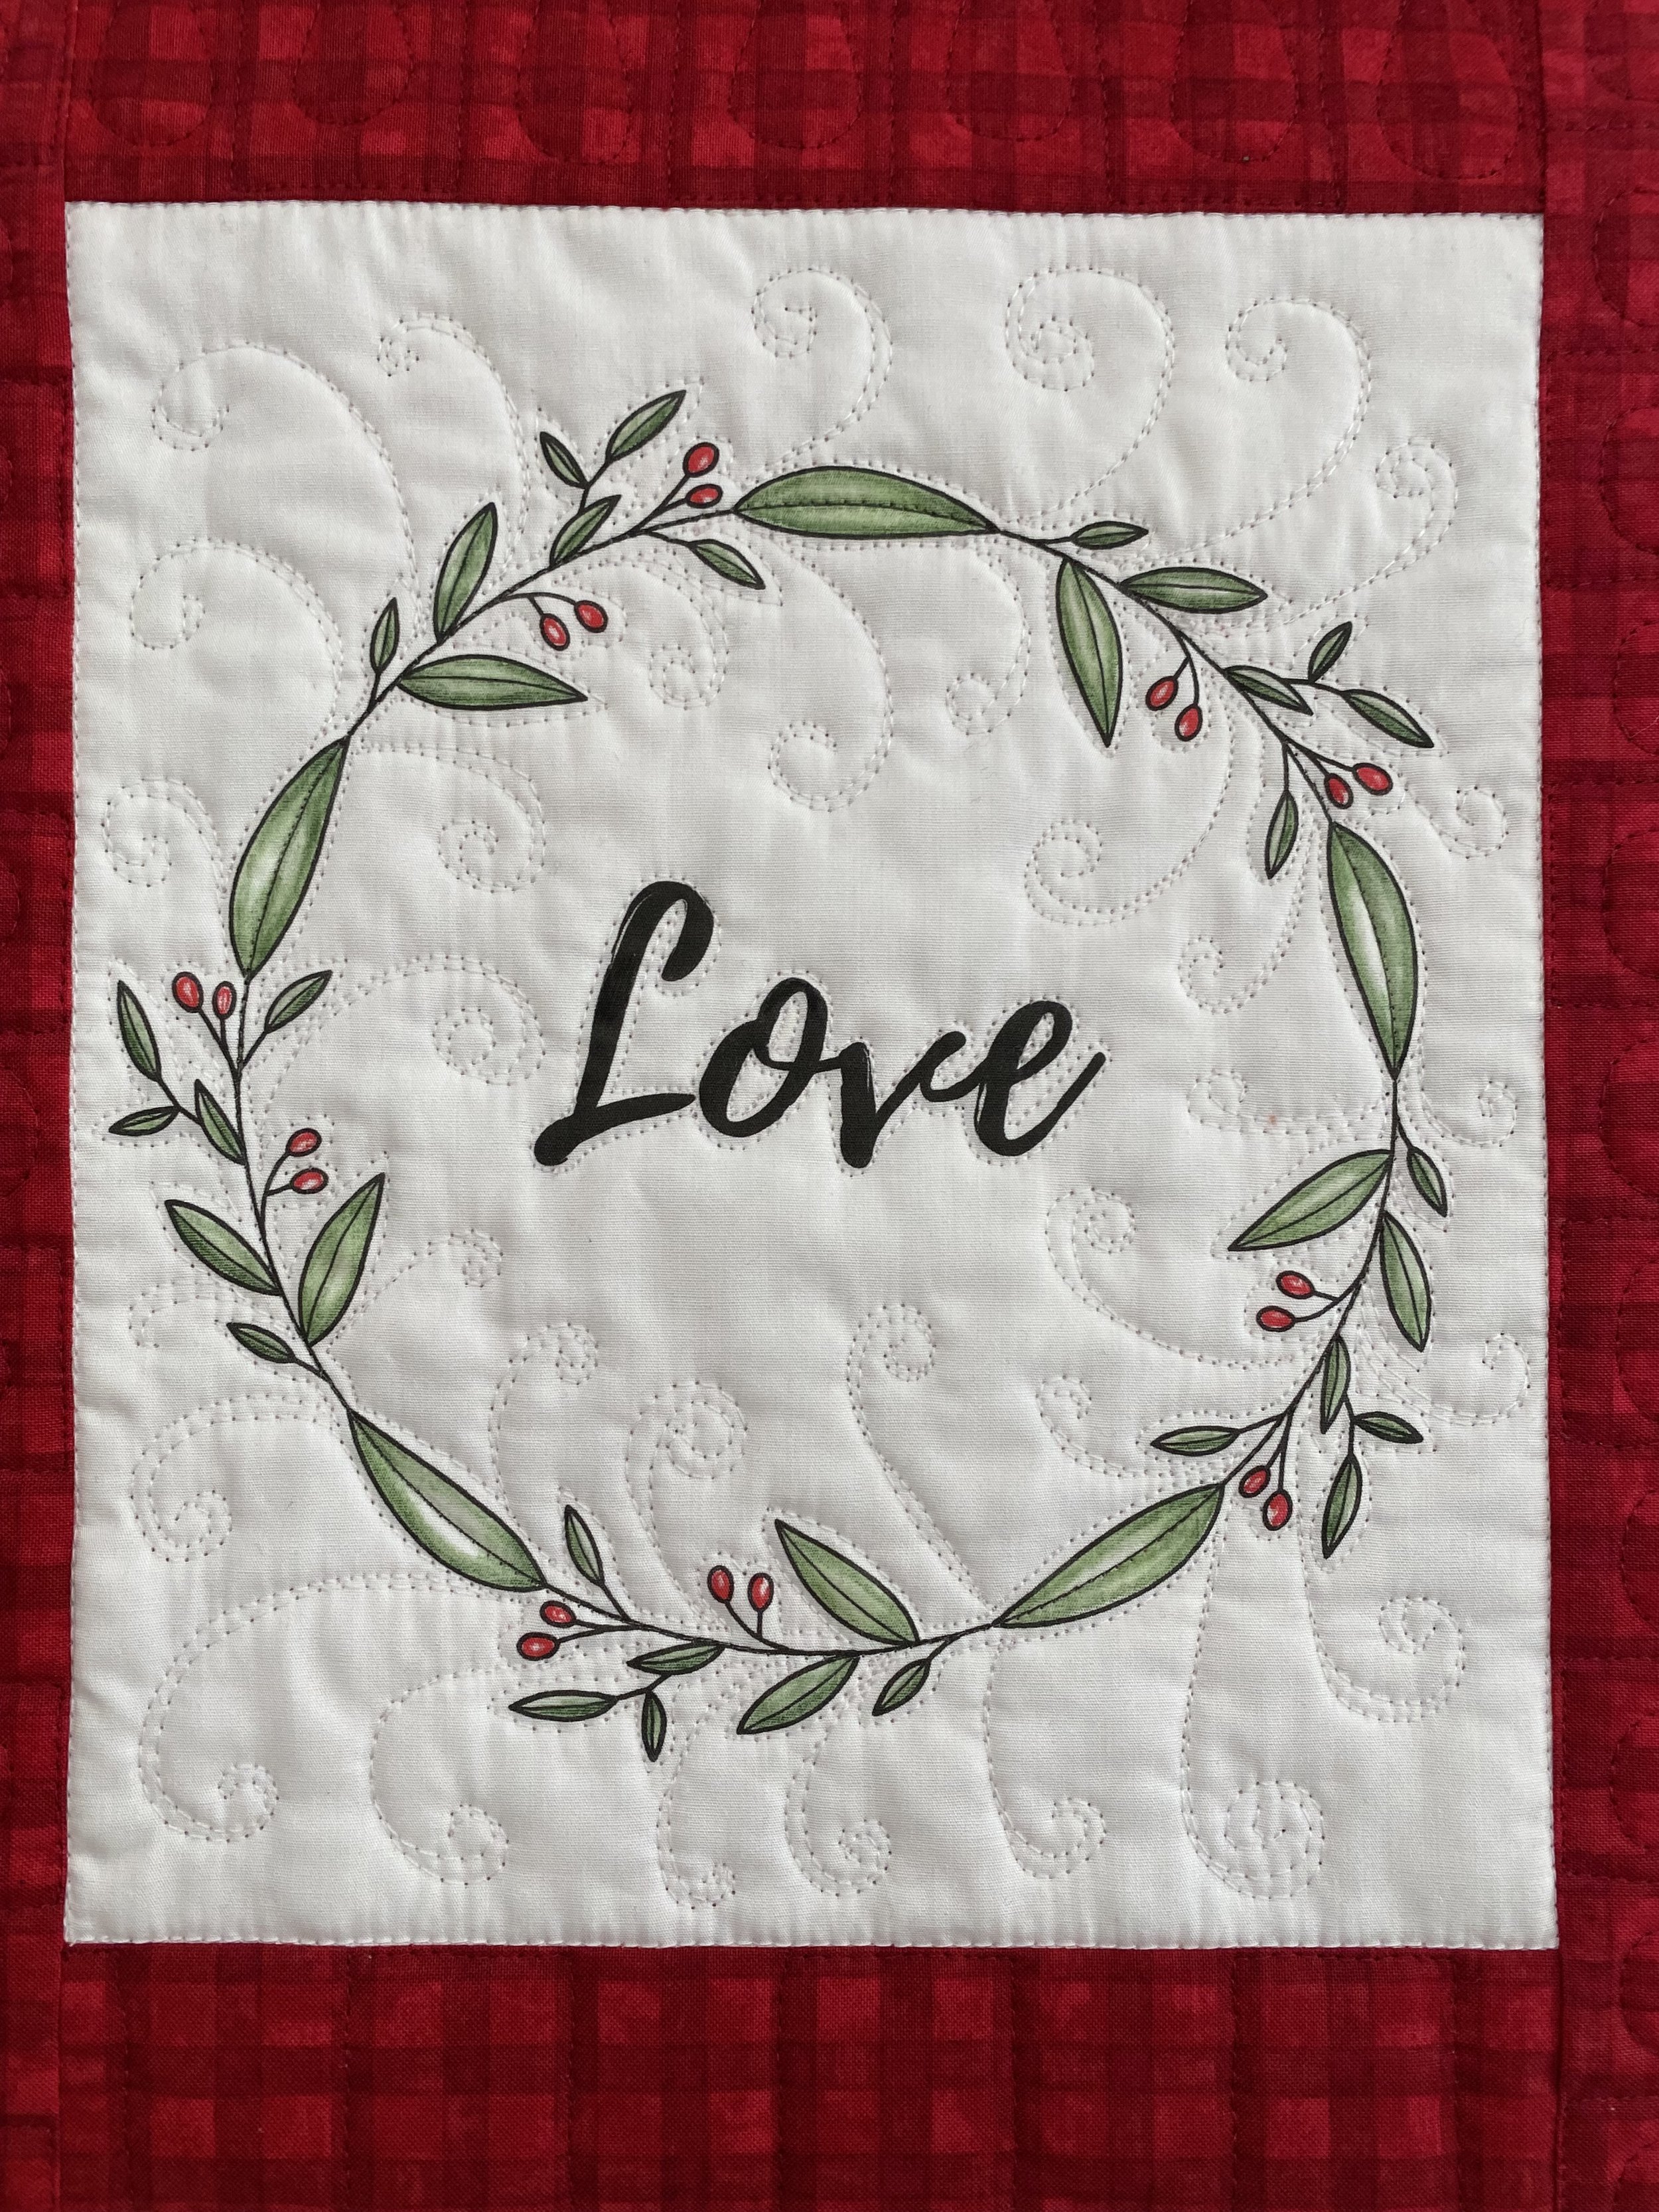
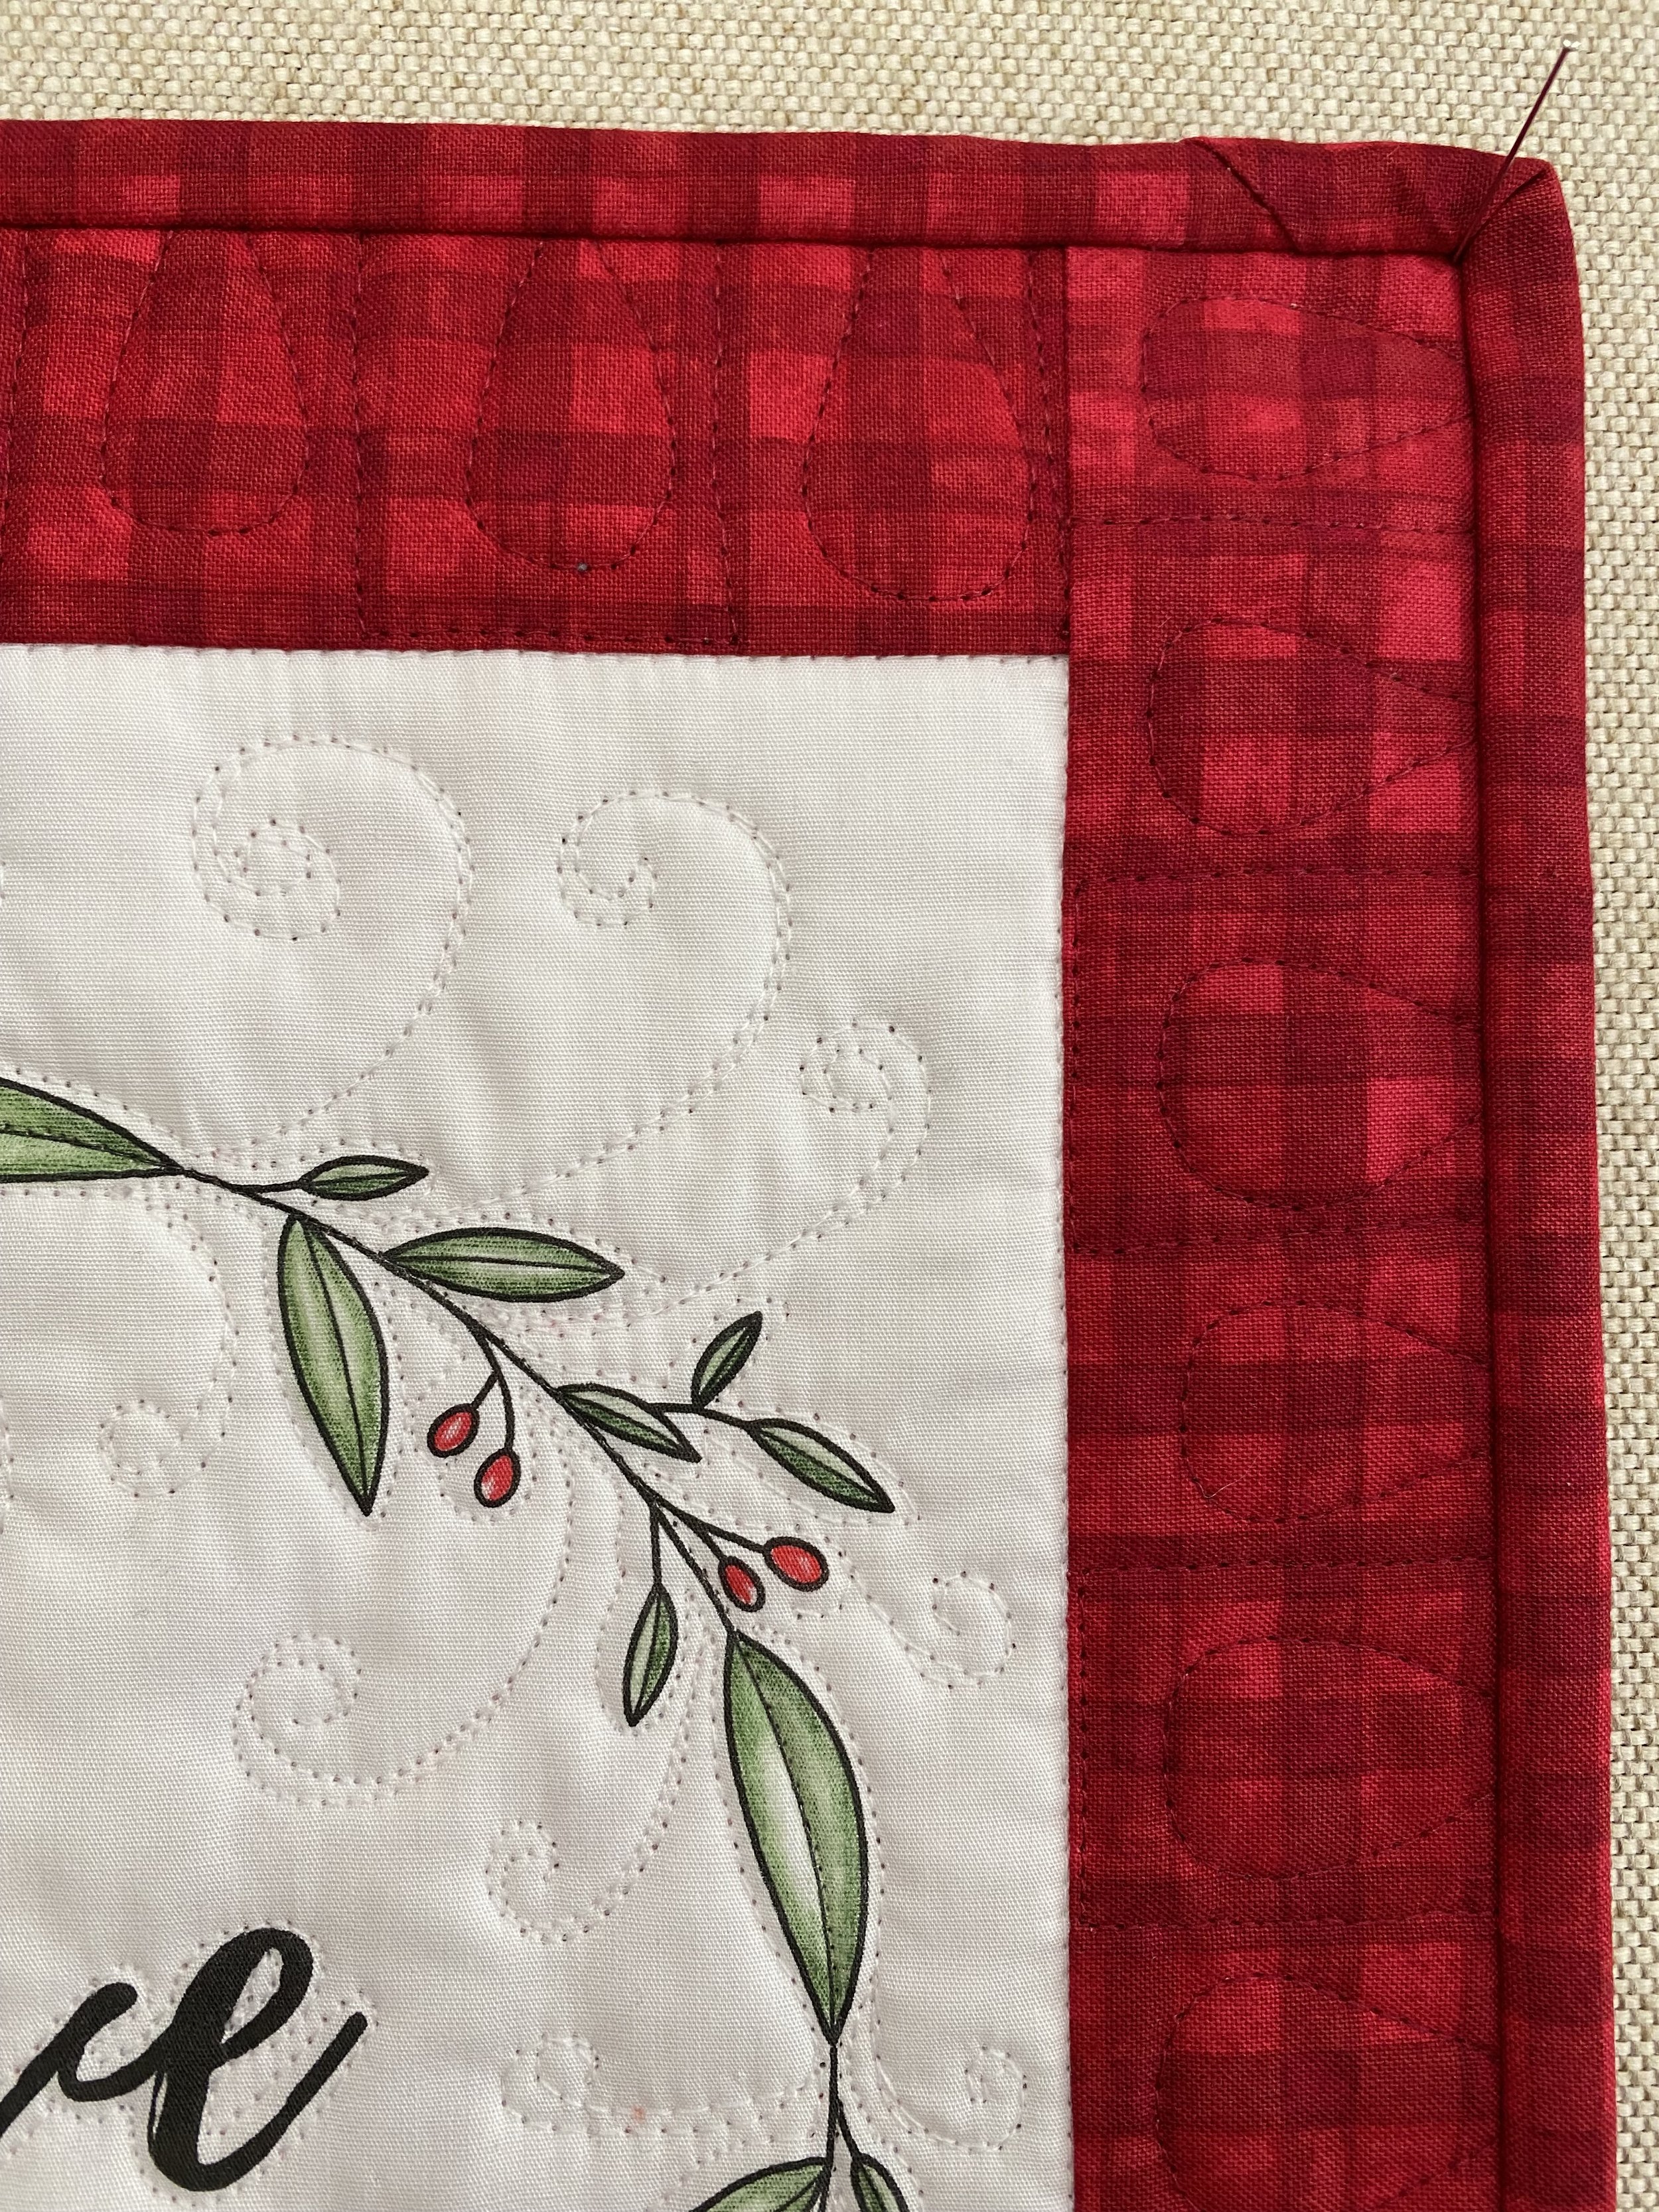
In case you would like to make your own, for the horizontal version I used Fabrico markers to color the leaves in the wreath, then trimmed the panels to 8 1/2” x 10 1/2” I used 2” sashing and 3 1/2” borders (cut size). For the vertical version I used colored pencils to shade the wreath and berries, then trimmed the colored panels to 8 1/2” x 10” I used 2” sashing and 2 1/2” borders (cut size)