
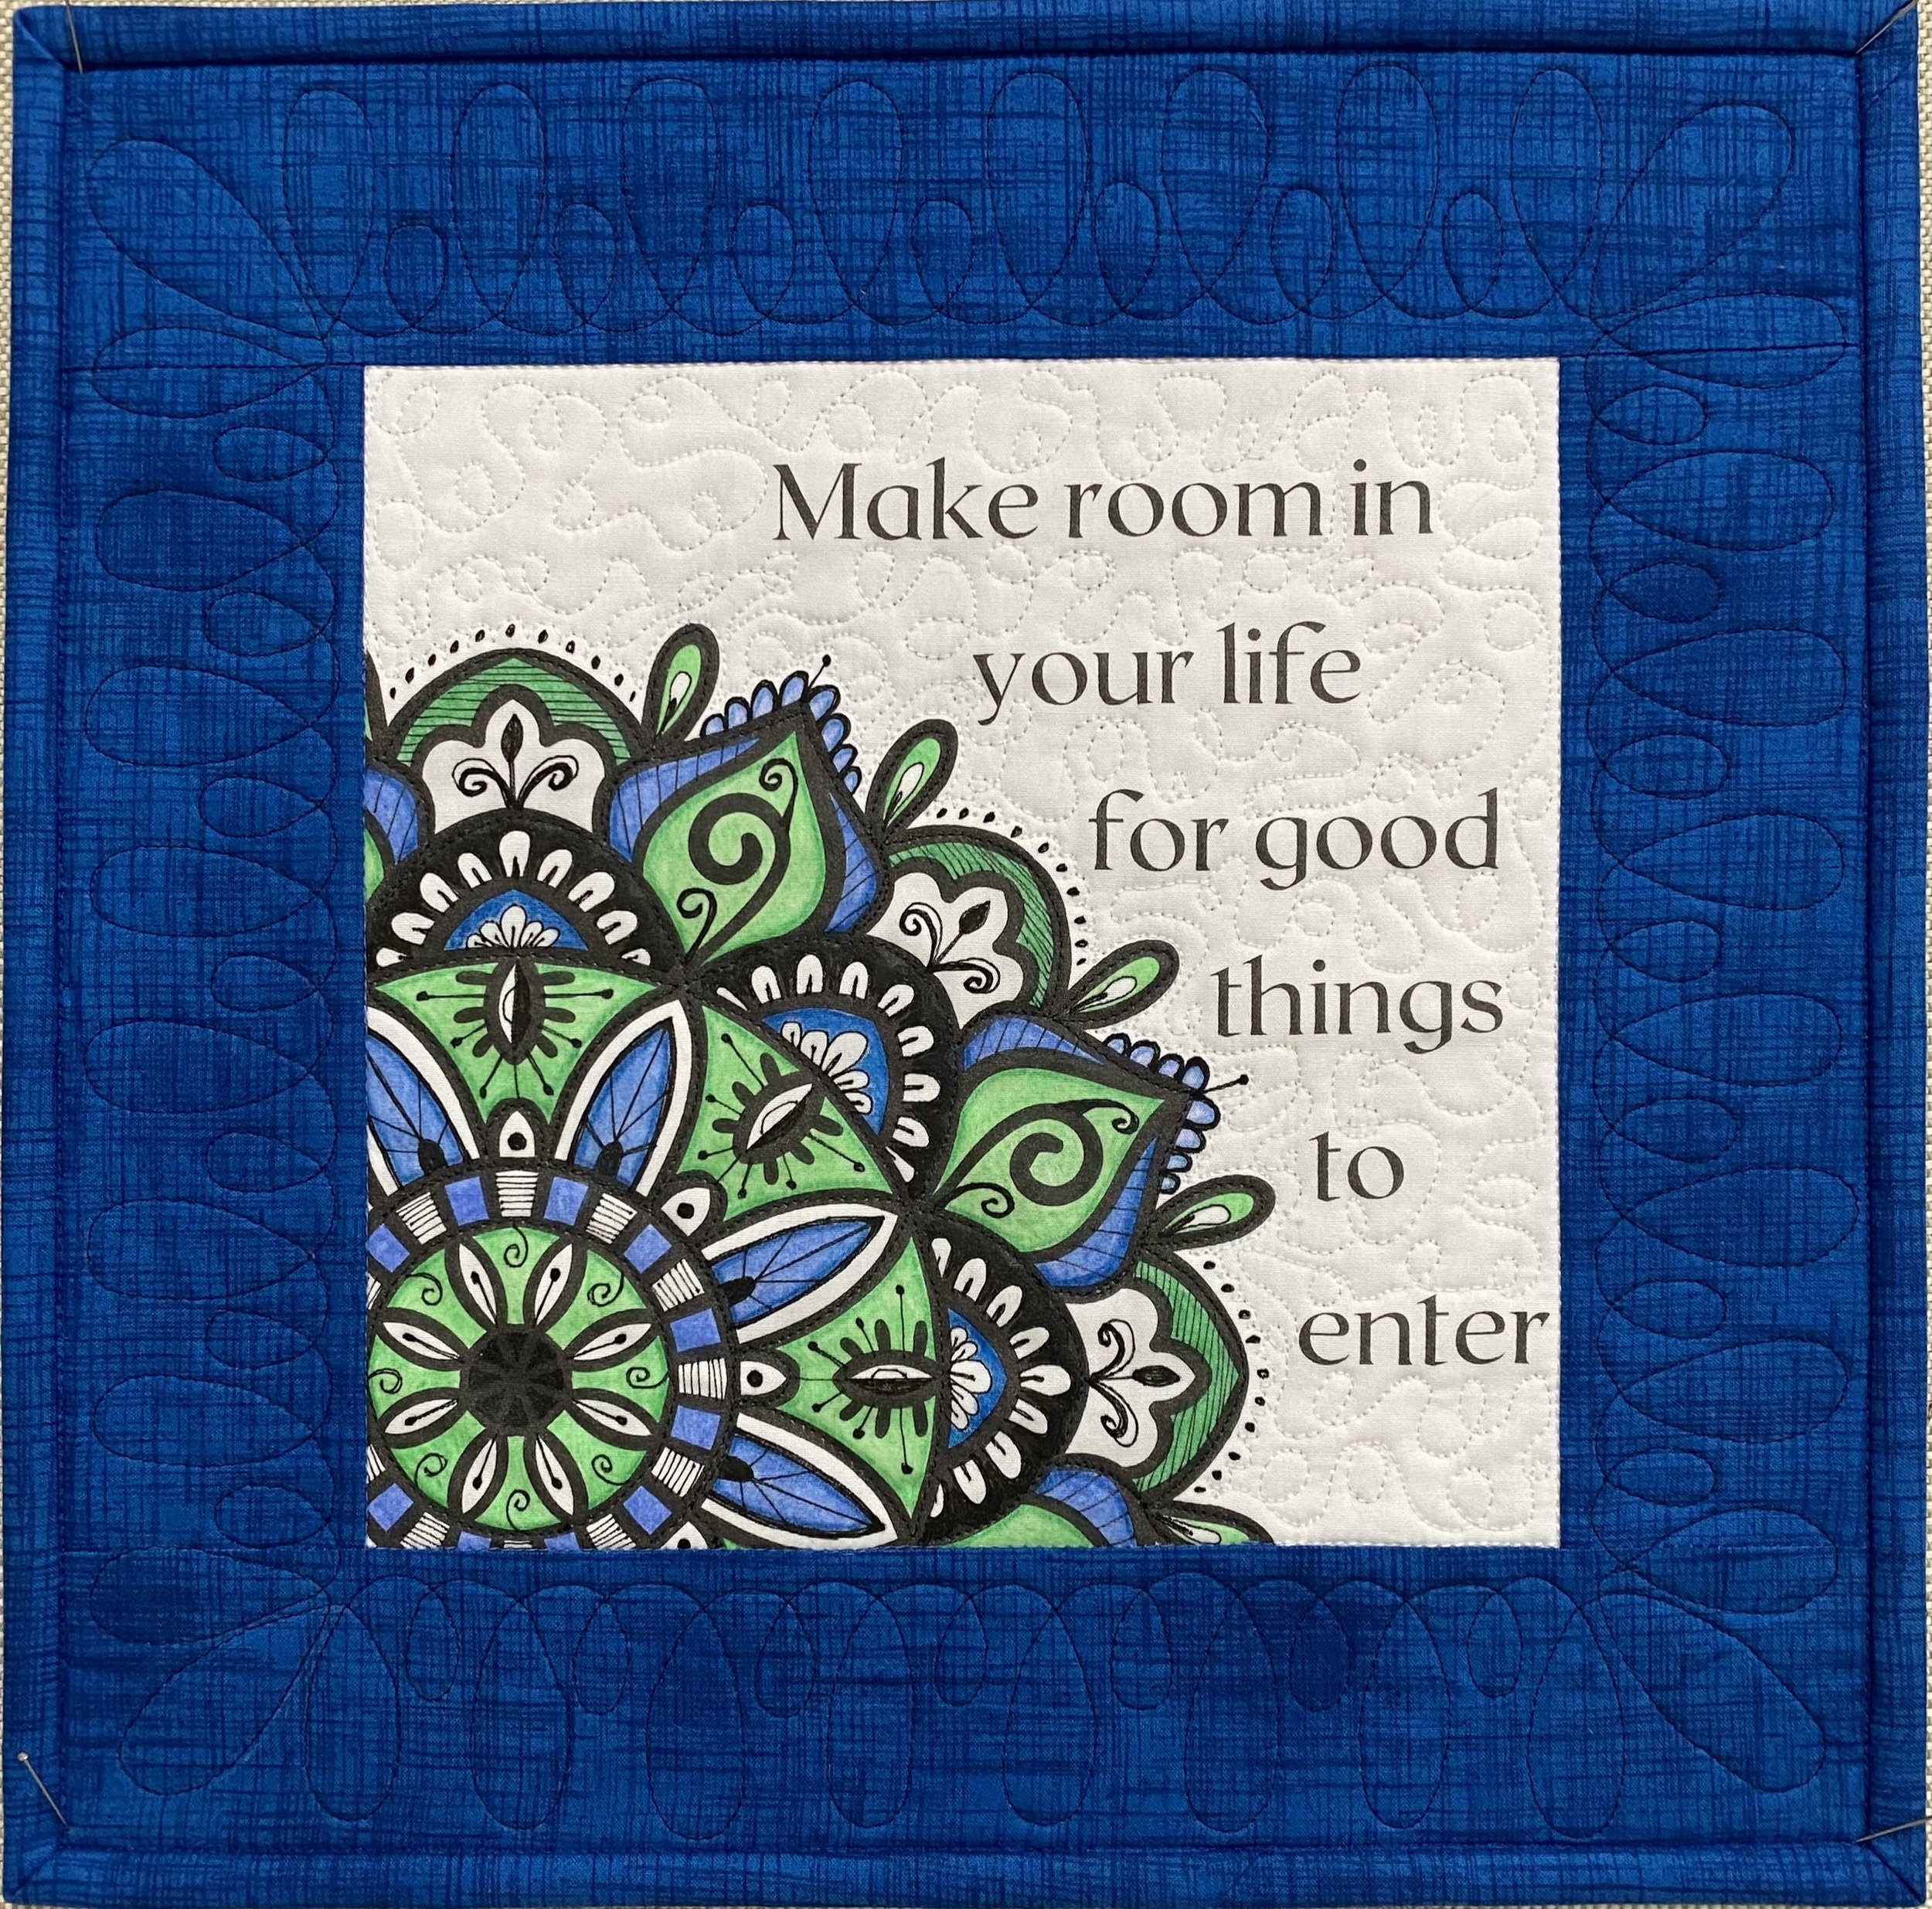
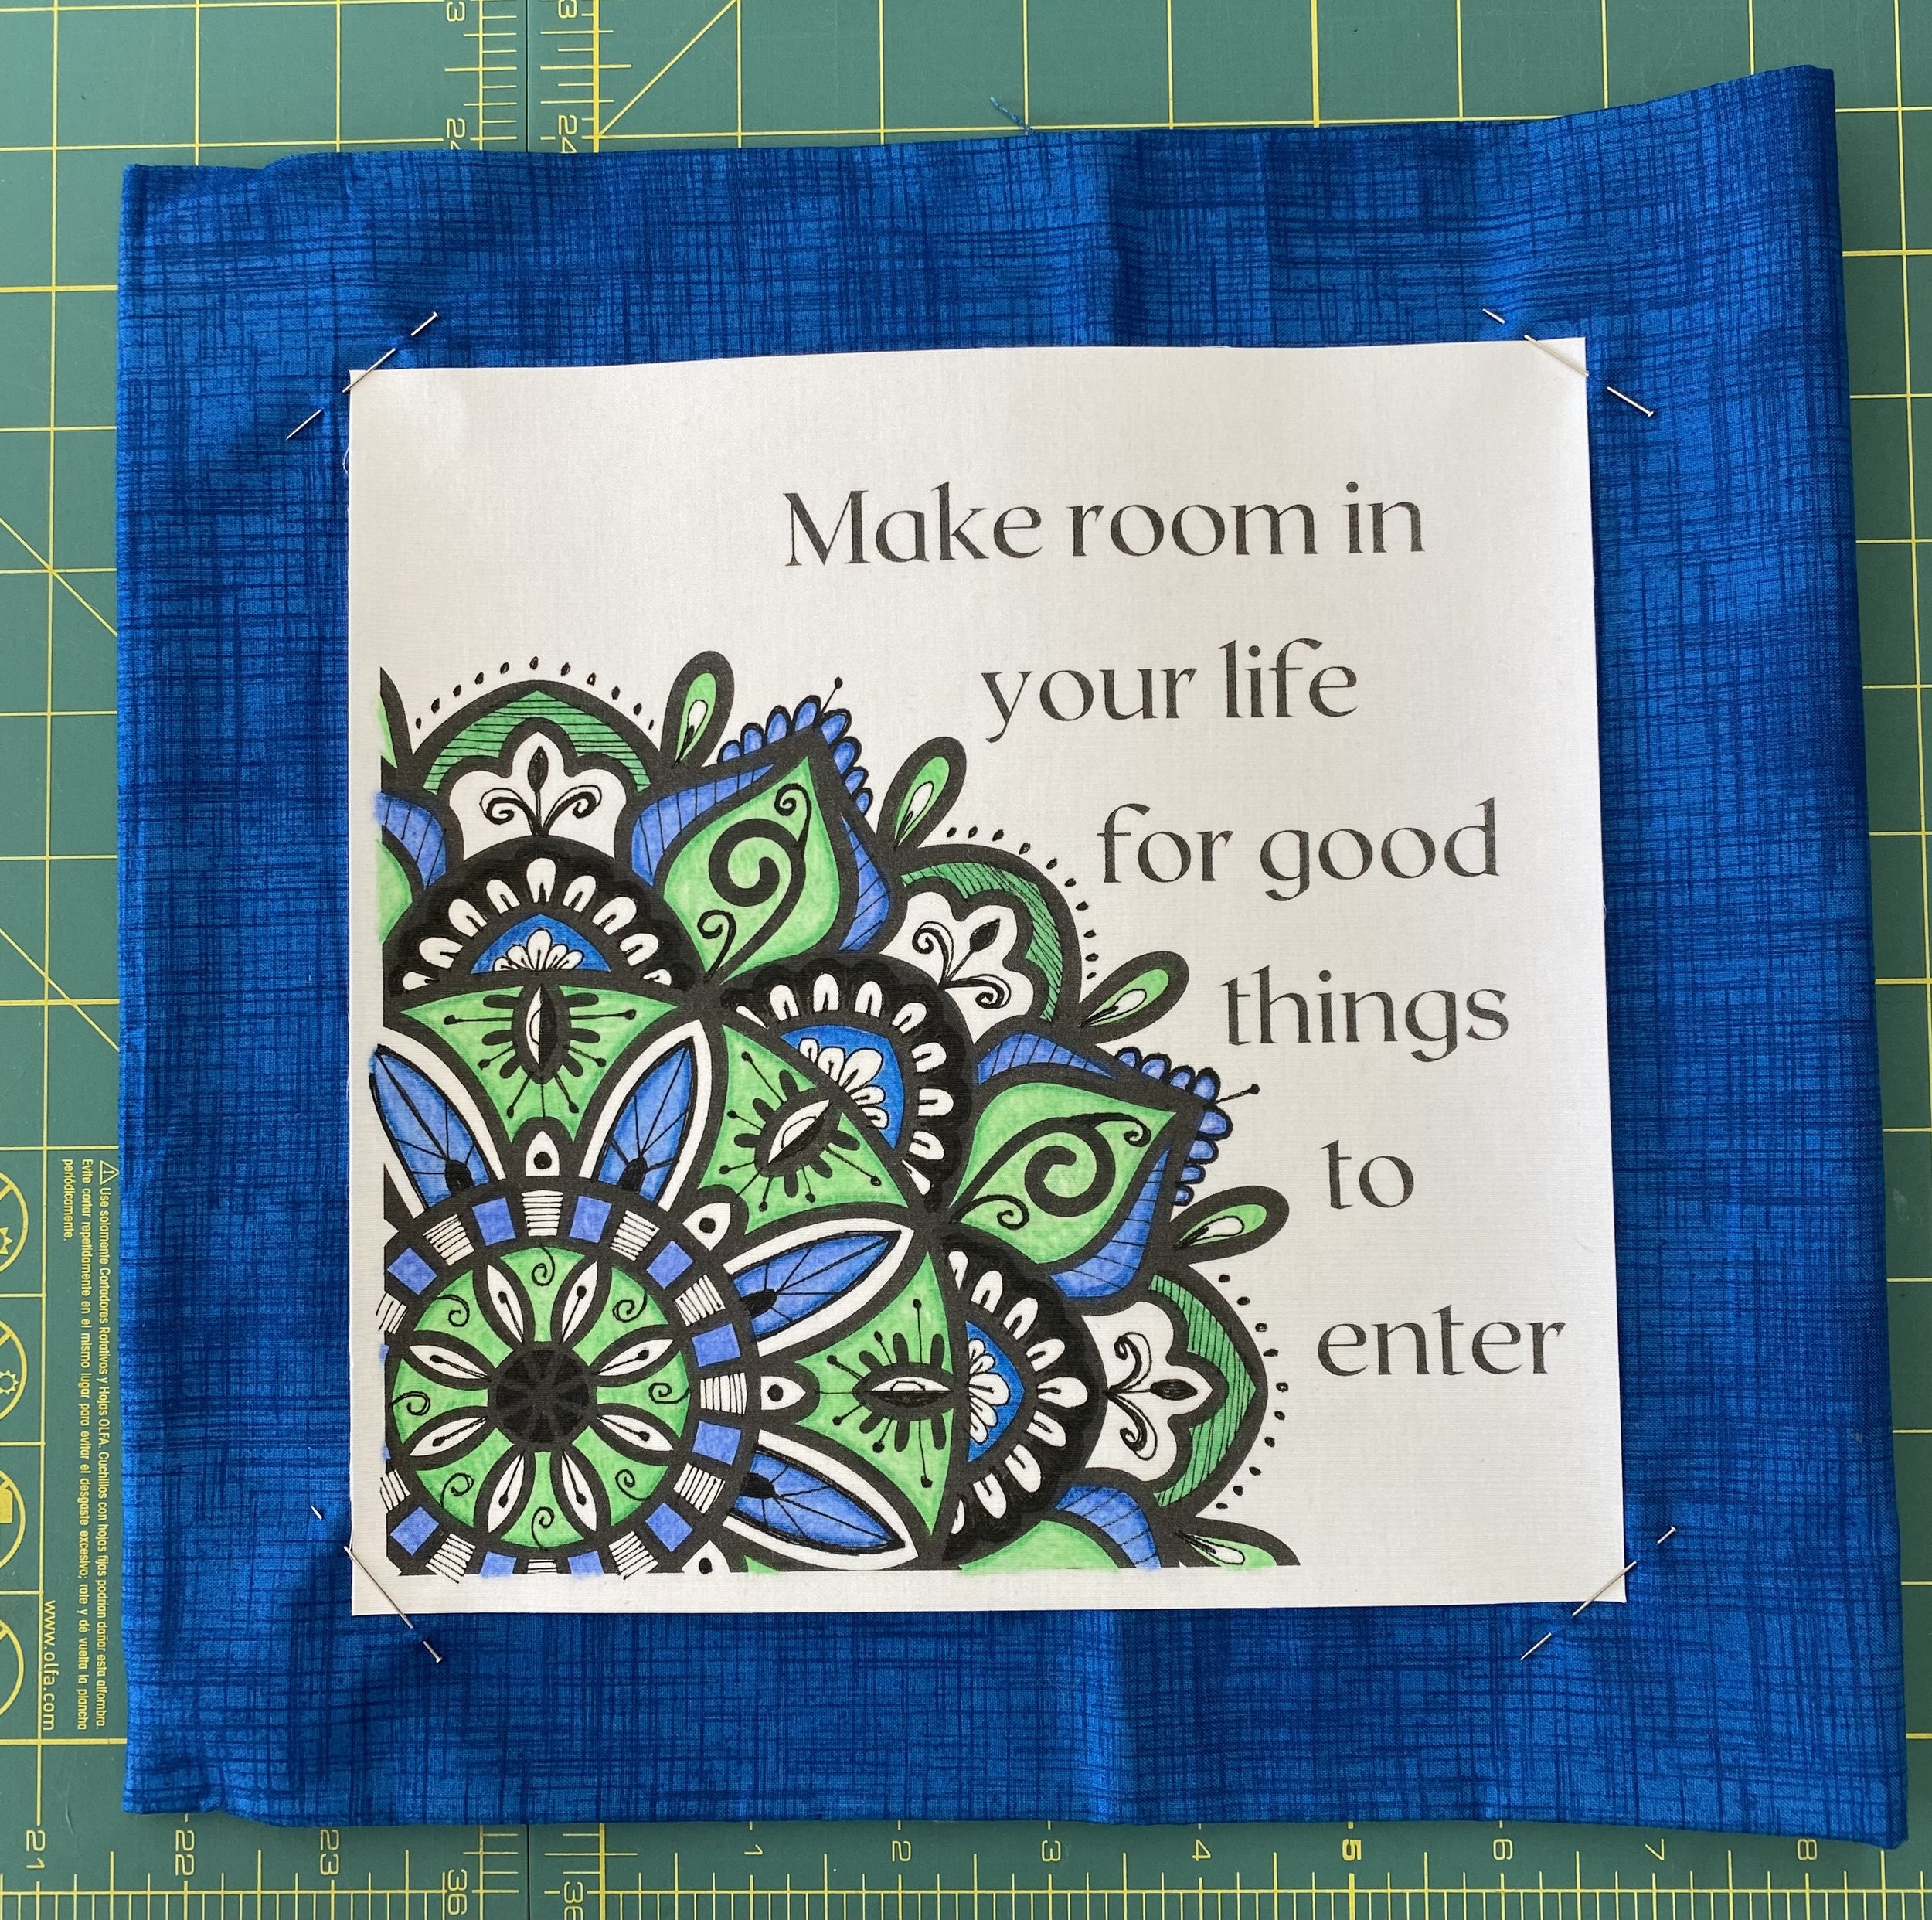
Make room in your life for good things to enter
This months mini quilt is my “prompt” for 2023. As my husband and I move forward with our intention of relocating to Portugal in 2024 we will be downsizing to live a bigger life. Making room will be our mantra in the coming months as we empty our house of belongings, of lots of “things” that no longer serve us and that we would not even consider taking with us. After nearly 22 years in this house there has been a lot of accumulation! Our cabinets, garage and my studio are all packed solid with “stuff”.
My studio also contains a lot of unfinished projects. 2 years of my online Rettabug’s UFO Club have helped me to complete a big chunk of those projects. This year as I make my list of 9 projects to finish by the end of November, I’ll be looking at my remaining projects (still quite a few more than 9) and asking the same questions I’m asking about all my possessions, “Do I LOVE this?, Does it spark joy?, Would I take it with me when we move?” only projects that pass this 3 question test are going on my UFO Club list. We draw the 1st number for this years round of UFO Club on March 1, so there is still time to join us if you have projects you want to finish with a “support group” you can find the details here. Rettabug's UFO Club
I created this mandala design with room to add not only color but some of your own personal expression within the mandala itself. To test out my ideas for adding additional “flair” I printed the design on paper, and looked at mandala designs on Pinterest to get ideas for the details - the swirls, lines and dots that I added inside and outside of the original image. I tried a few things I didn’t like (that’s why working ideas out on paper is a good idea!) but I did achieve a design I love and feel adds to the overall look. I then added colored pencil to my paper drawing.
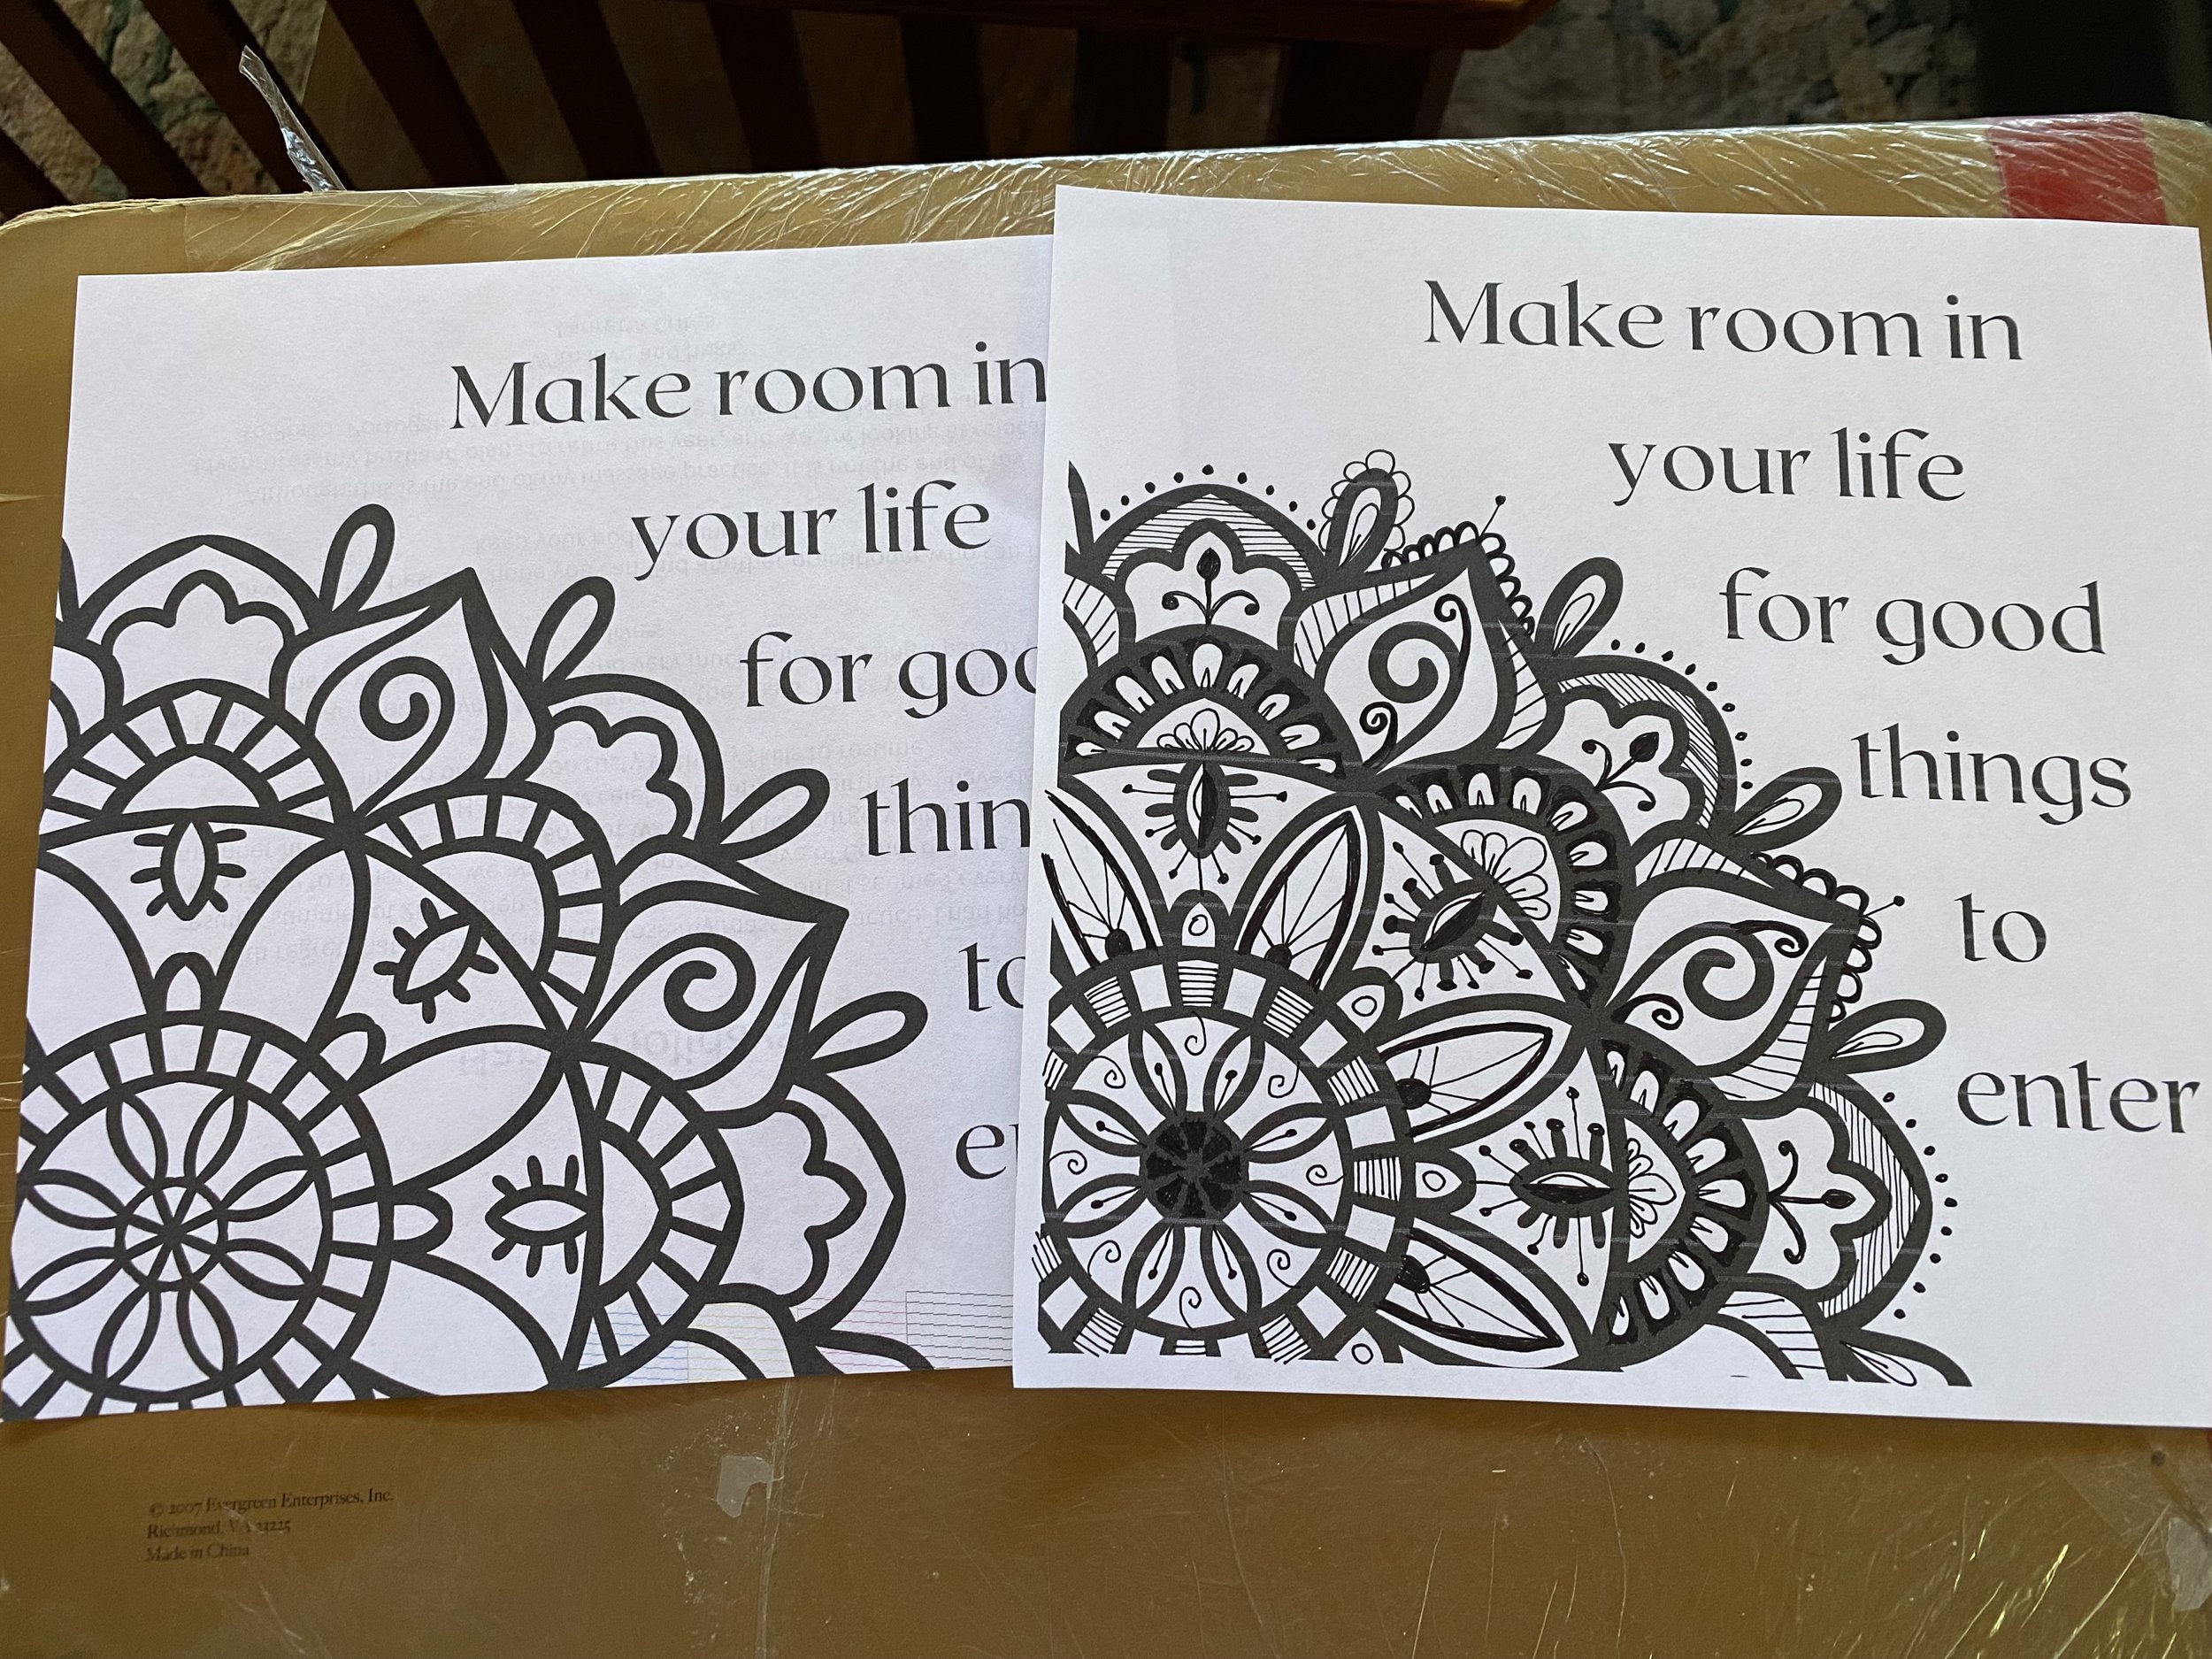

I almost always color a paper version before the fabric one, for the same reason I tested the ink designs on paper, paper is much cheaper than fabric. I’d much rather make my mistakes on paper! I printed the design onto the inkjet printer sheet, then I used a micron pen to draw the details I had decided on, moving quickly to avoid bleeding. When the ink designs were complete I covered the image with a piece of parchment paper, my preferred “press cloth” and pressed the ink to set it. I didn’t want to take a chance the ink would smear when I colored over it.
This is the way I typically audition mini quilt border fabrics, I fold them into a roughly 12” x 12” square and place the trimmed mini quilt design on top. For this mini I auditioned 3 different fabrics for the border and I had a hard time choosing between the middle fabric and the one on the right.
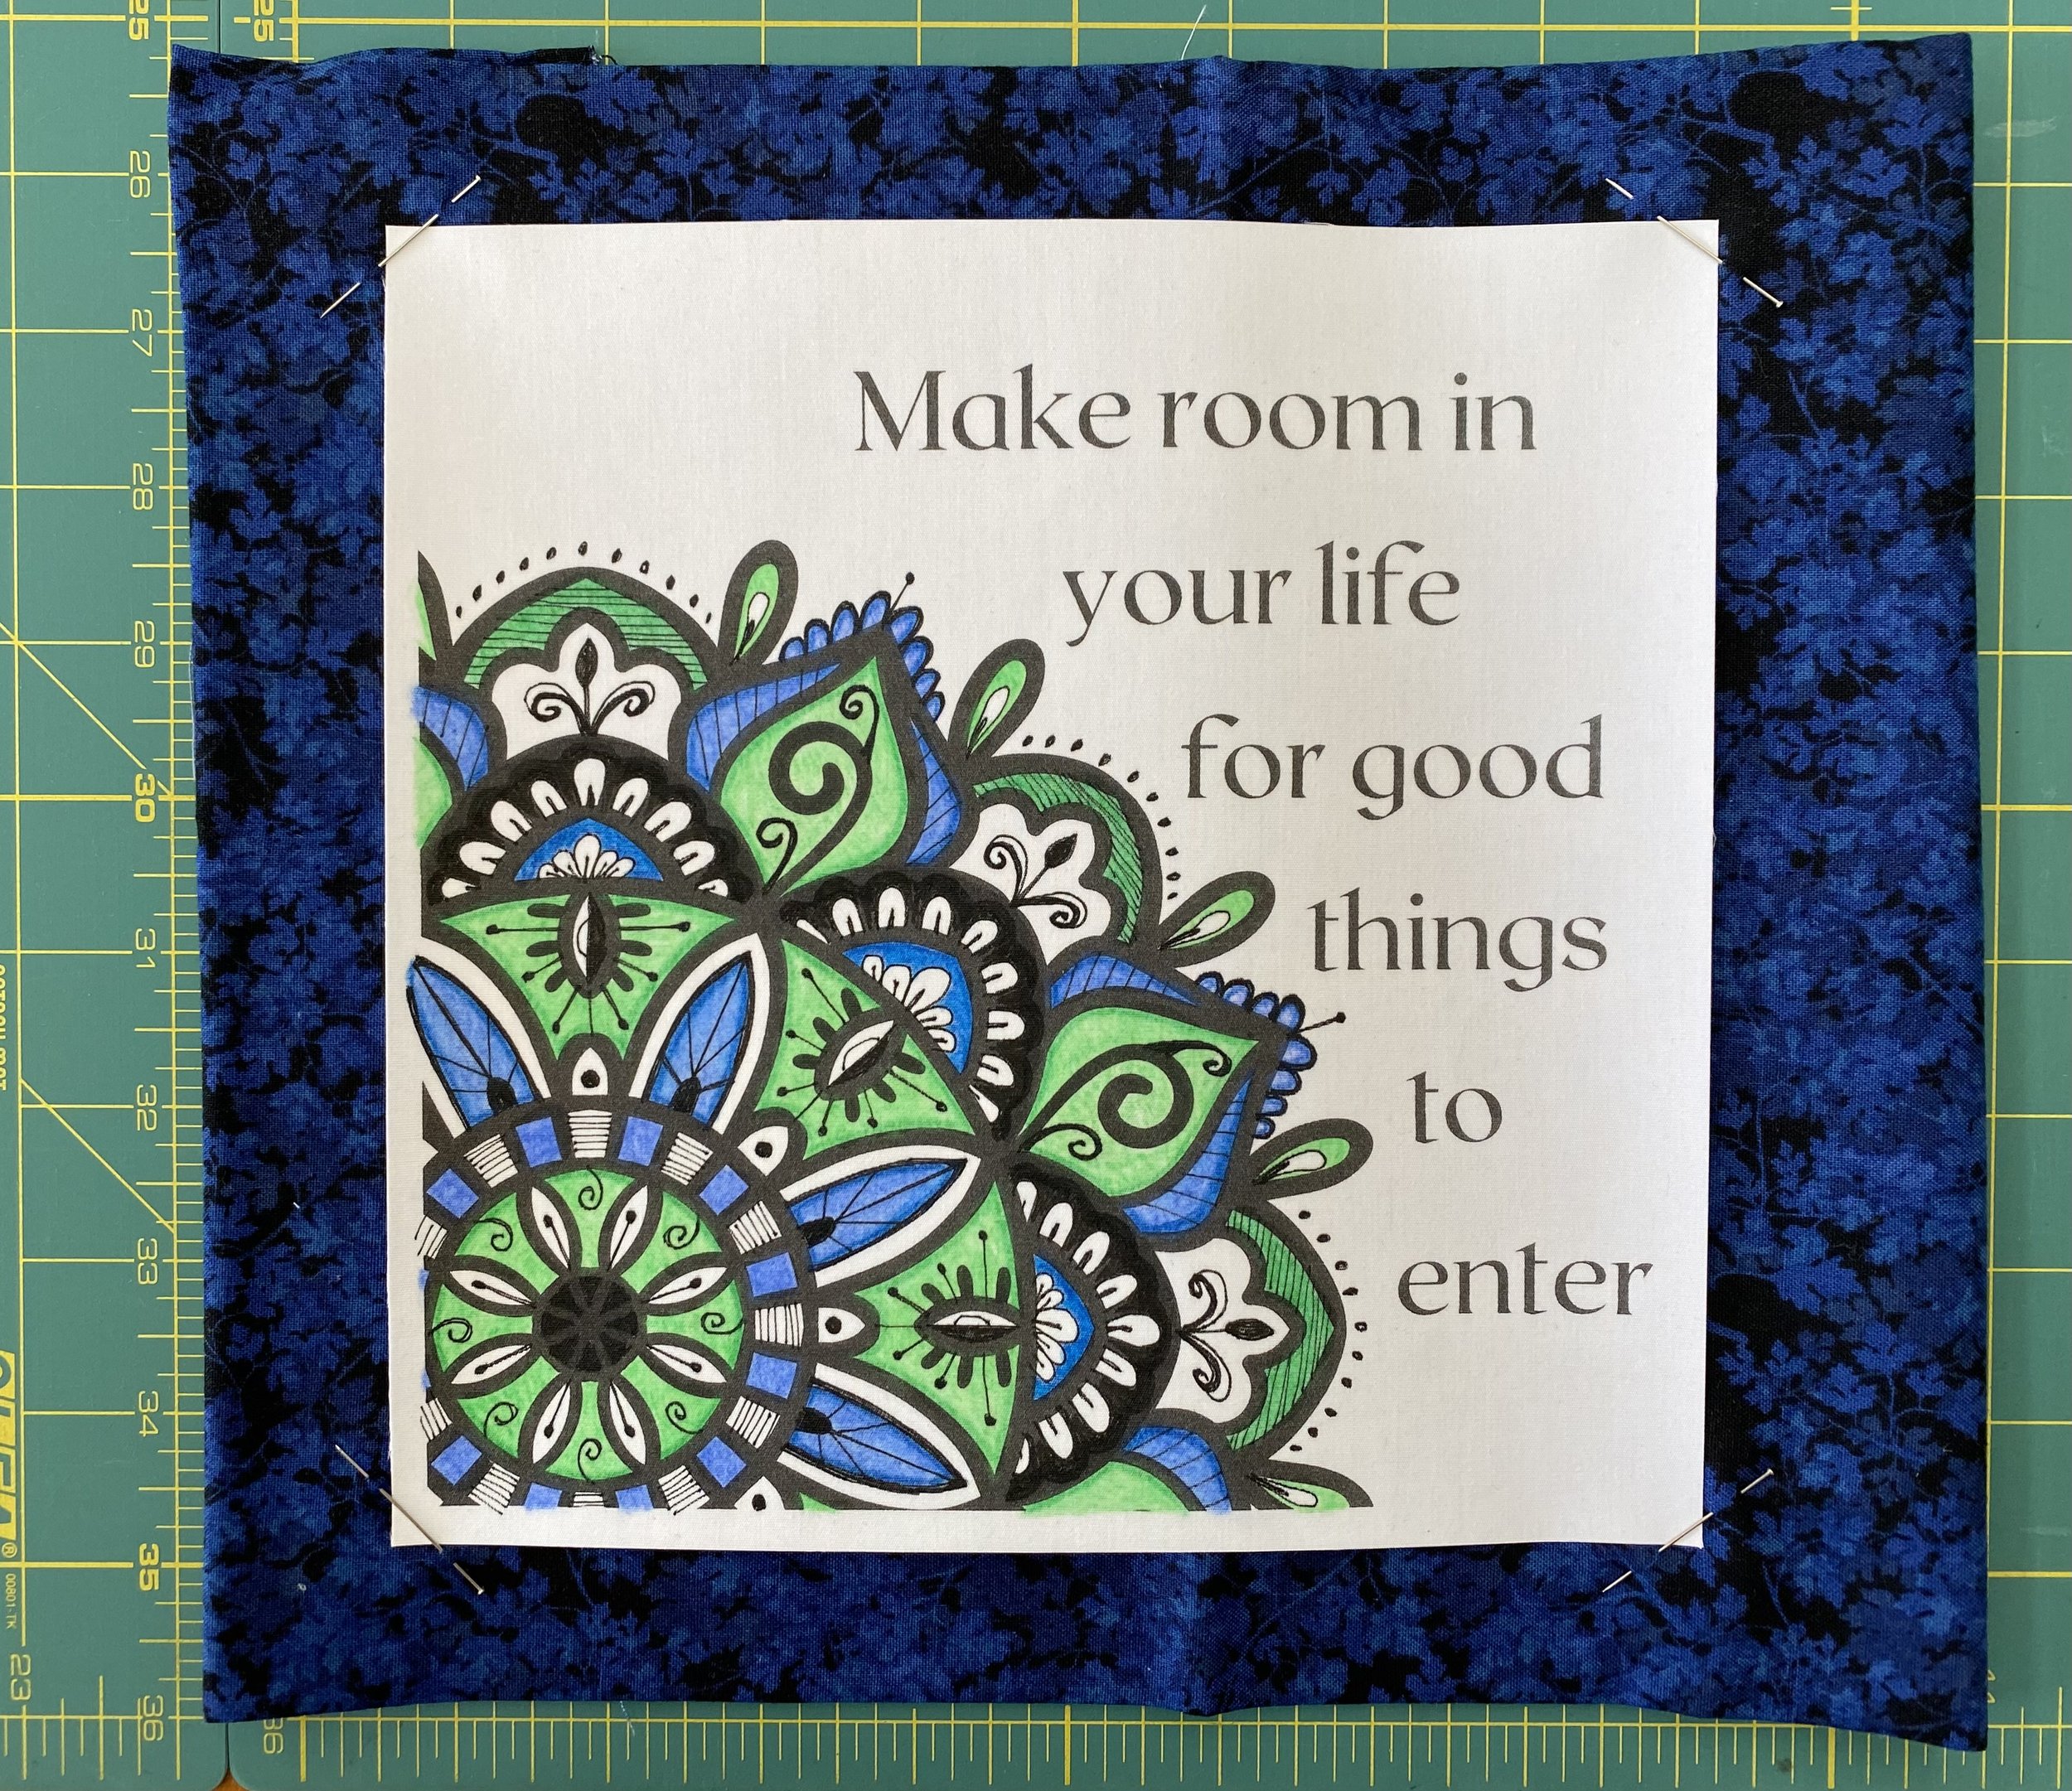
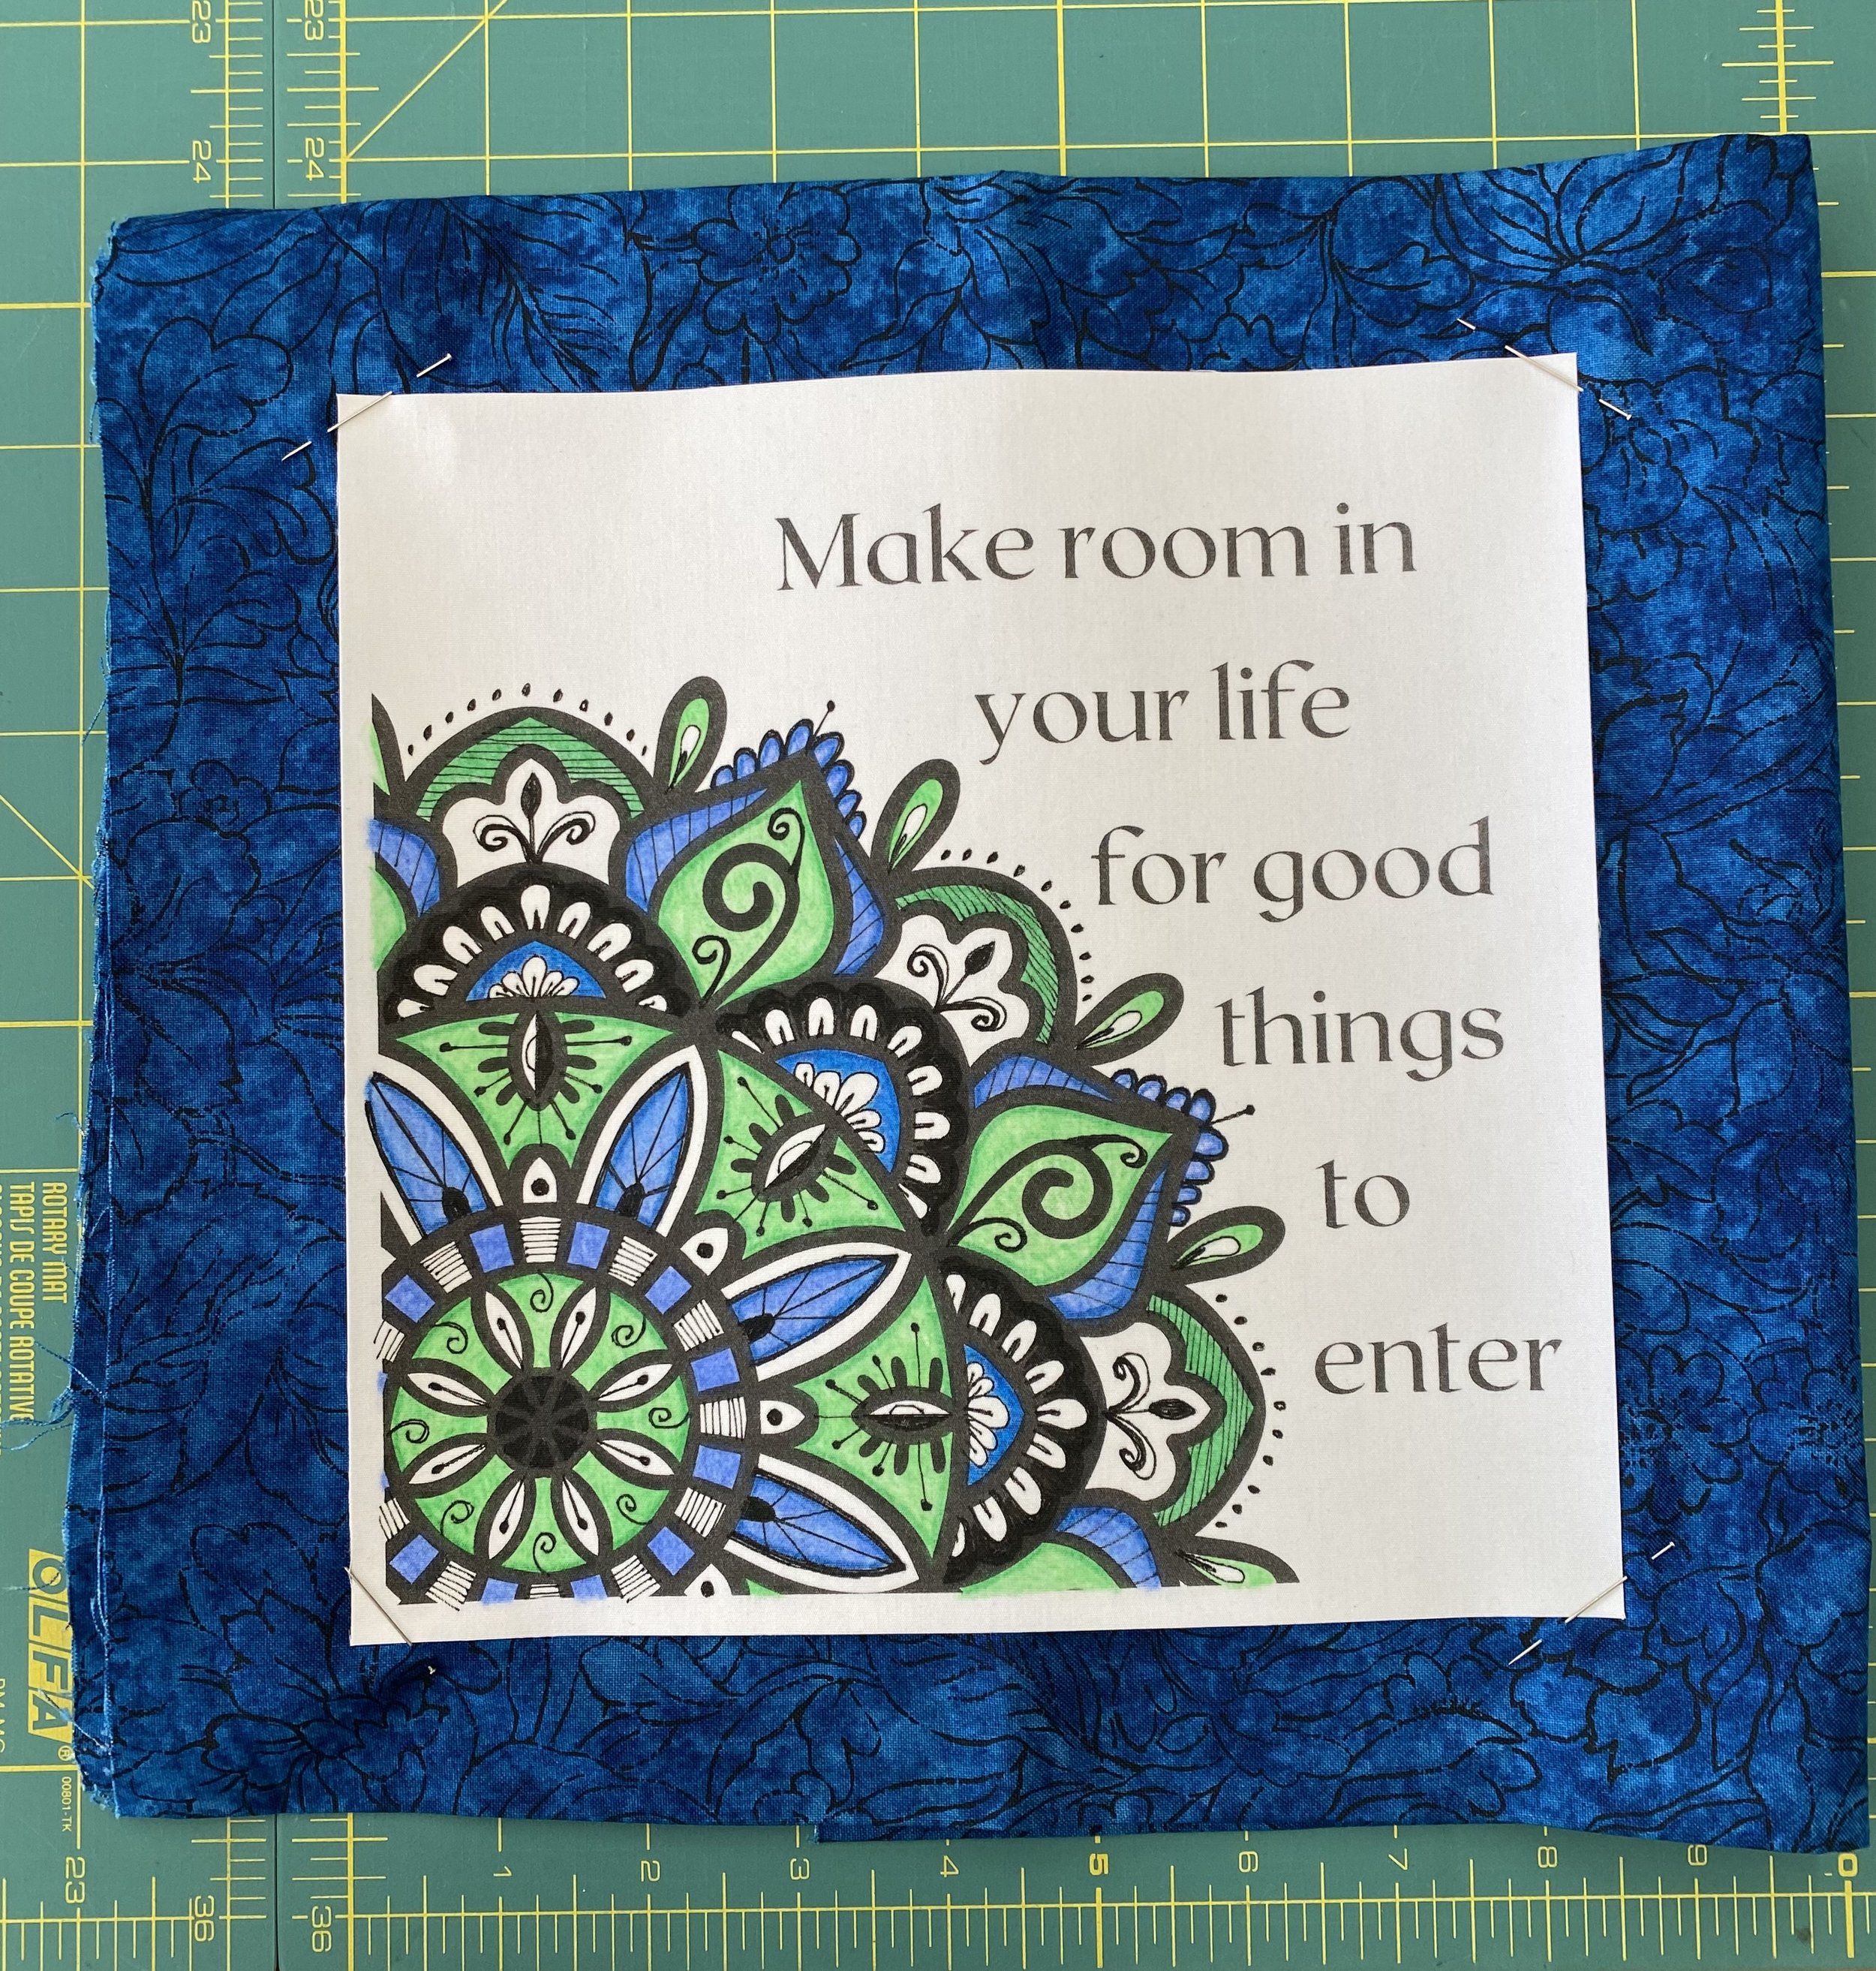
In the end I felt the fabric on the right, made the design “pop” just a bit more and that made the decision. All the ink and coloring was done on a Friday afternoon. Choosing the fabrics, adding the borders, layering, quilting and binding was done the following afternoon. I find it so satisfying to be able to complete a project, especially one that flows and comes together easily and well.
If you want to create space for new projects to come in or just make space in your sewing room with fewer boxes or bins of unfinished projects, please join us in UFO Club. It’s fun and there are prizes, but the true prize is the space you will create and the projects you will finish.
My mini quilt will be displayed where I can see it everyday to keep me moving toward my hearts goal, to make space in my life - and I look forward to the good to come.

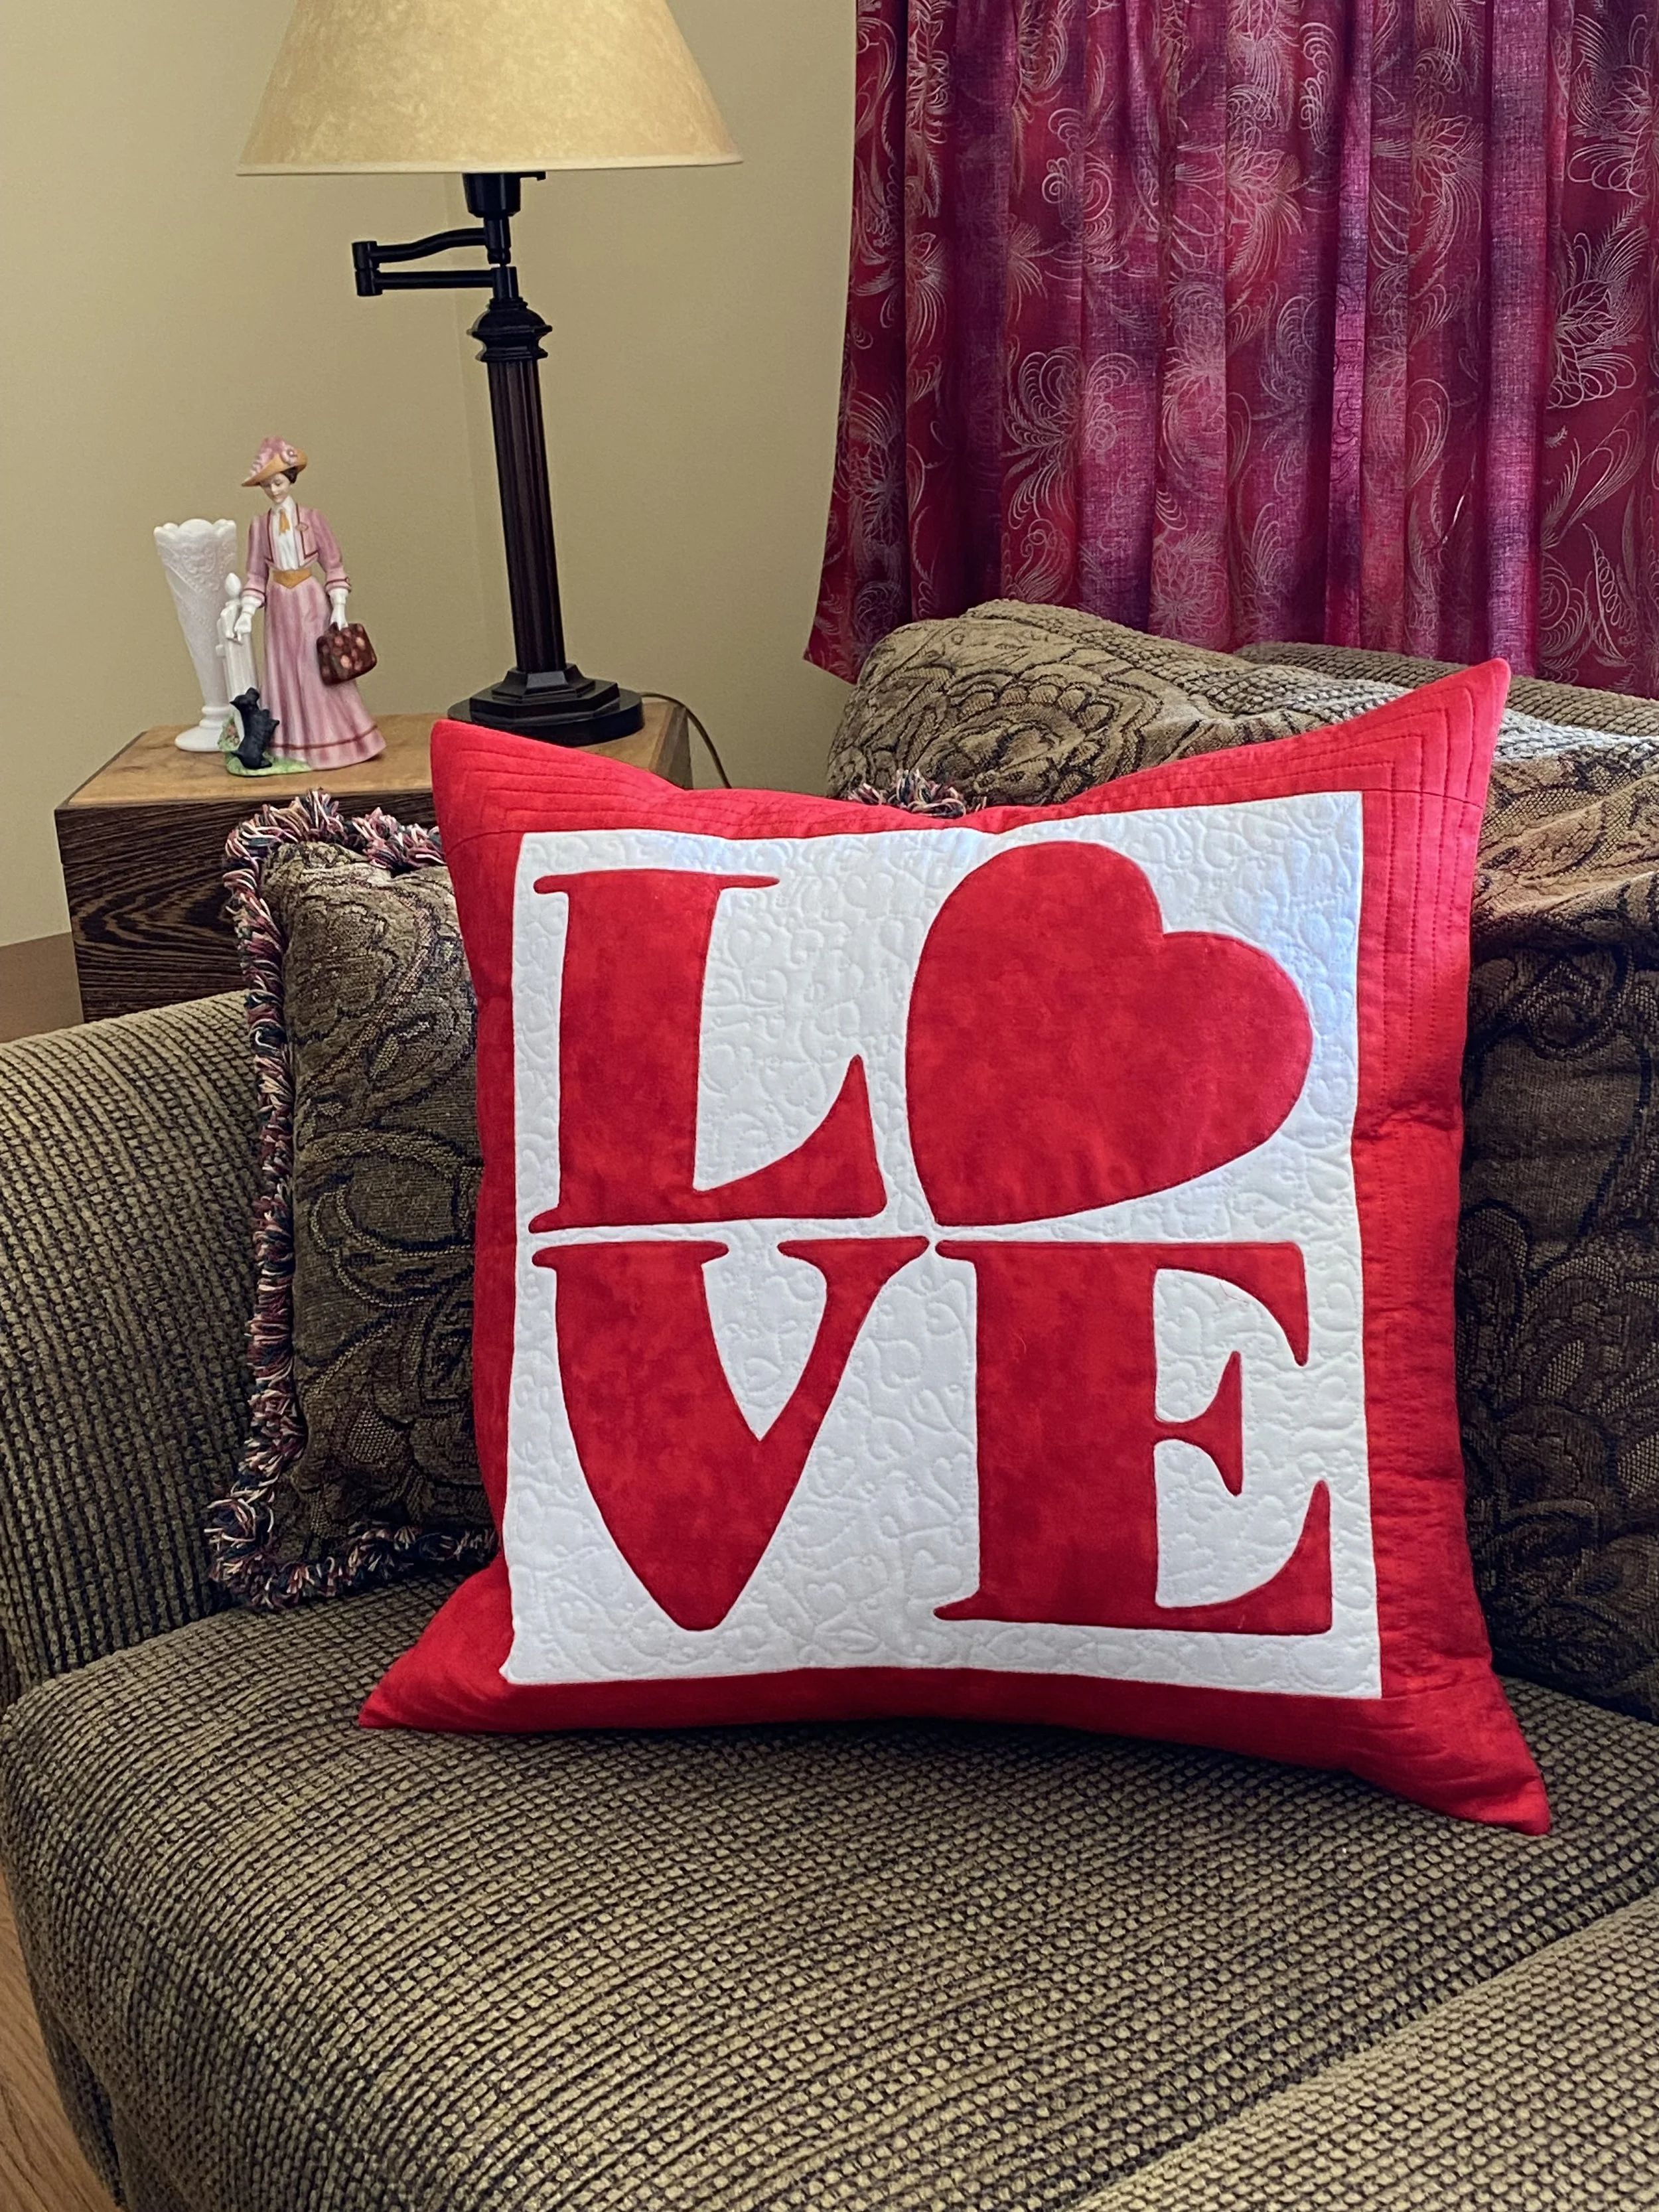
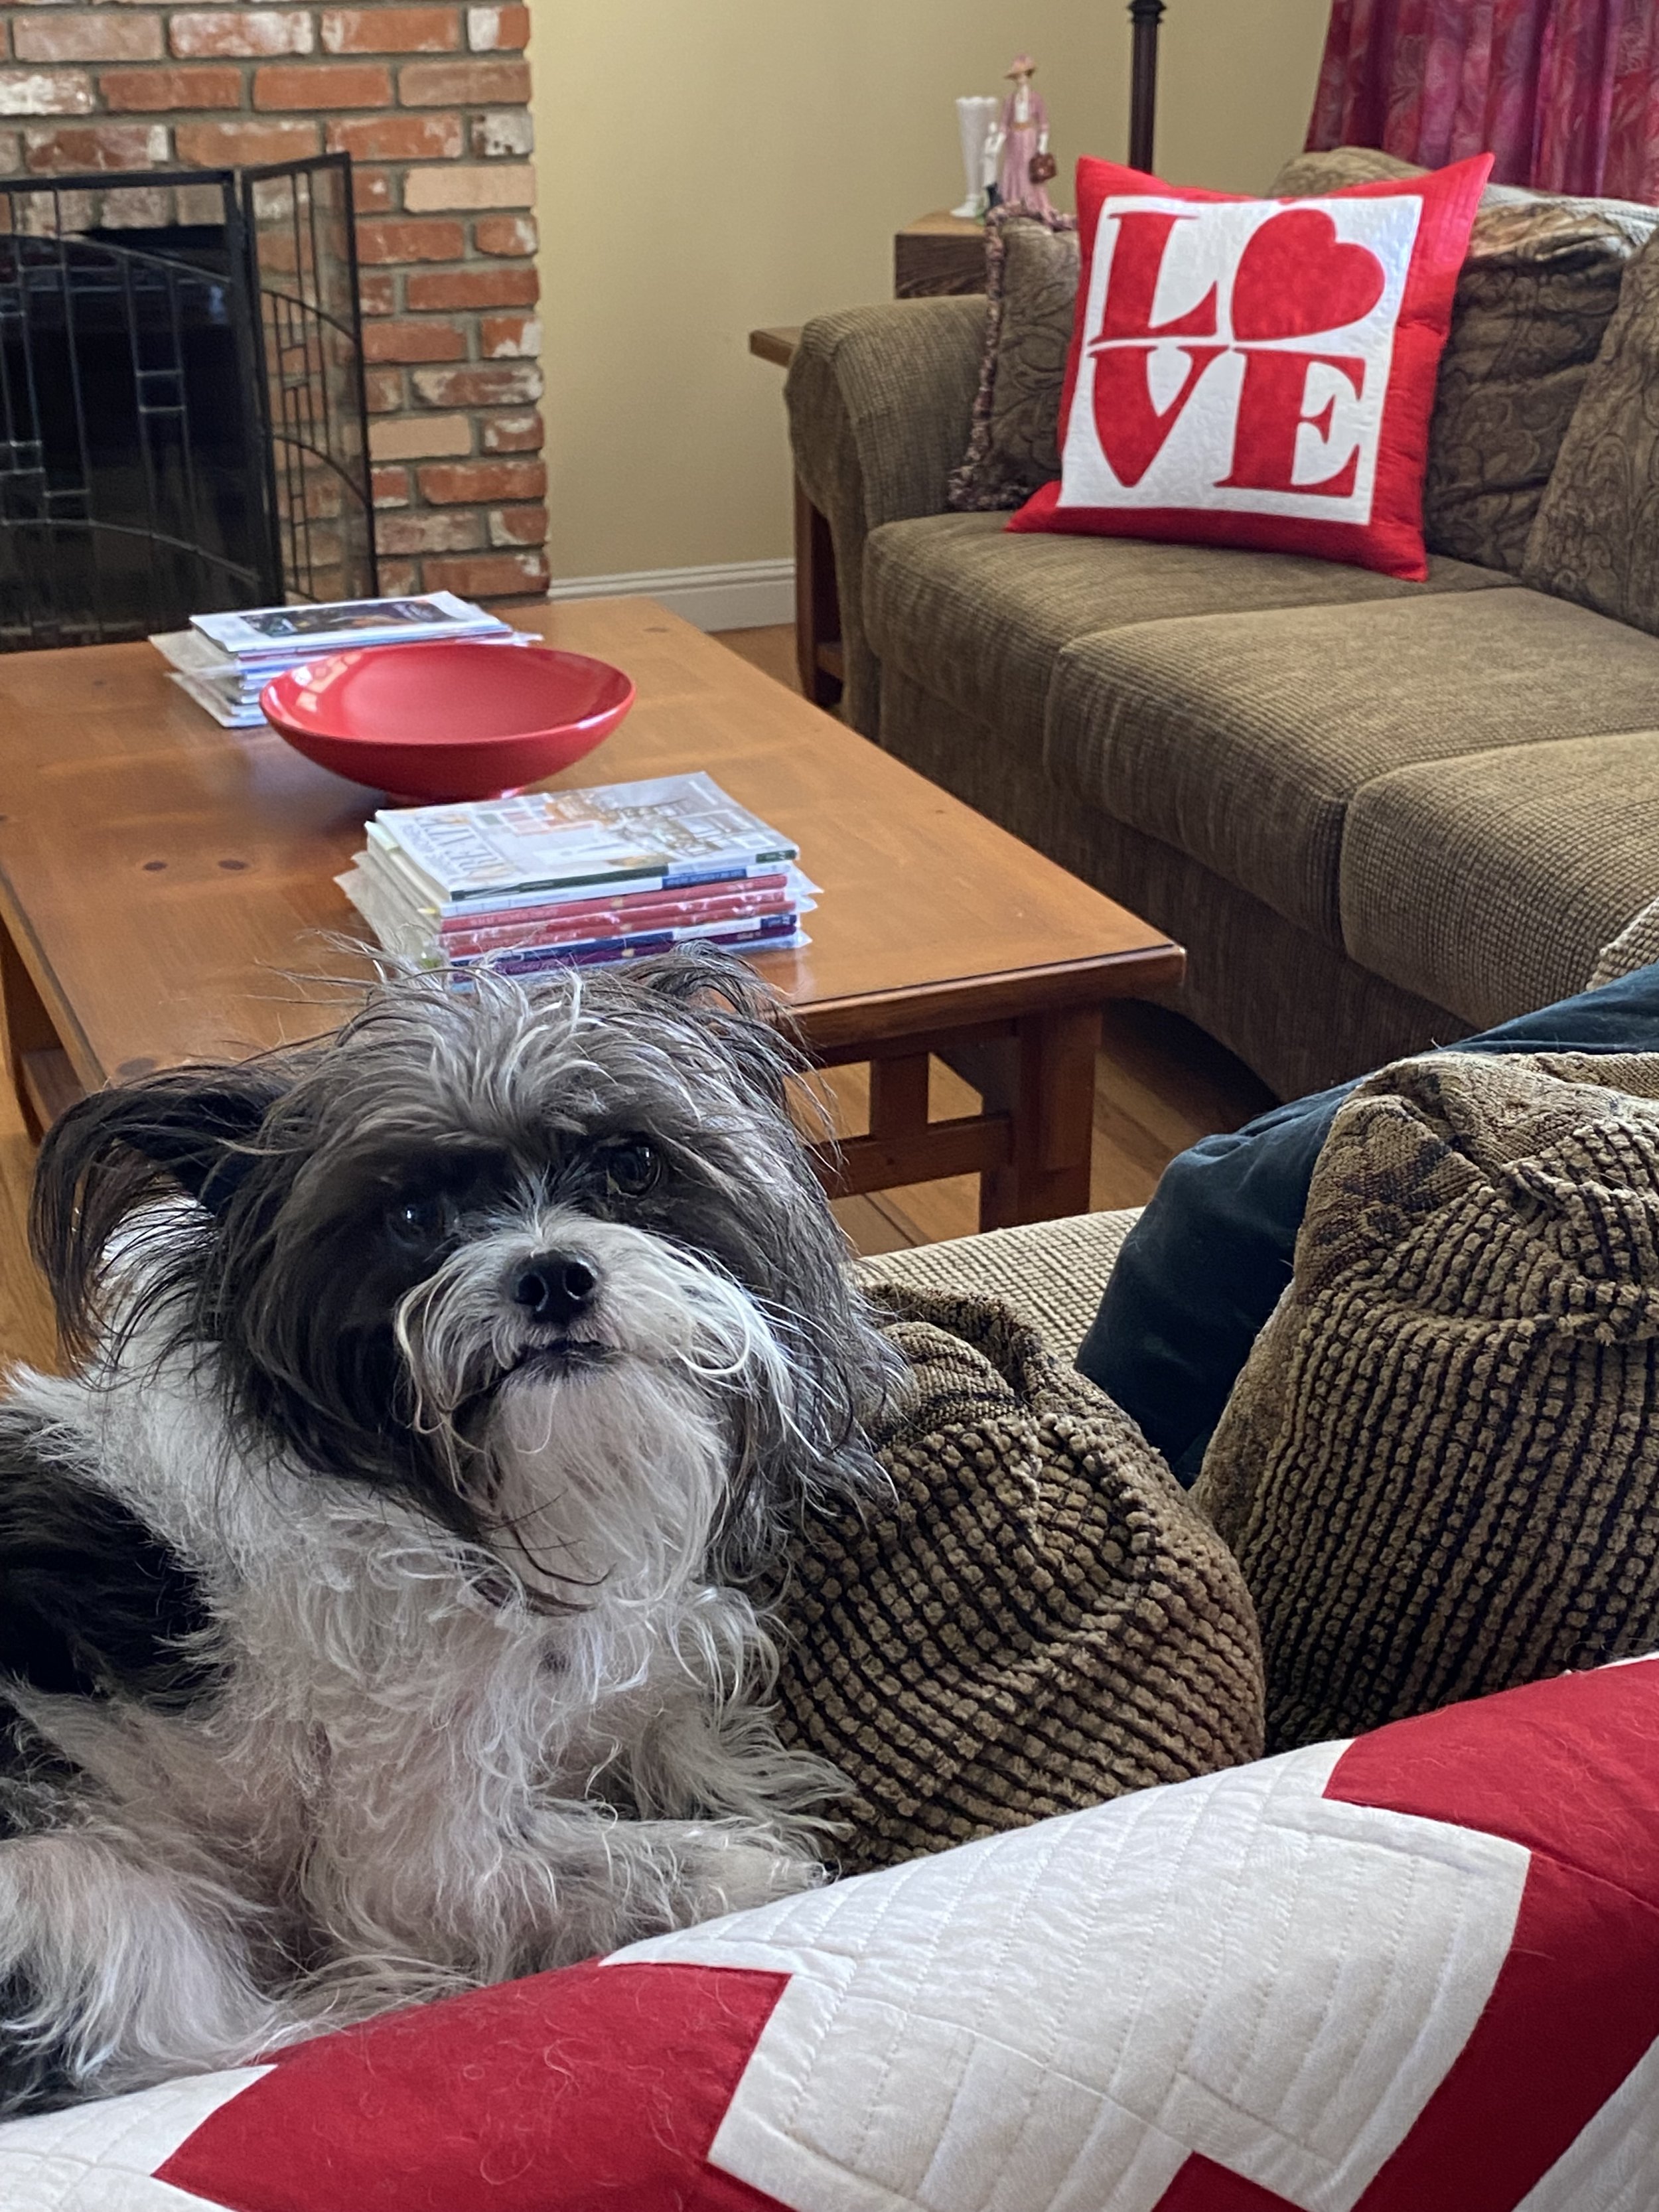
The L❤️VE Pillow my Mini Quilt Conversion
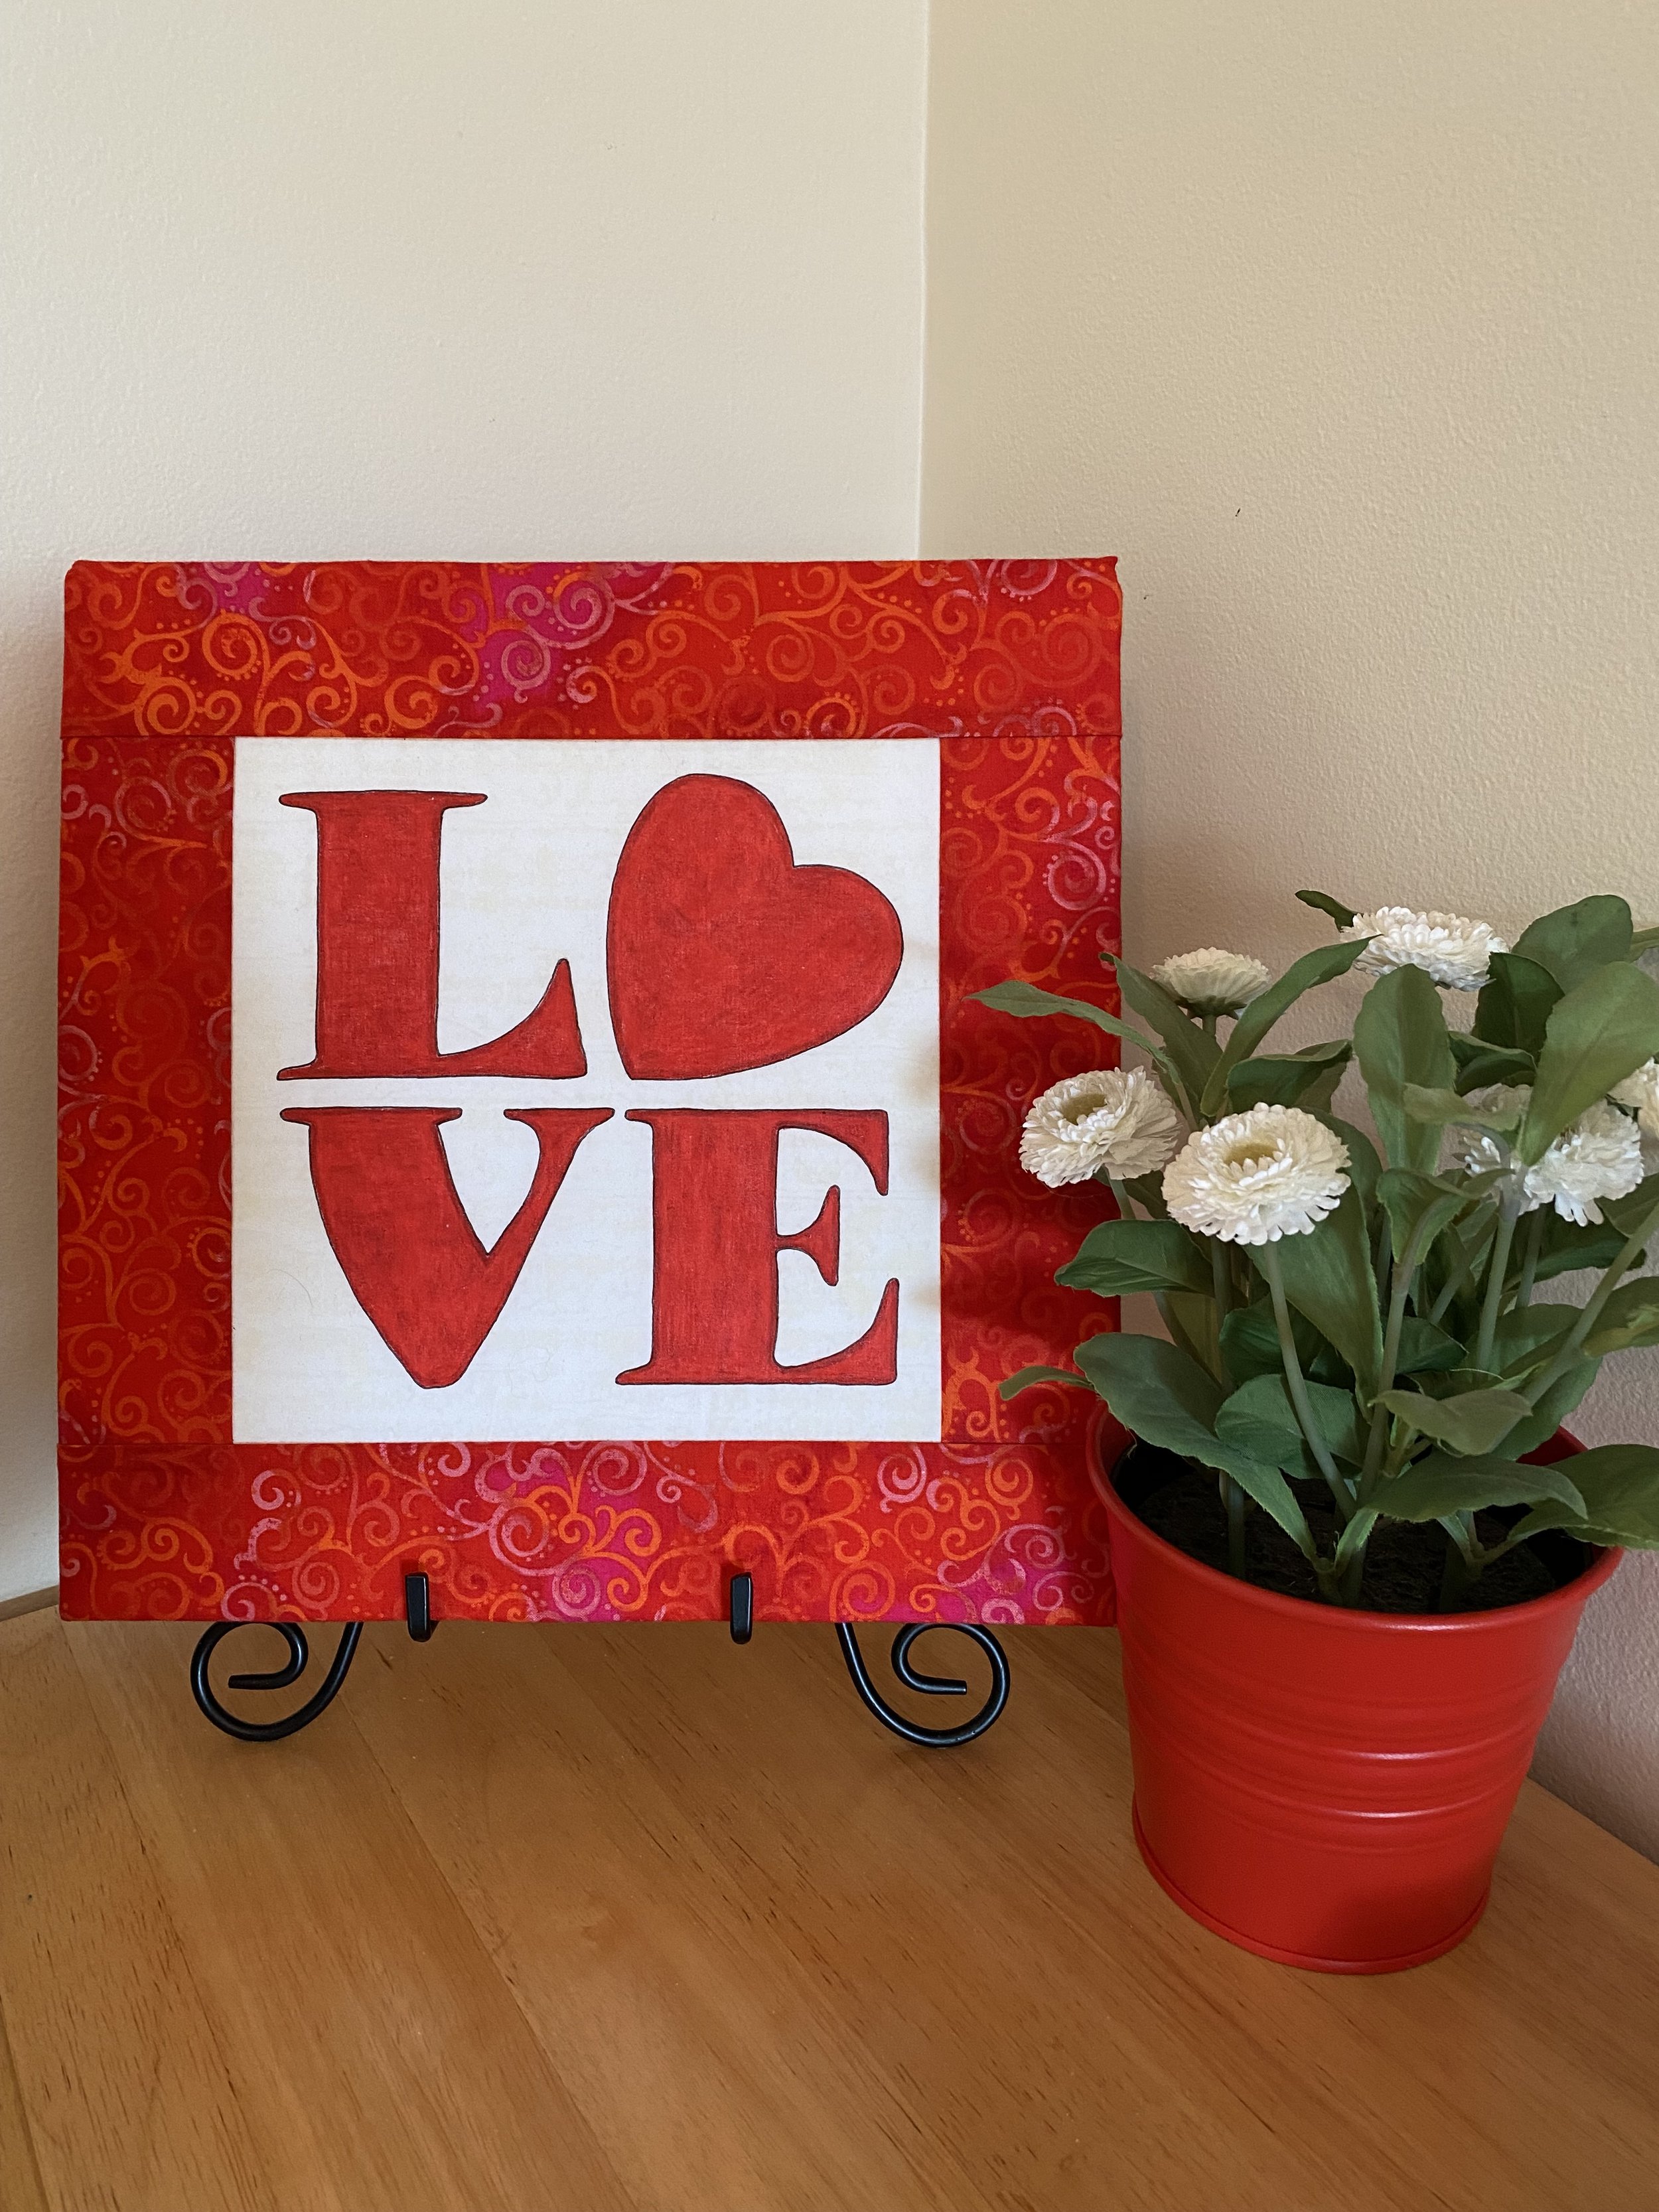
Don’t think for a minute that this is a tutorial, if this were an actual tutorial with all the specifics and details involved, I wouldn’t get this written until Christmas… and its January now. I enjoyed making this pillow based on my mini quilt design and just thought I would share it with you. My original mini quilt was created by printing the image on fabric, and then coloring with Derwent’s inktense pencils. The color was sealed into the fabric using textile medium.
For the larger pillow I first decided what size pillow I wanted and worked backwards. In this case I wanted a finished pillow around 21” to fit a 22” pillow blank. I wanted to quilt it first to “shrink it” before cutting to 21”. I decided a center white square of 16” and borders at 4” would allow extra to square up after quilting.
I then had to decide how much I needed to enlarge the letters, I decided to enlarge the letters from the original 3 1/4” to 6 3/8” which according to my Quilters Assistant Proportional Scale, was 193%. Once I enlarged the letters and heart I traced them, in reverse, onto paper backed fusible web and pressed the fusible web to the back of my applique fabric. Once cut out and fused to the top, I stitched a small zig zag stitch all around each letter.
I layered the top with batting and backing, ditch stitched the applique and did a freemotion scattered heart fill in the background and simple straight stitch quilting in the border.
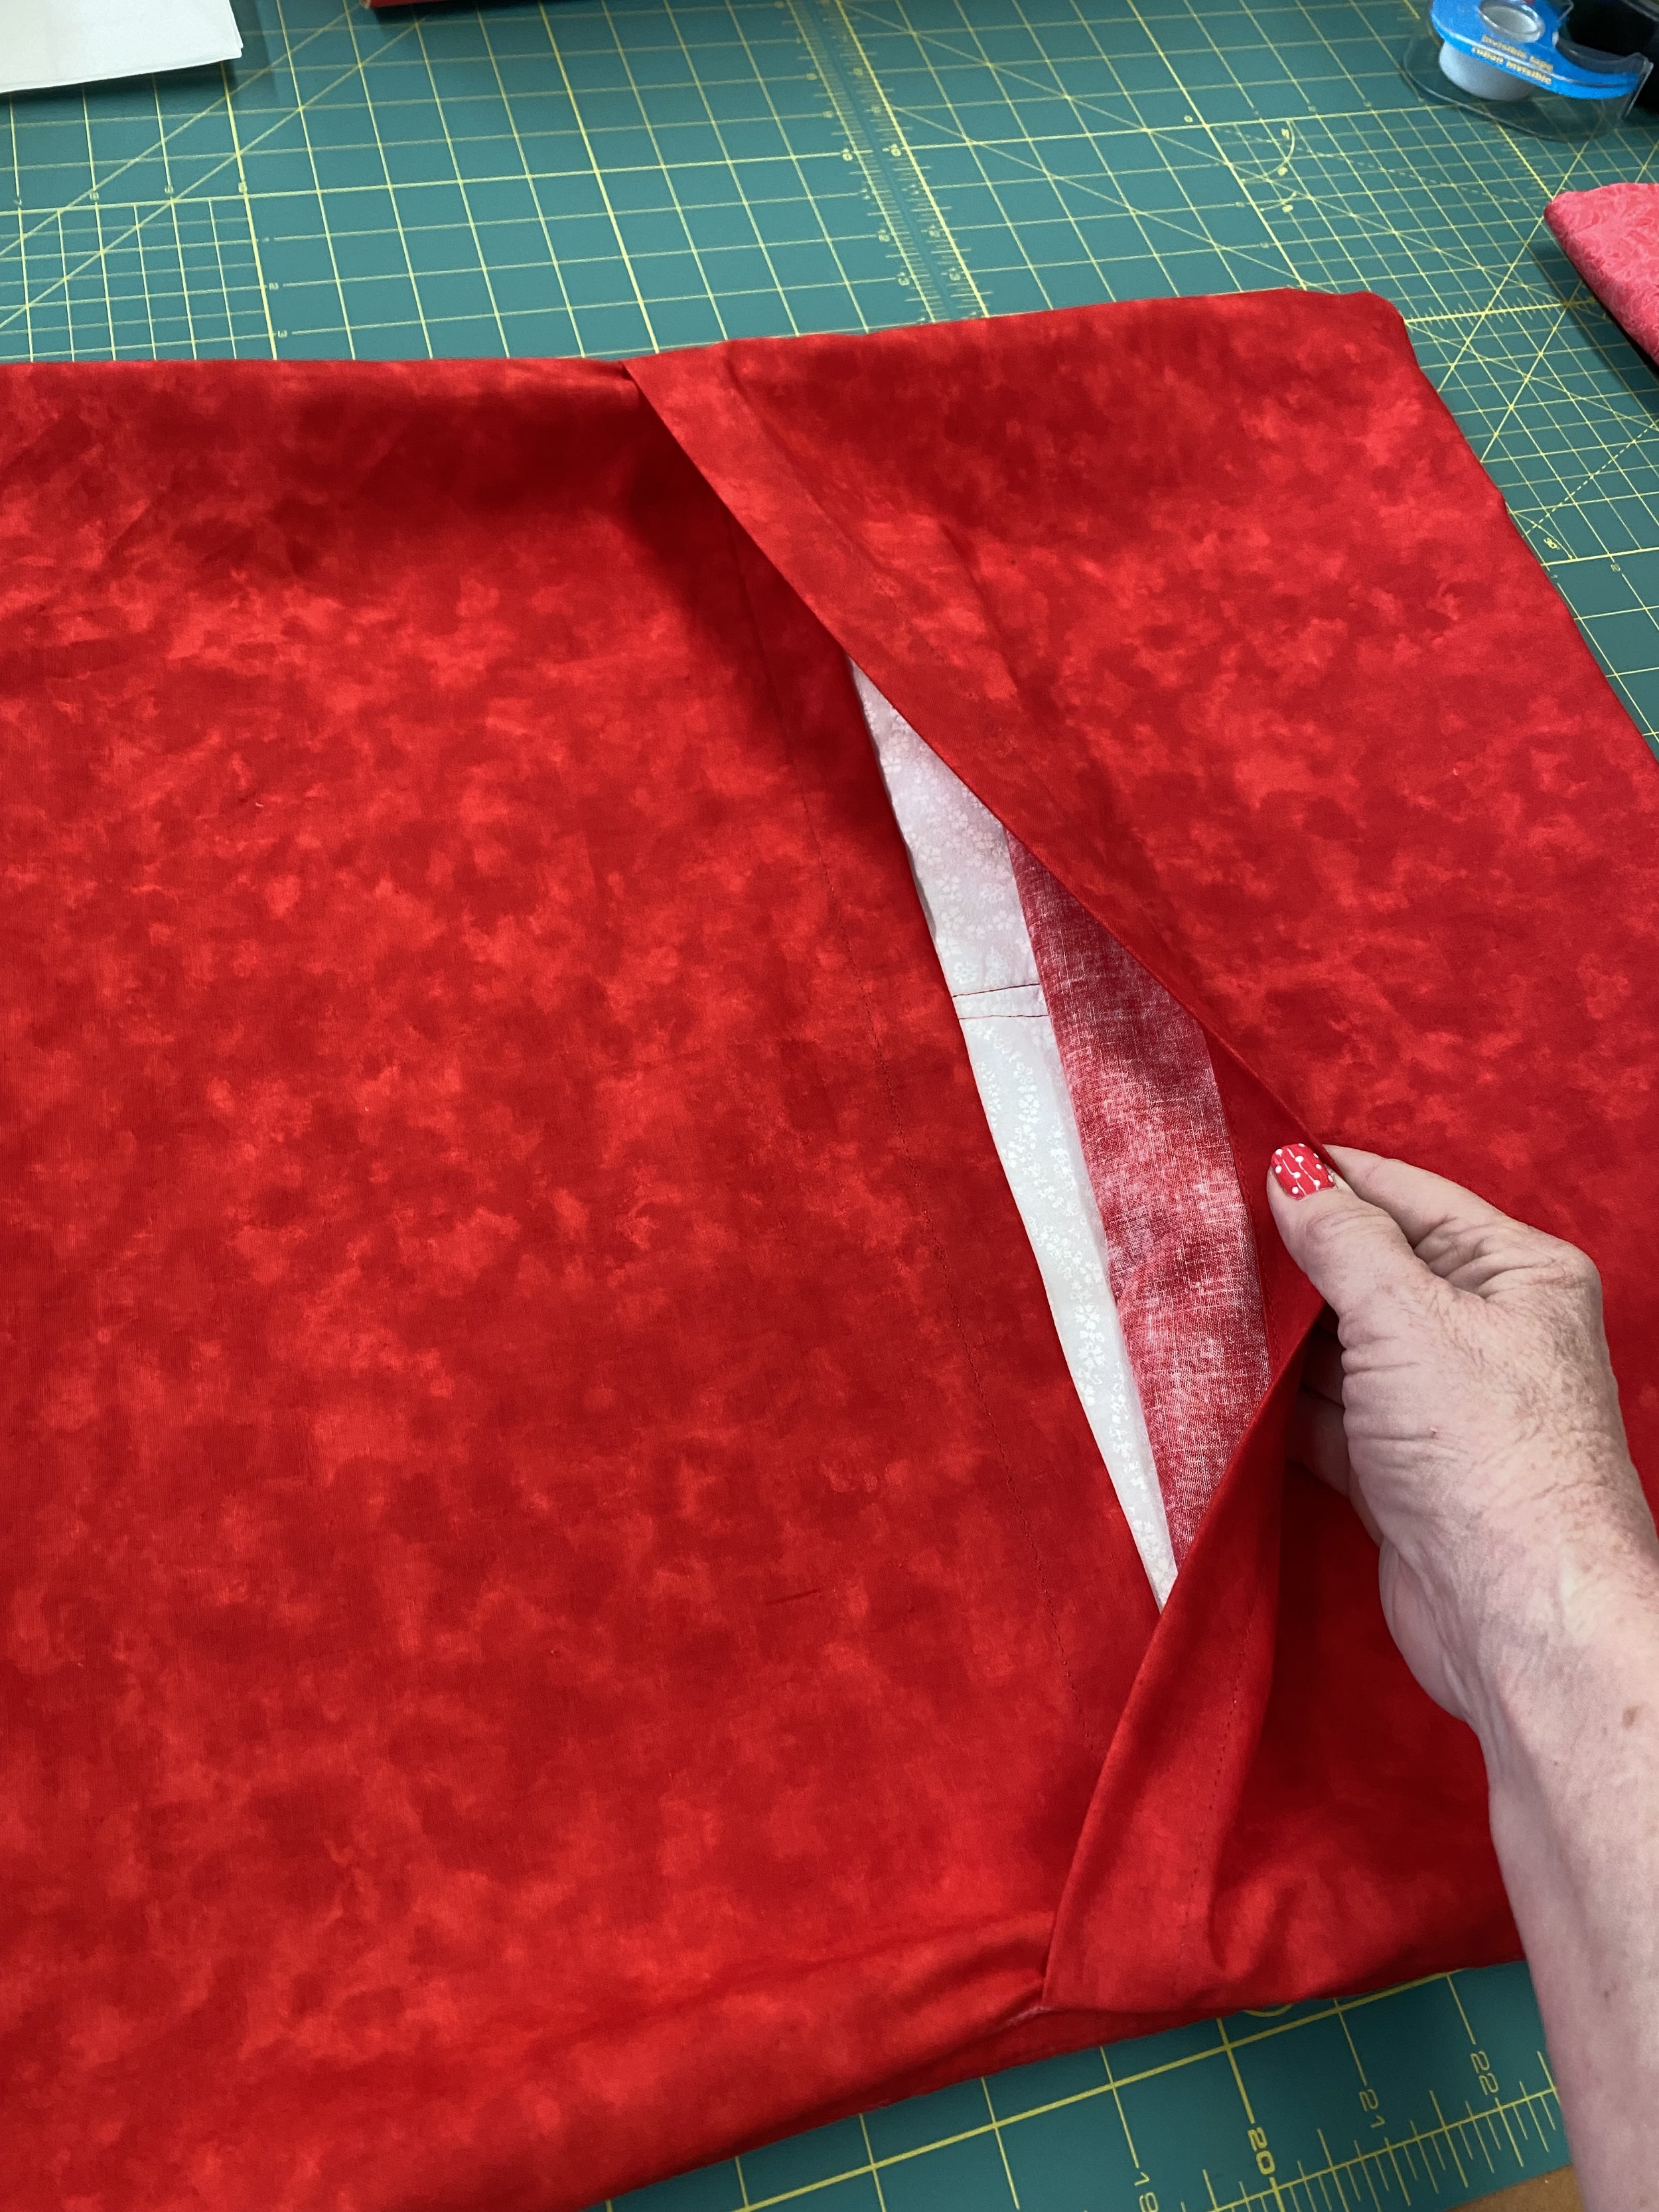
Once the quilting was complete, I trimmed the pillow top to 22” square. I’m both cheap and lazy, so rather than insert a zipper to allow my pillow sham to go on and off, I do a split back. I cut 2 pieces of fabric the height of my pillow, I determine the width as follows: 1/2 the width of the pillow, in this case 22” divided by 2 = 11 + 1” folded back two times on the edge= 2” + 3” overlap divided by 2= 1 1/2”. 11” + 2” + 1 1/2” = 14.5” add another 1” because I’m generally bad at math and so I cut each side of the back at 15 1/2”, on the center back edge of each side, I folded 1” back and pressed, folded again, pressed and stitched. I repeated on the other piece. Once the center overlaps were stitched, Place the folded stitched edges together in the center, overlapping the two sides until there is 3” covered overlap. (I only did a 2” overlap on this pillow but it was so plump, 3” overlap would have been better) I stitch the two halves of the overlap together at the top and bottom using a 5/8” seam allowance (I use a 1/2” seam allowance on pillows) so that the reinforcing stitches are just inside the pillow seam where it is sewn to the top. That way It pulls at the reinforcement stitches not at the seam when I pull the pillow blank in and out of the cover.
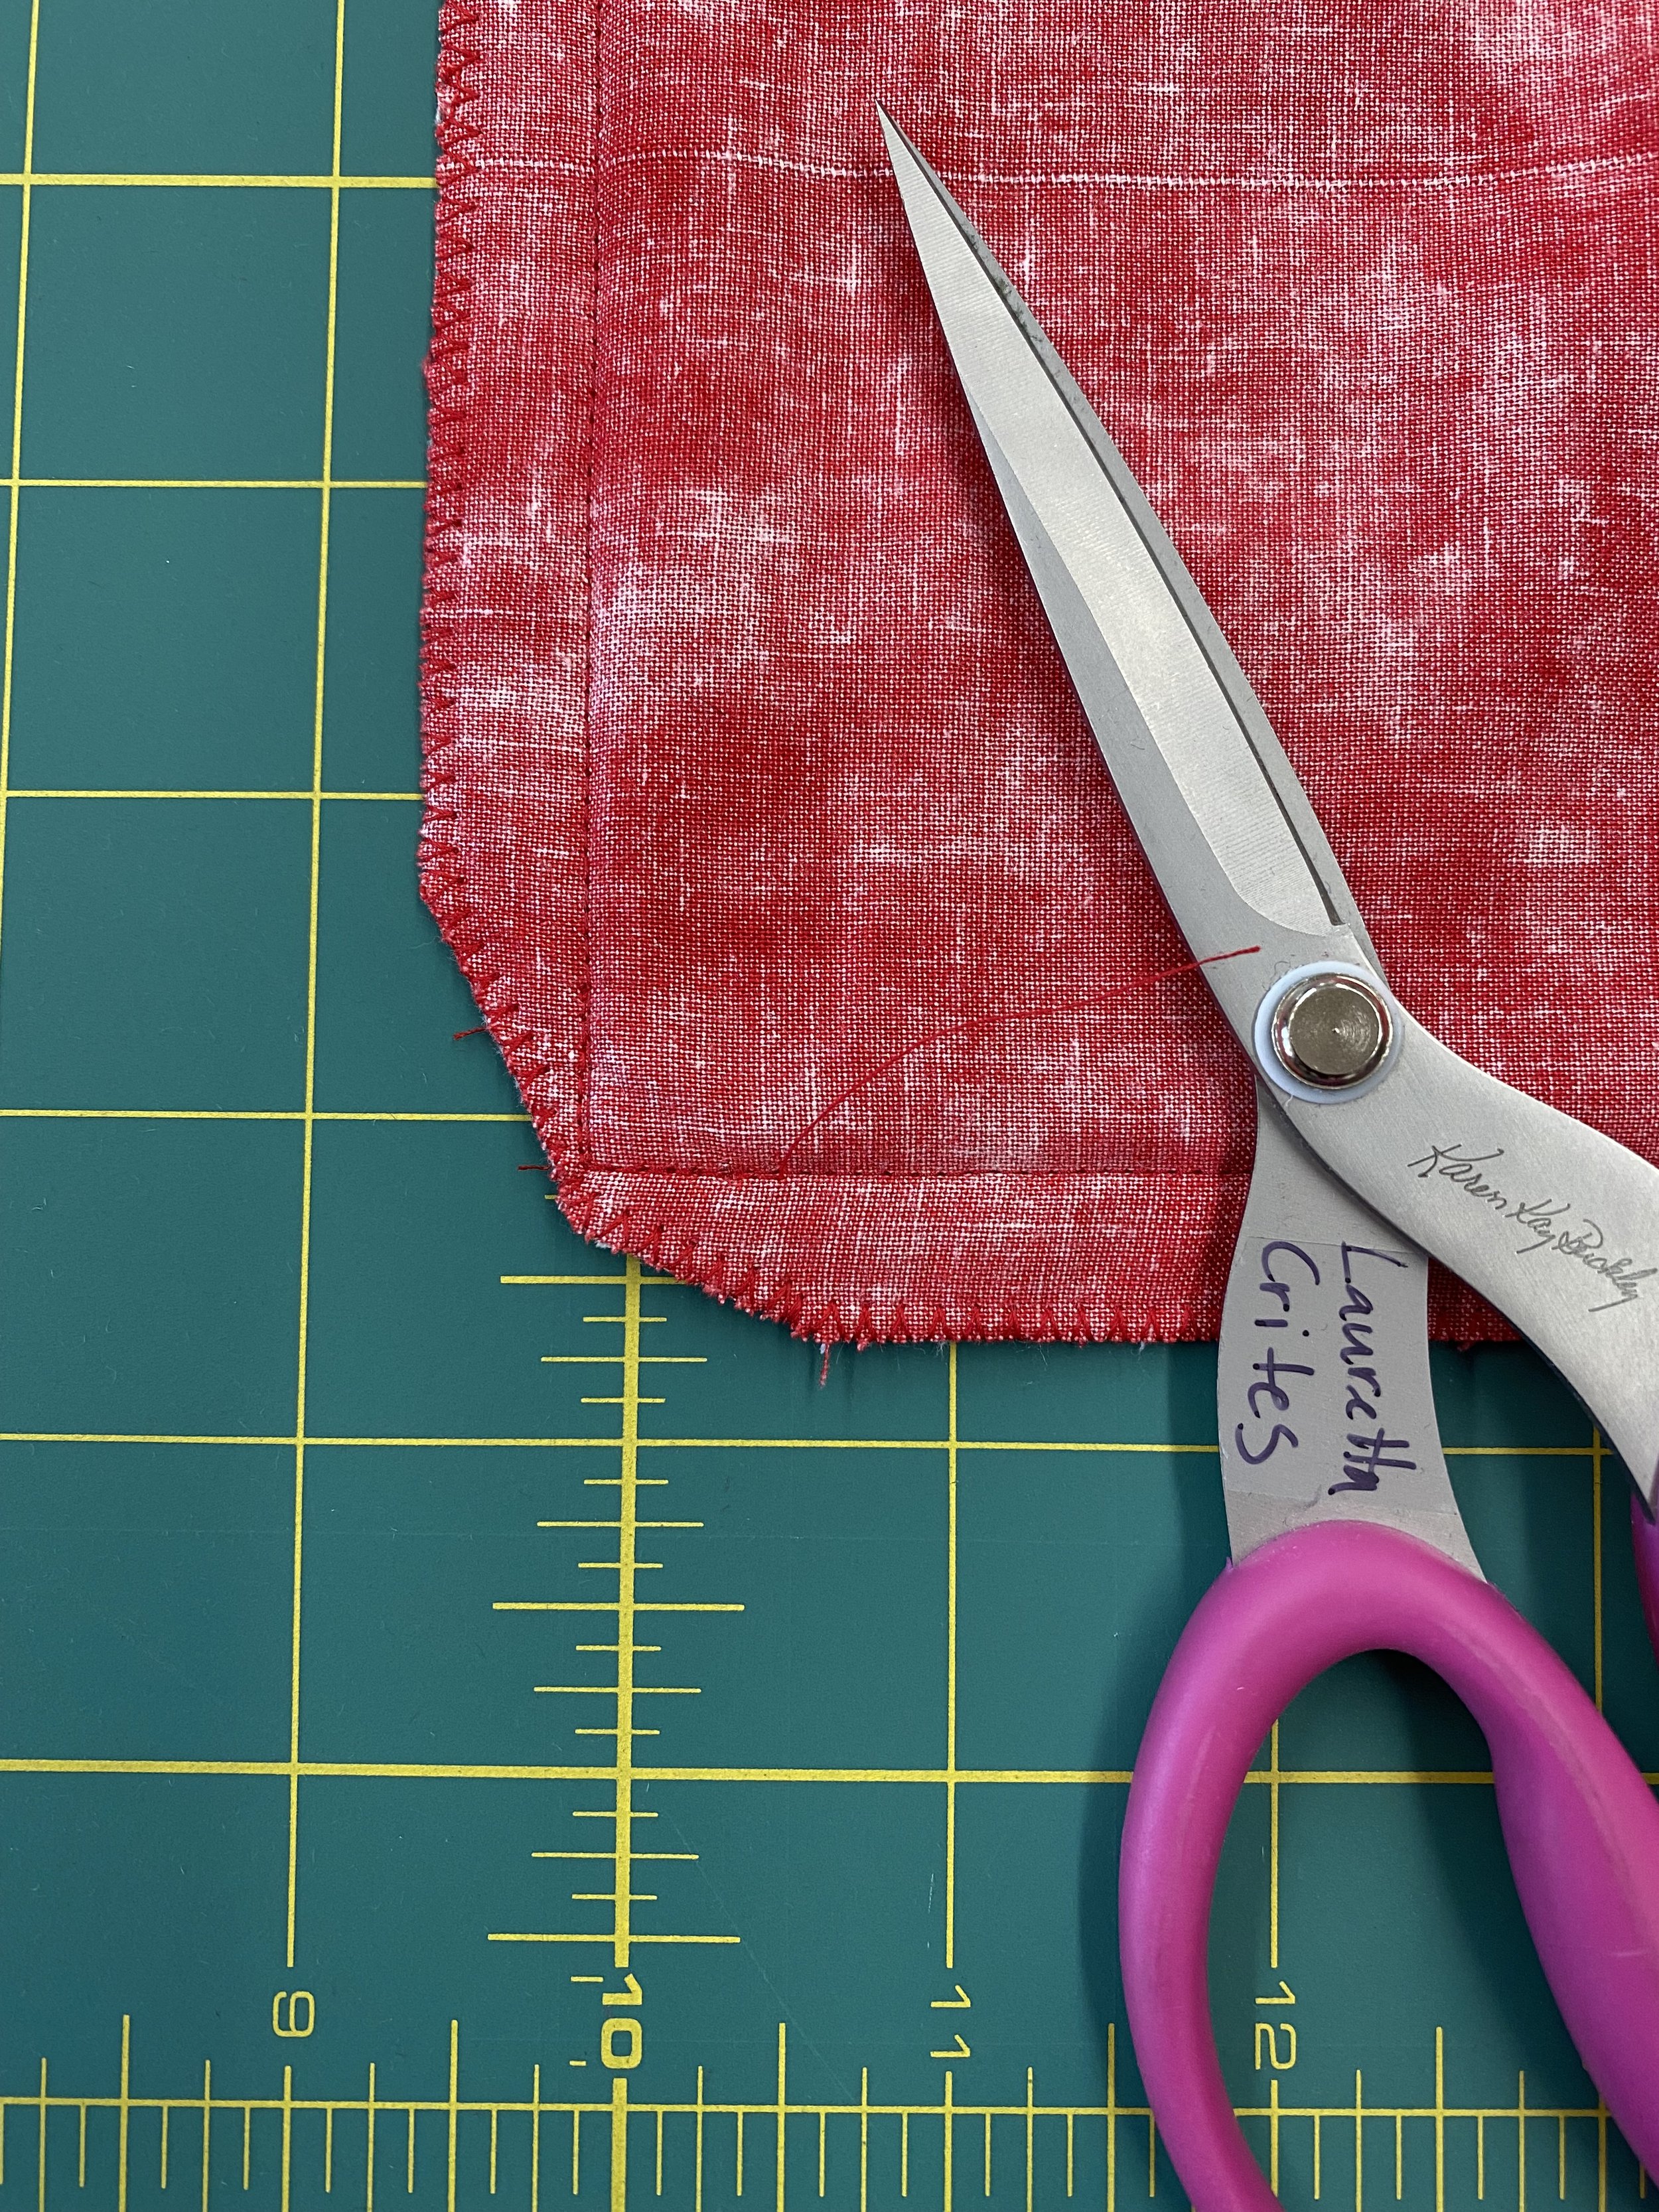
I then placed the pillow top on top of the stitched back and trimmed to match the size of the pillow top. with right sides together, I stitched a 1/2” seam allowance all around the edge. Then I finished the inside with a zig zag stitch and trimmed the corners to eliminate bulk.
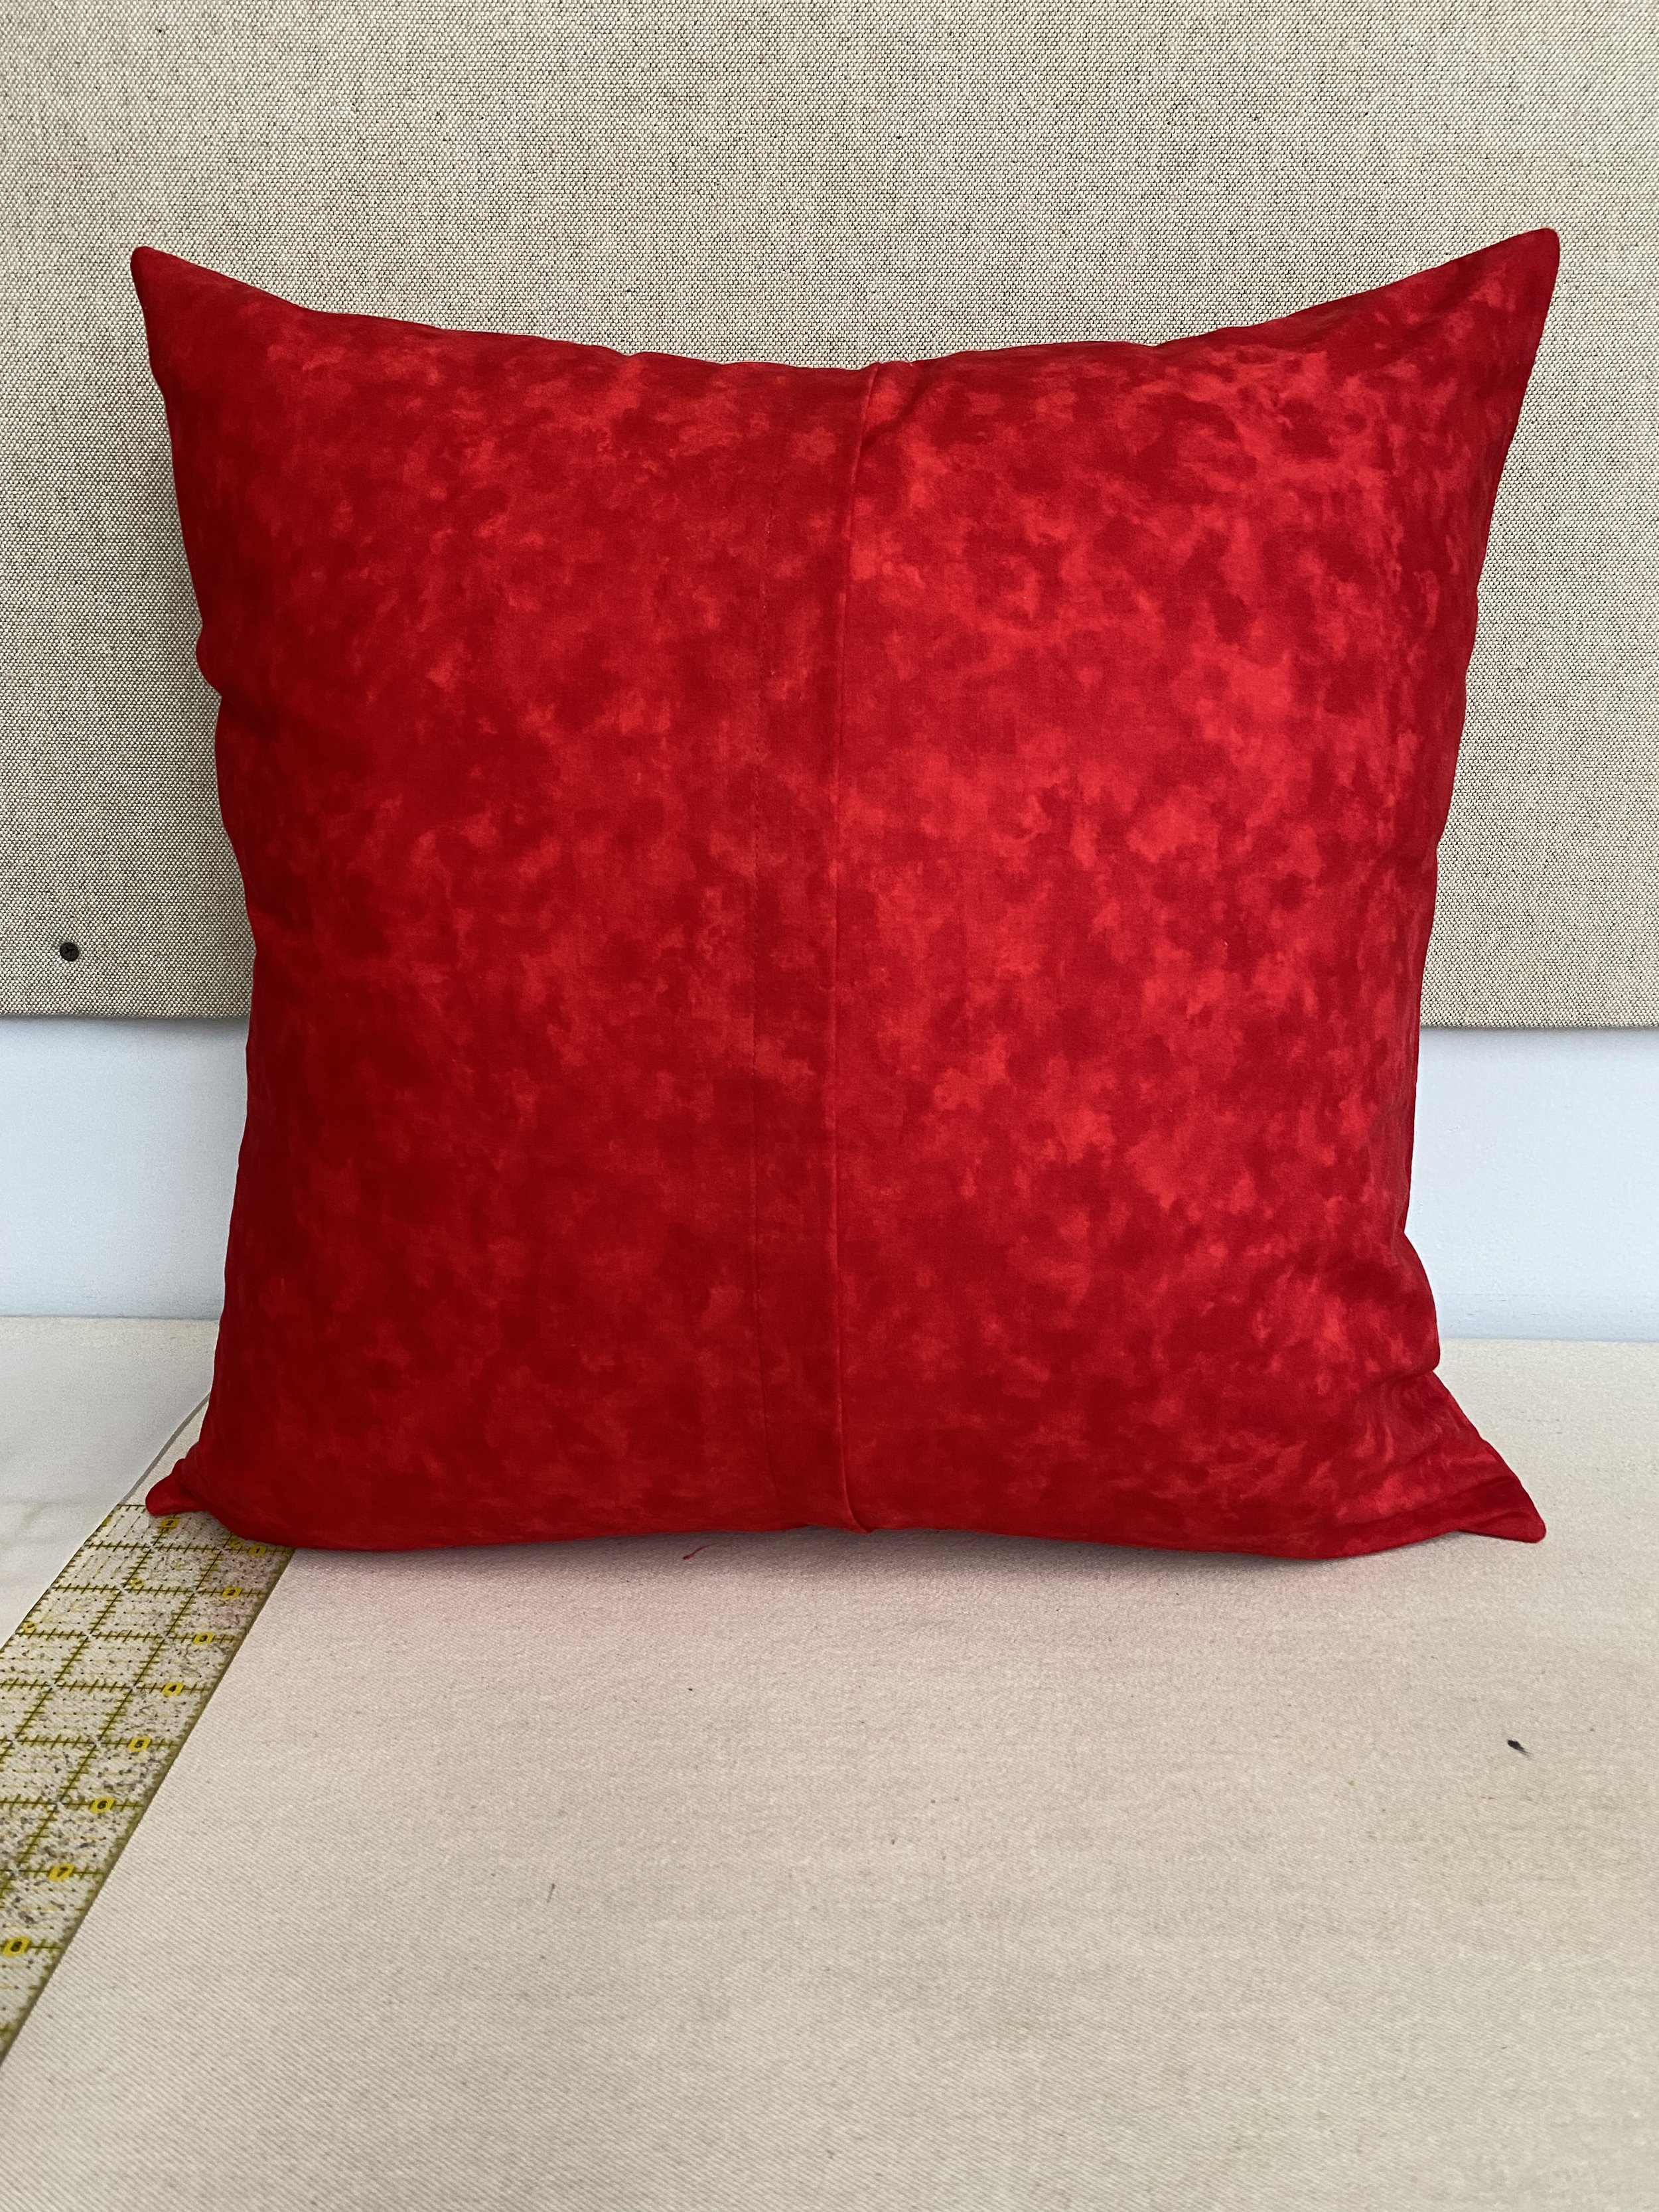
Turn the pillow sham right side out and insert your pillow blank.
I hope you enjoyed this non-tutorial, tutorial and I wish you a very happy Valentine’s season.