More Peace, Love & Joy for 2022
I’ve decided to take a page from Big Magic by writer Elizabeth Gilbert and start a love affair… with quilting. “Aren’t you already having a love affair with quilting?” you might ask, you’d think so, considering how much time we’ve spent together, but really, I’ve just been romancing quilt TOPS, that’s the part I find fun, exciting, and adventurous. The act of stitching through the 3 layers to turn the top into a quilt, has always felt more like a tired marriage, with the focus on how much work it all is, and tedious work at that! My quilting choices have mostly focused on not ruining my top and leaned toward lots of stitching around elements and trying to stitch the appliques and backgrounds as little as possible! But, if I want to be able to quilt at the level I want to quilt at, I’m going to have to fall in love with quilting.
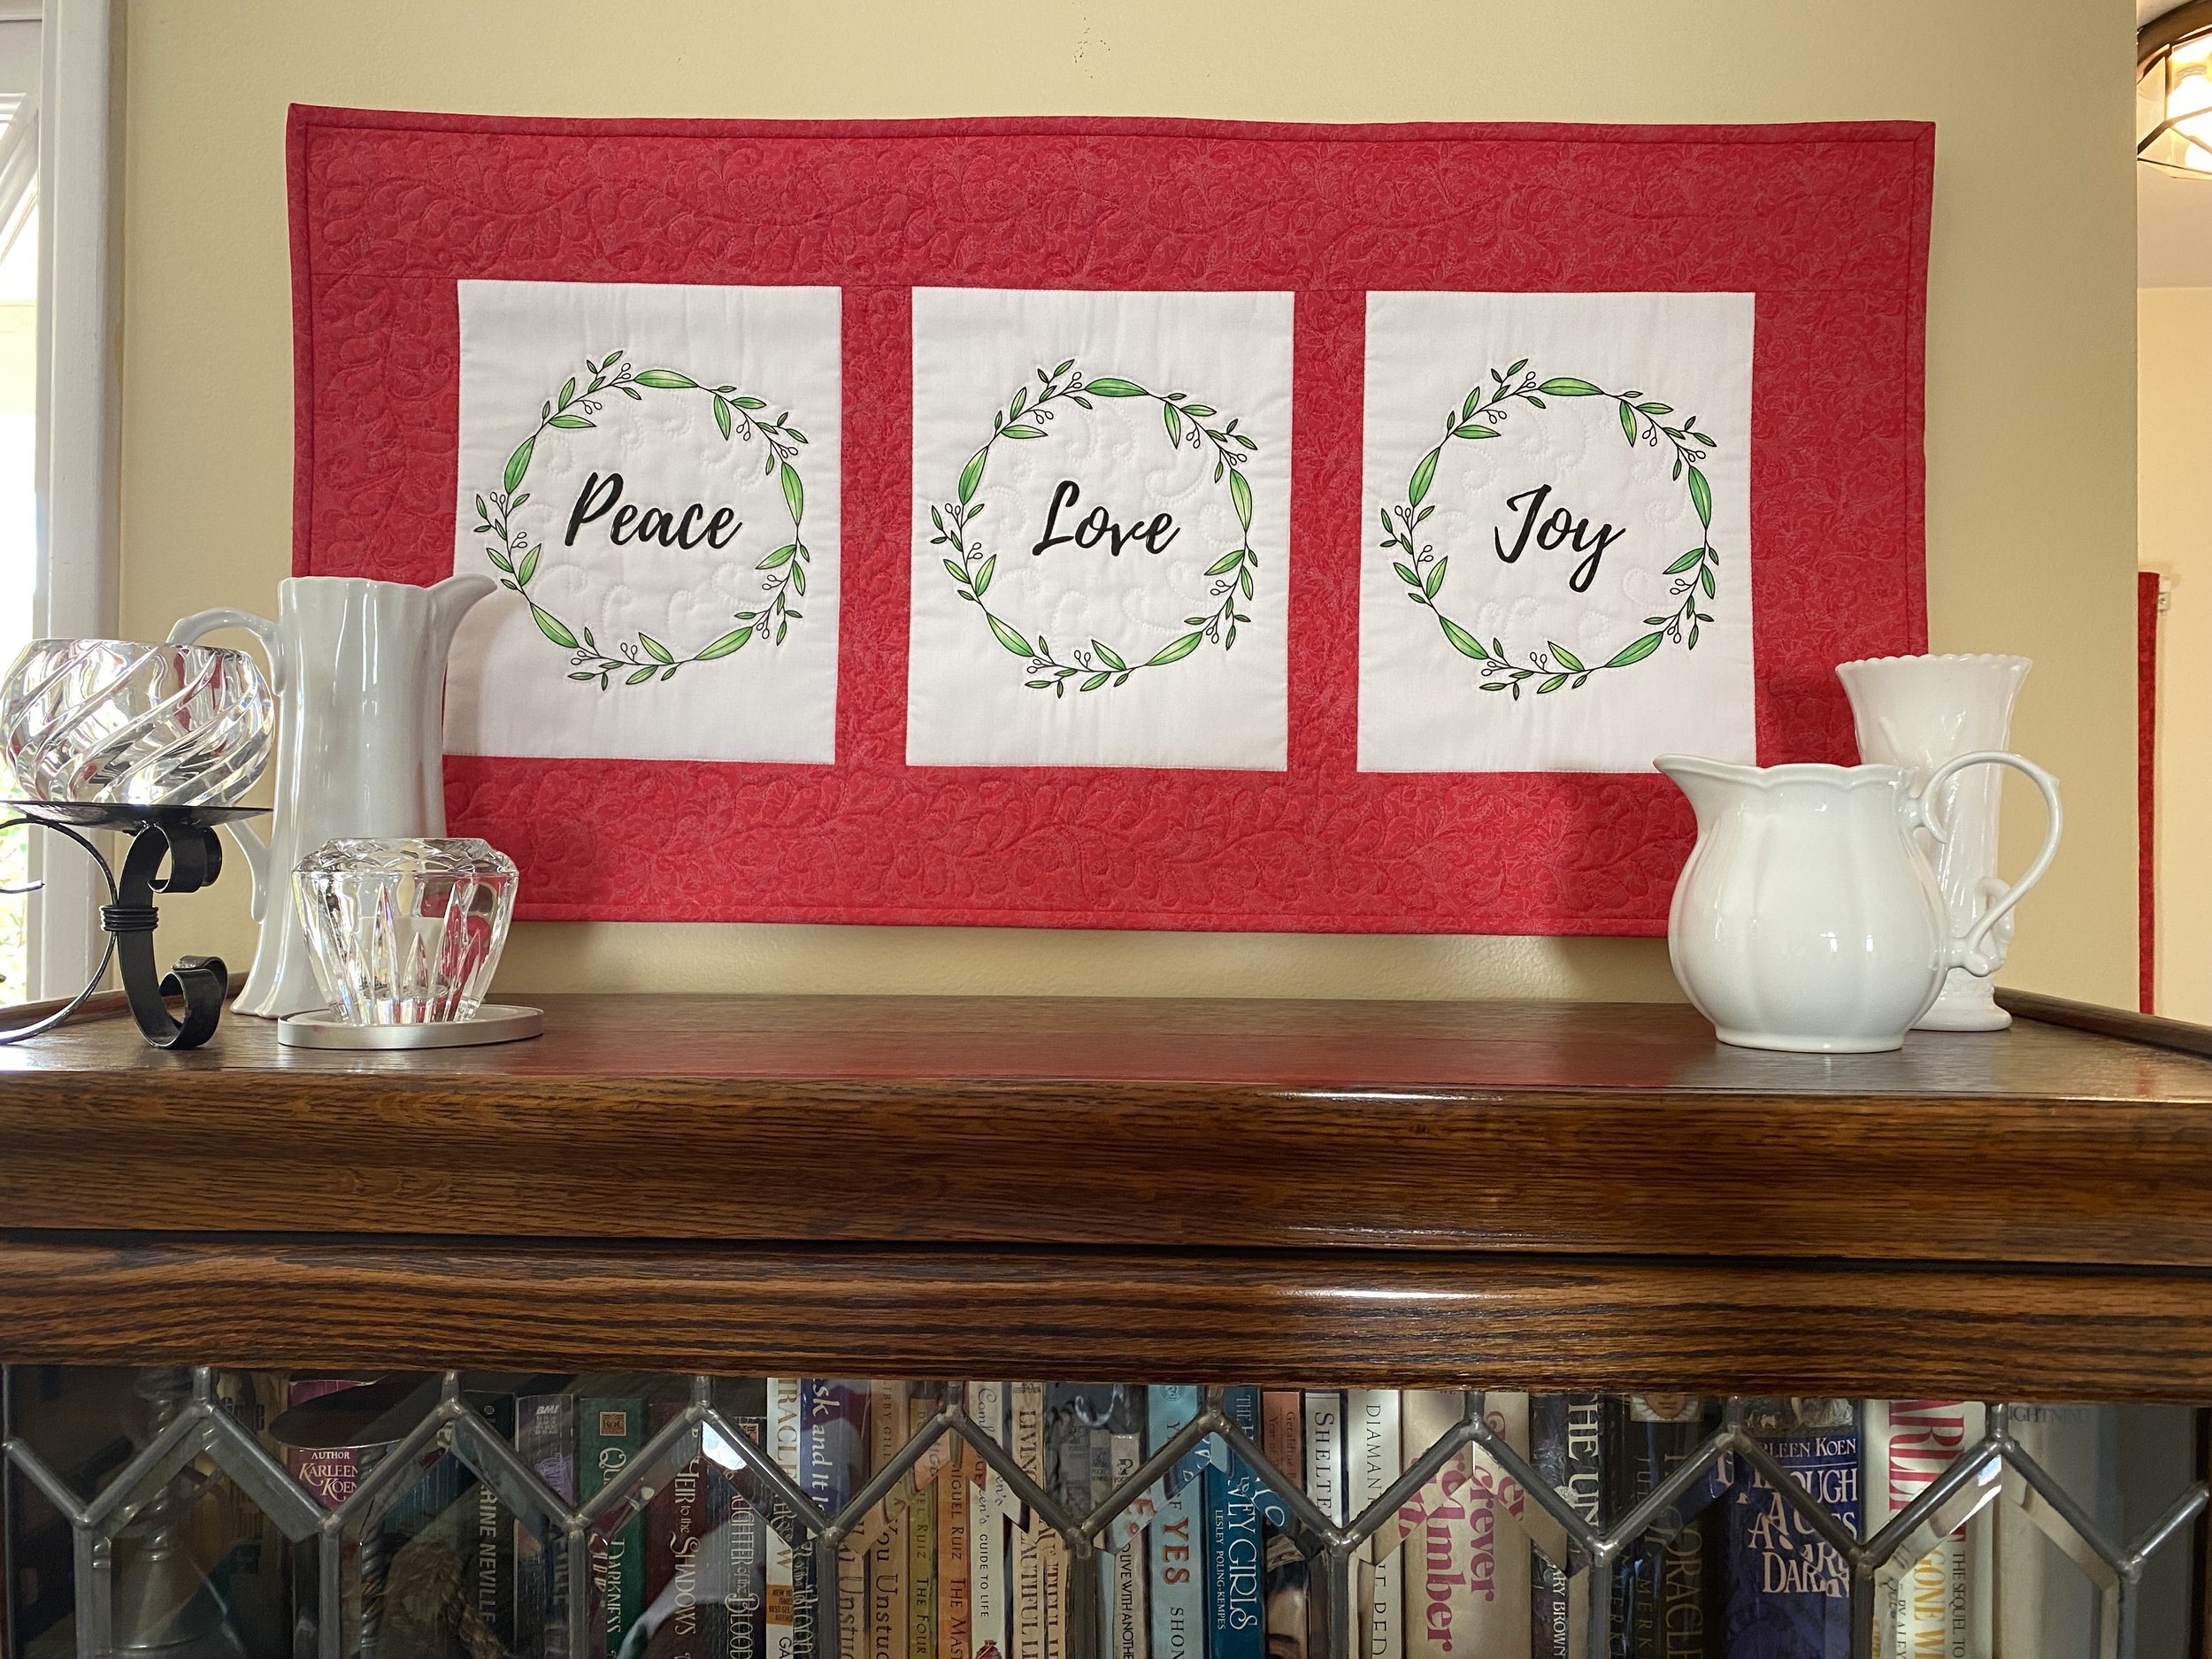
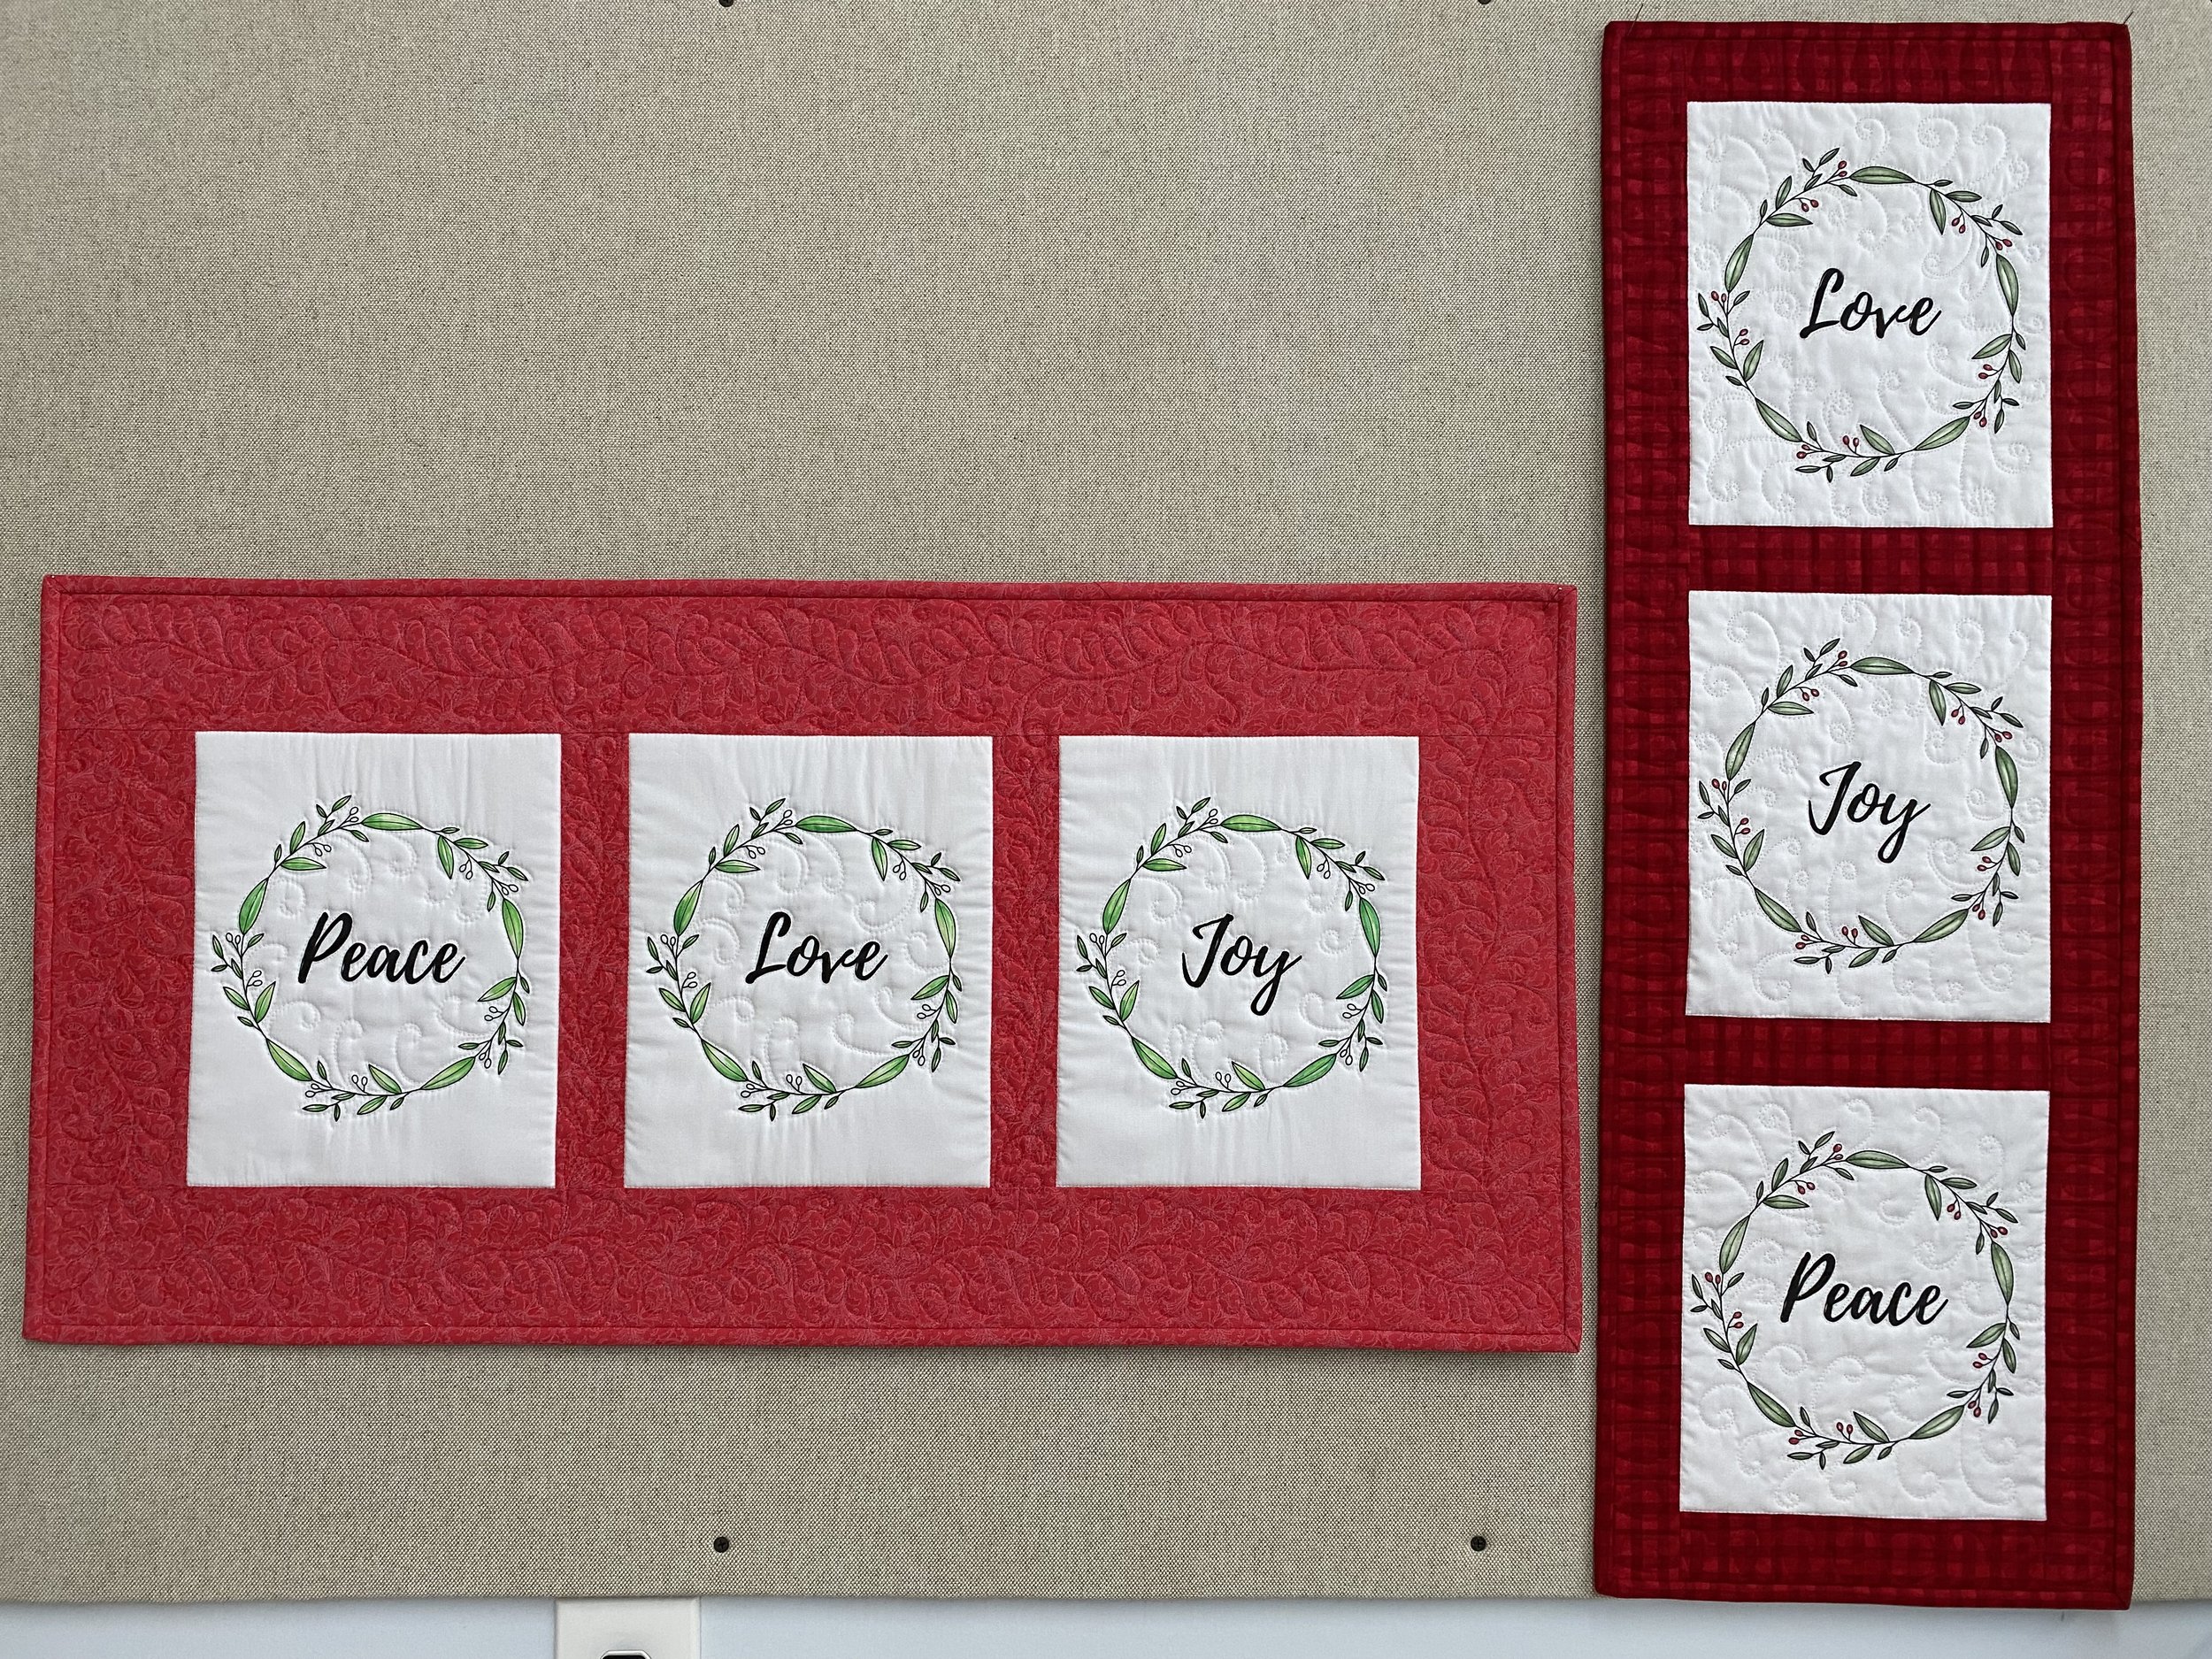
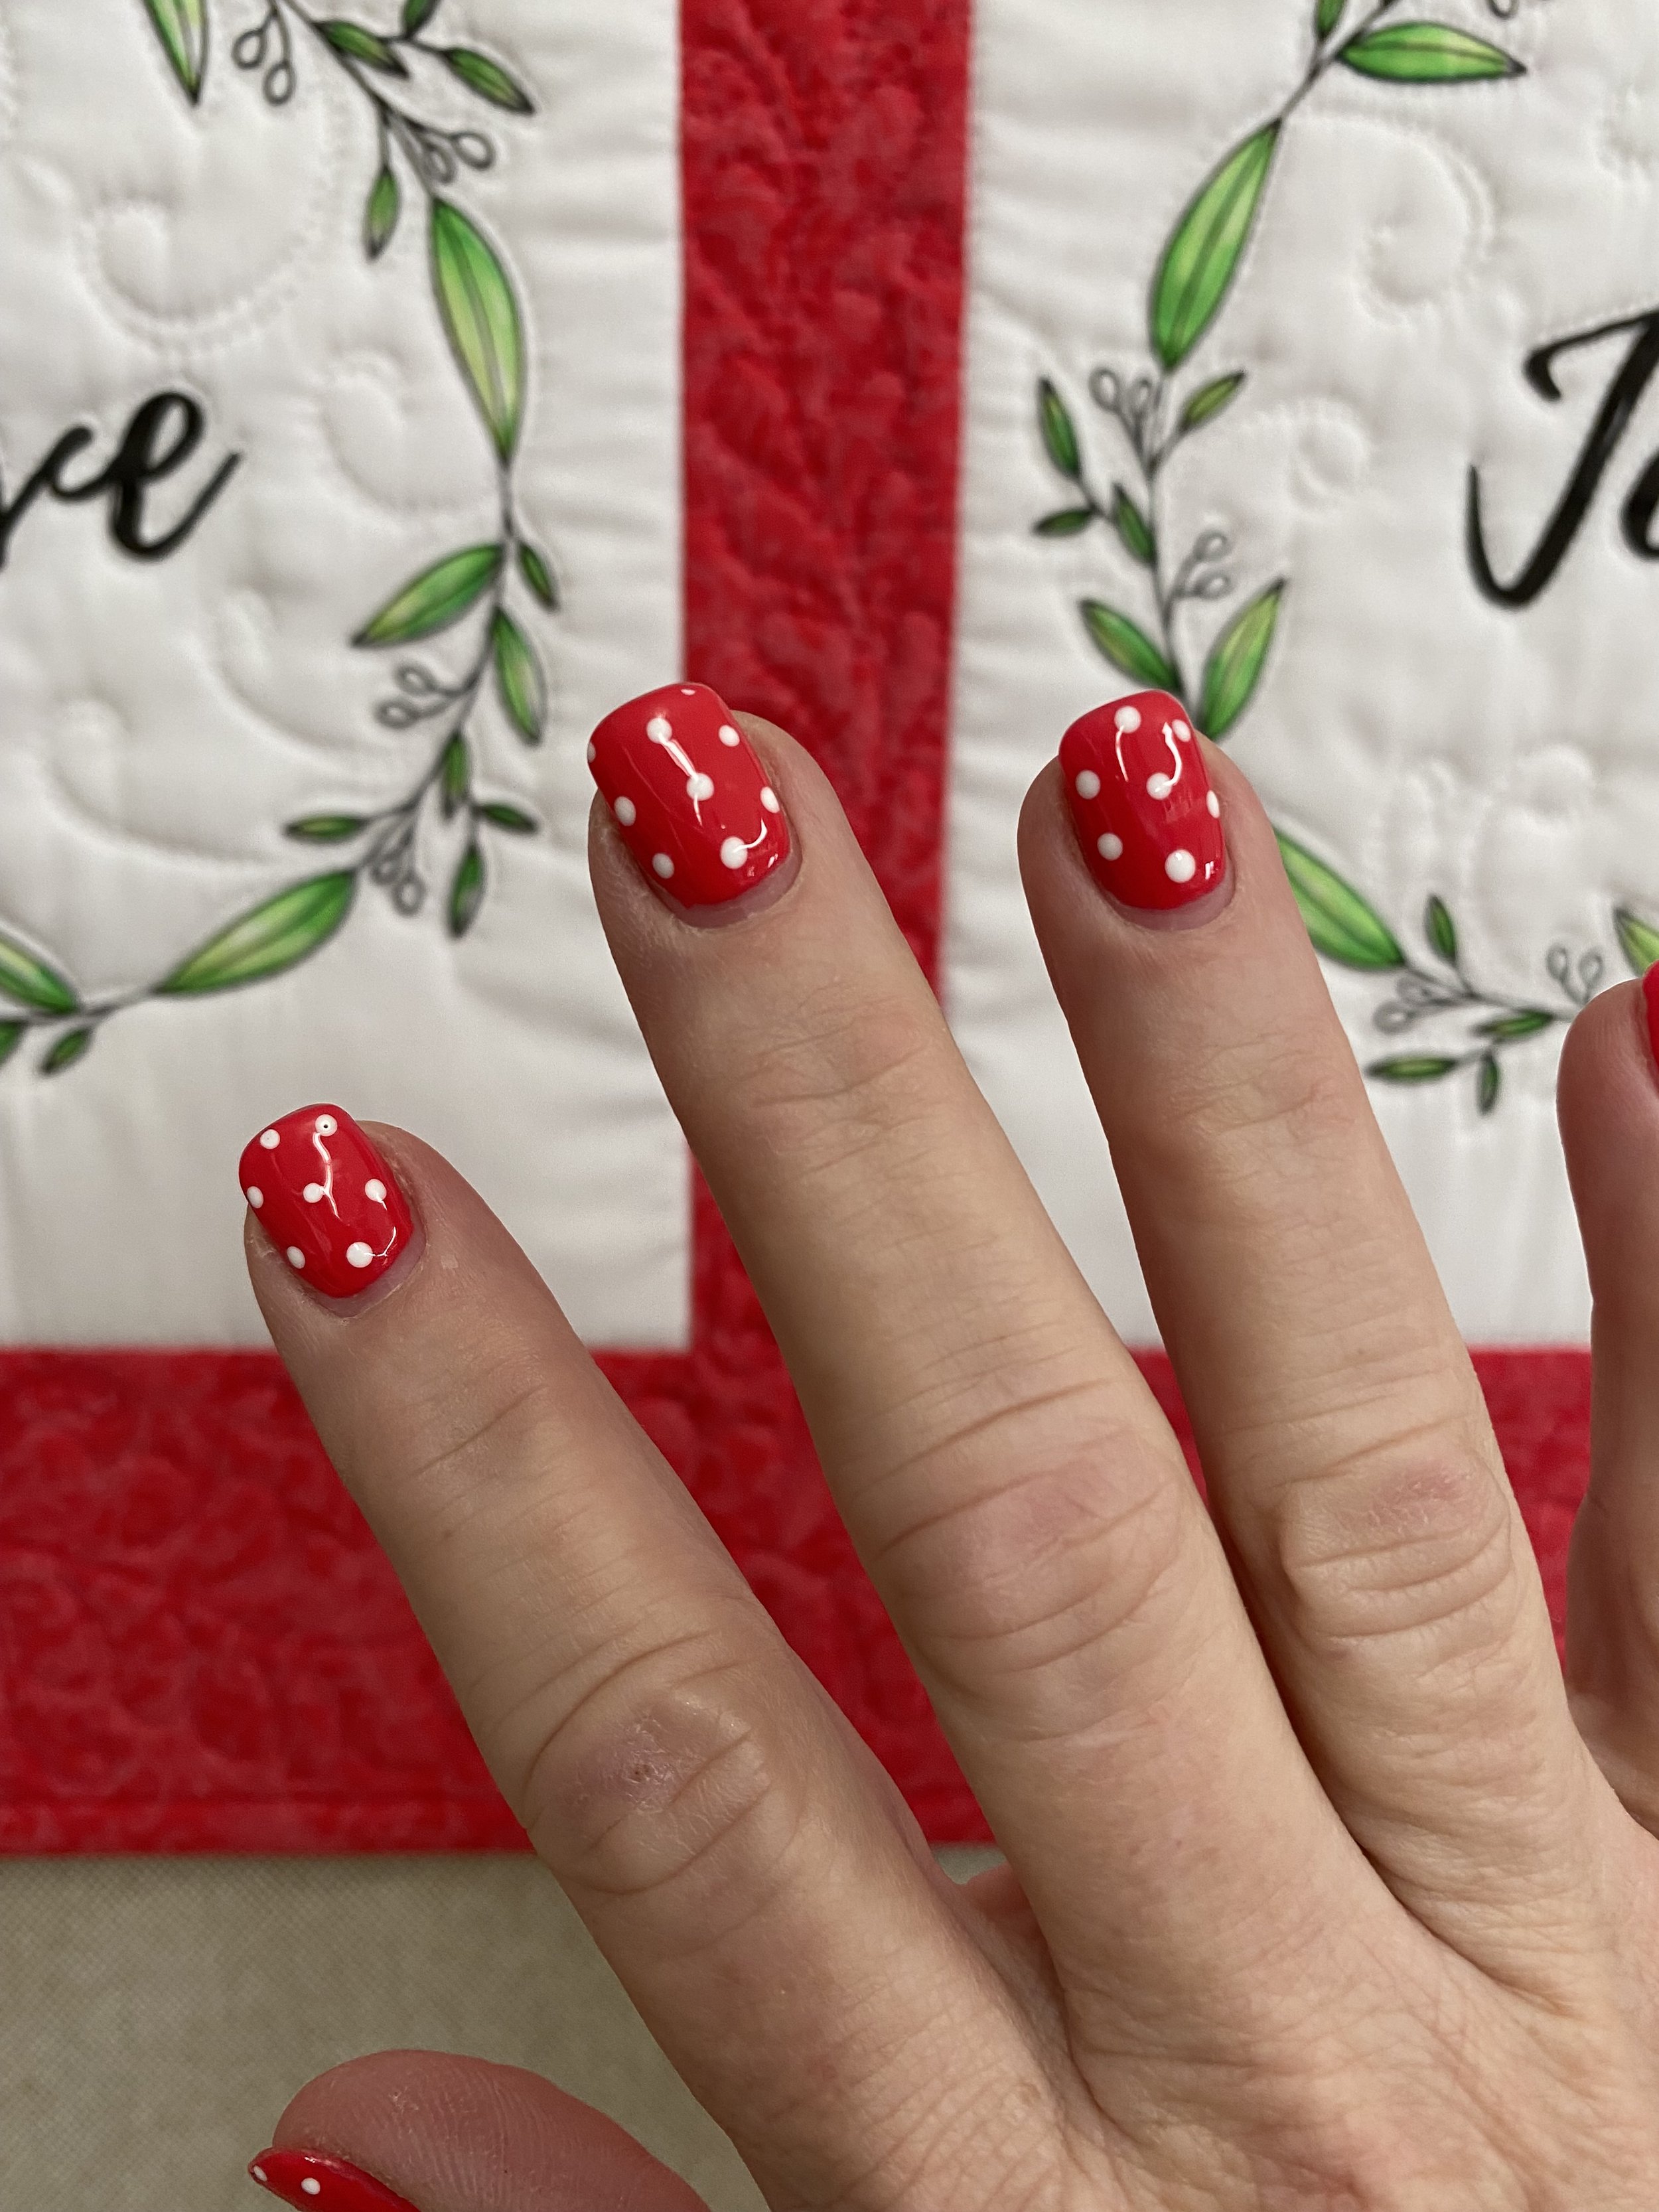
I quilted 2 versions of the mini quilt tryptic (free this month with code PEACE ) a promising start to my love affair (I also love that the fabric of the quilt, matched my nail polish!!!)
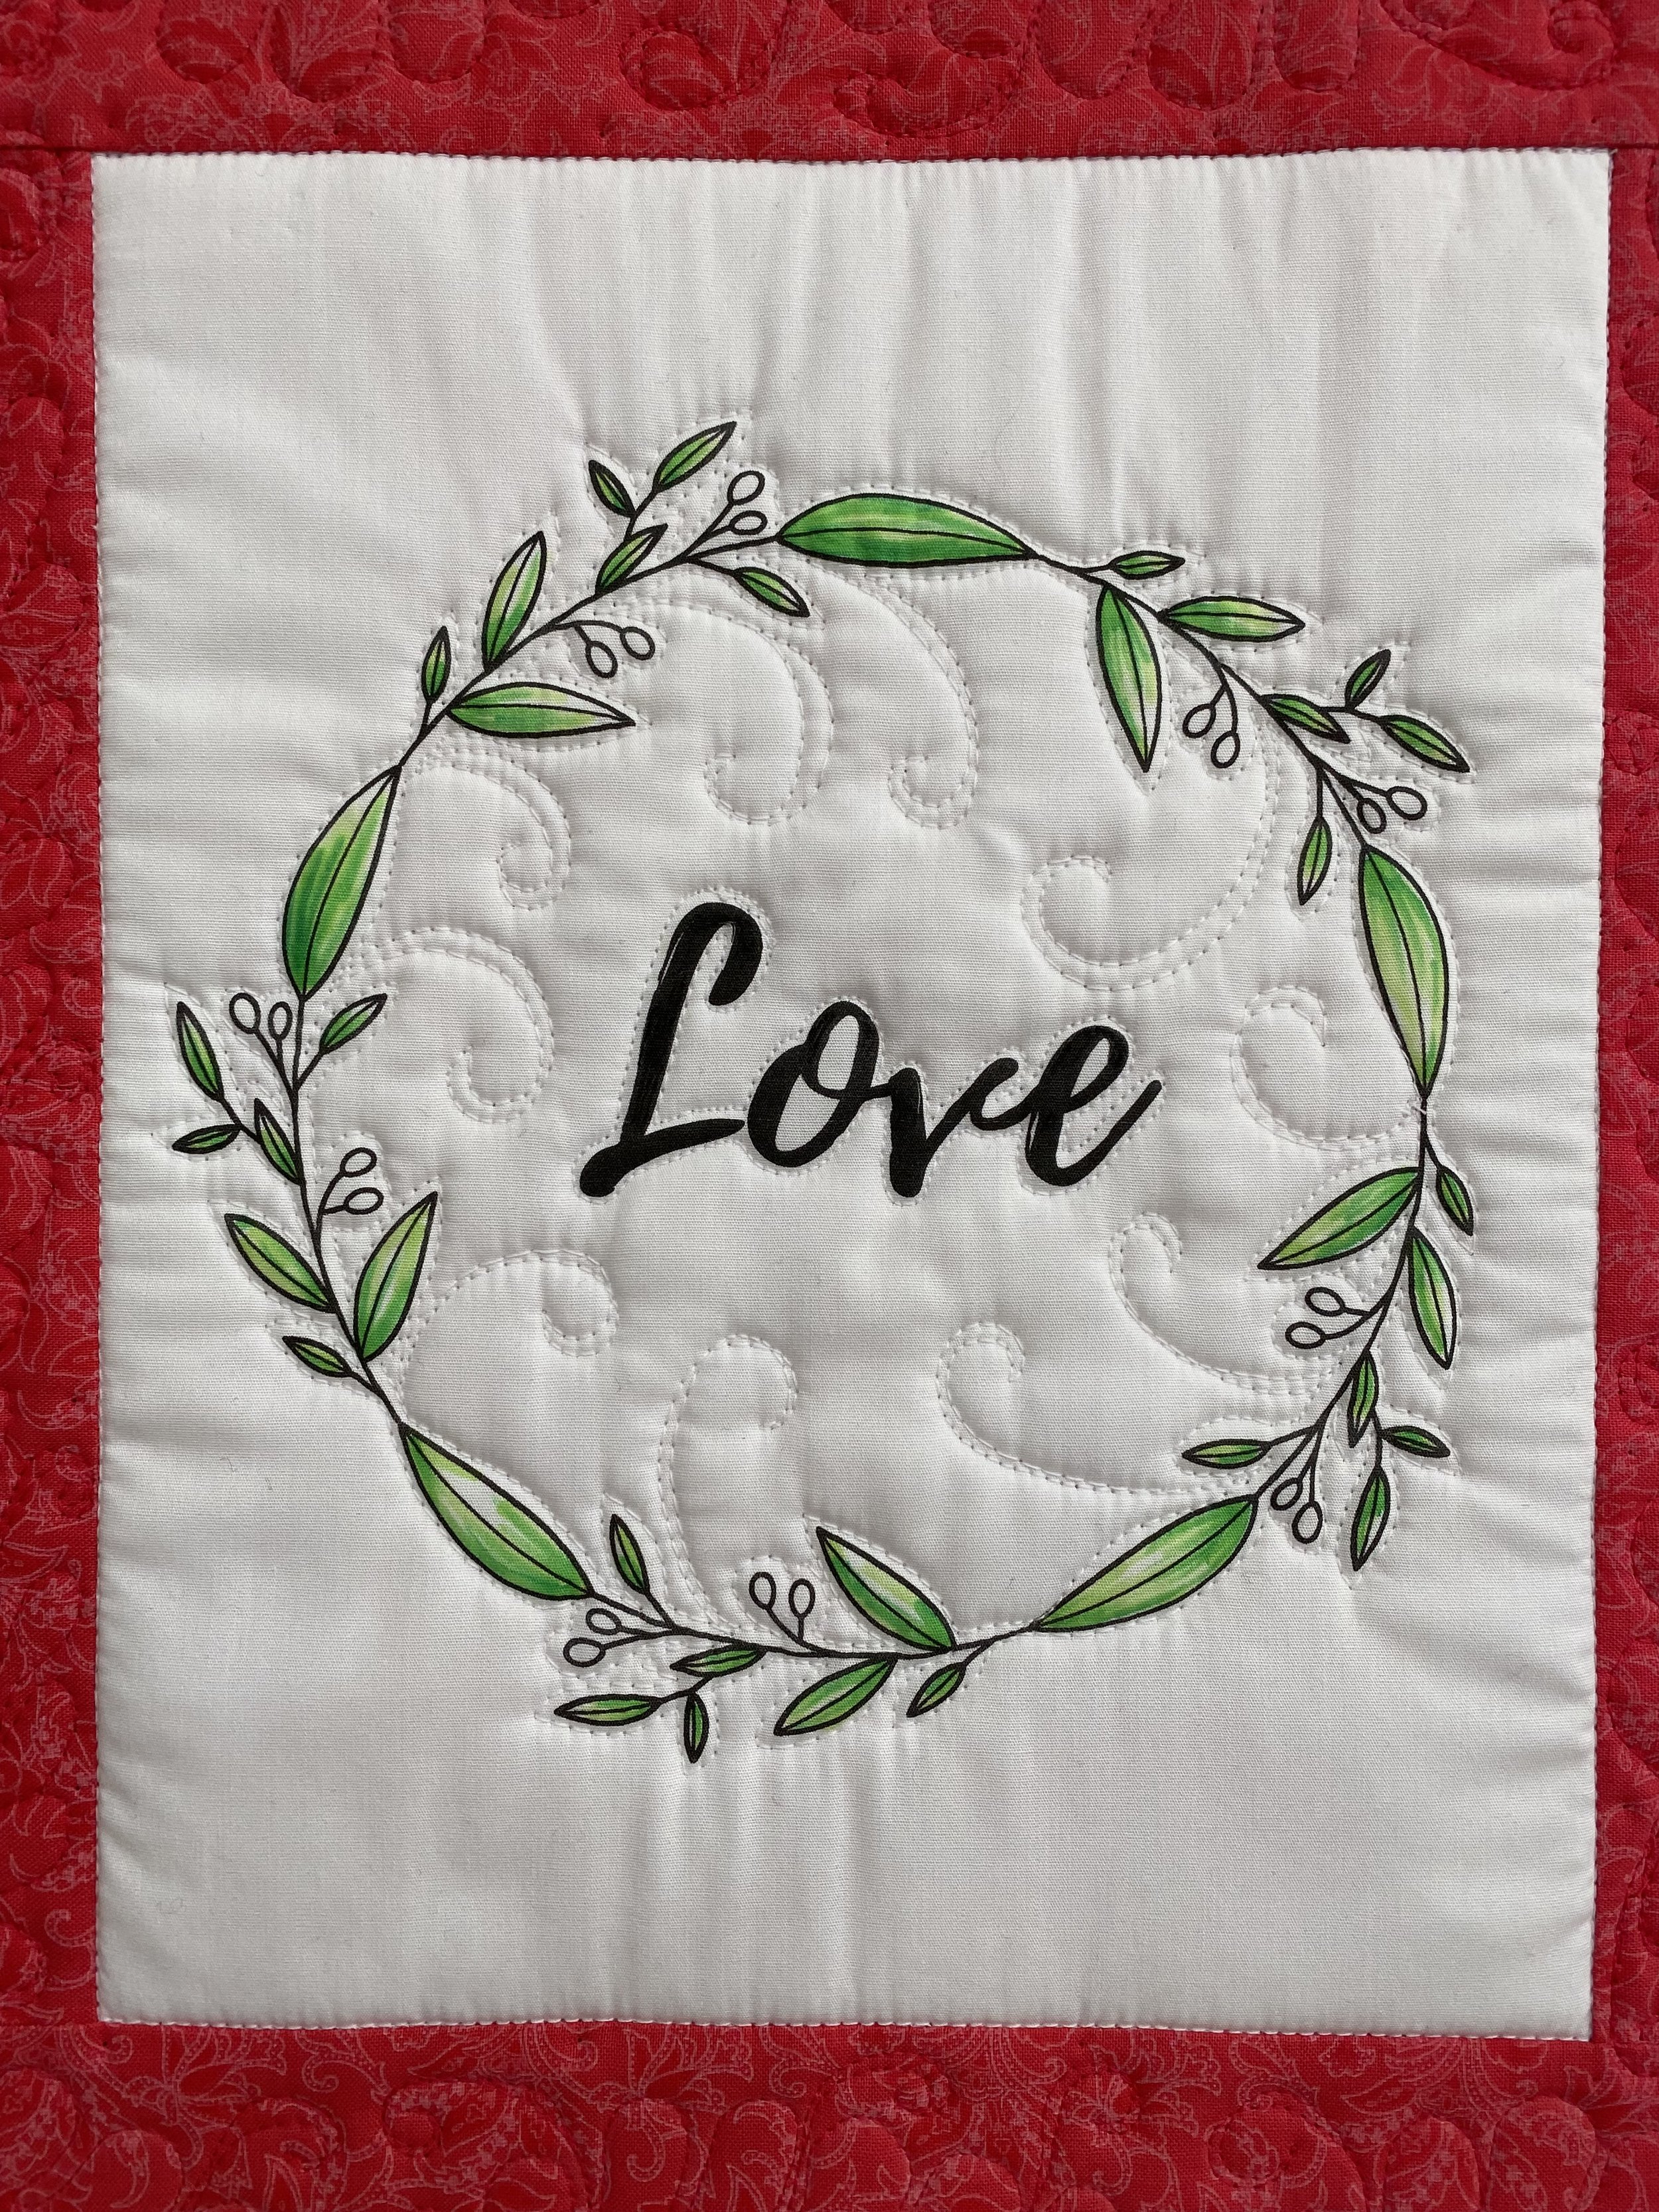
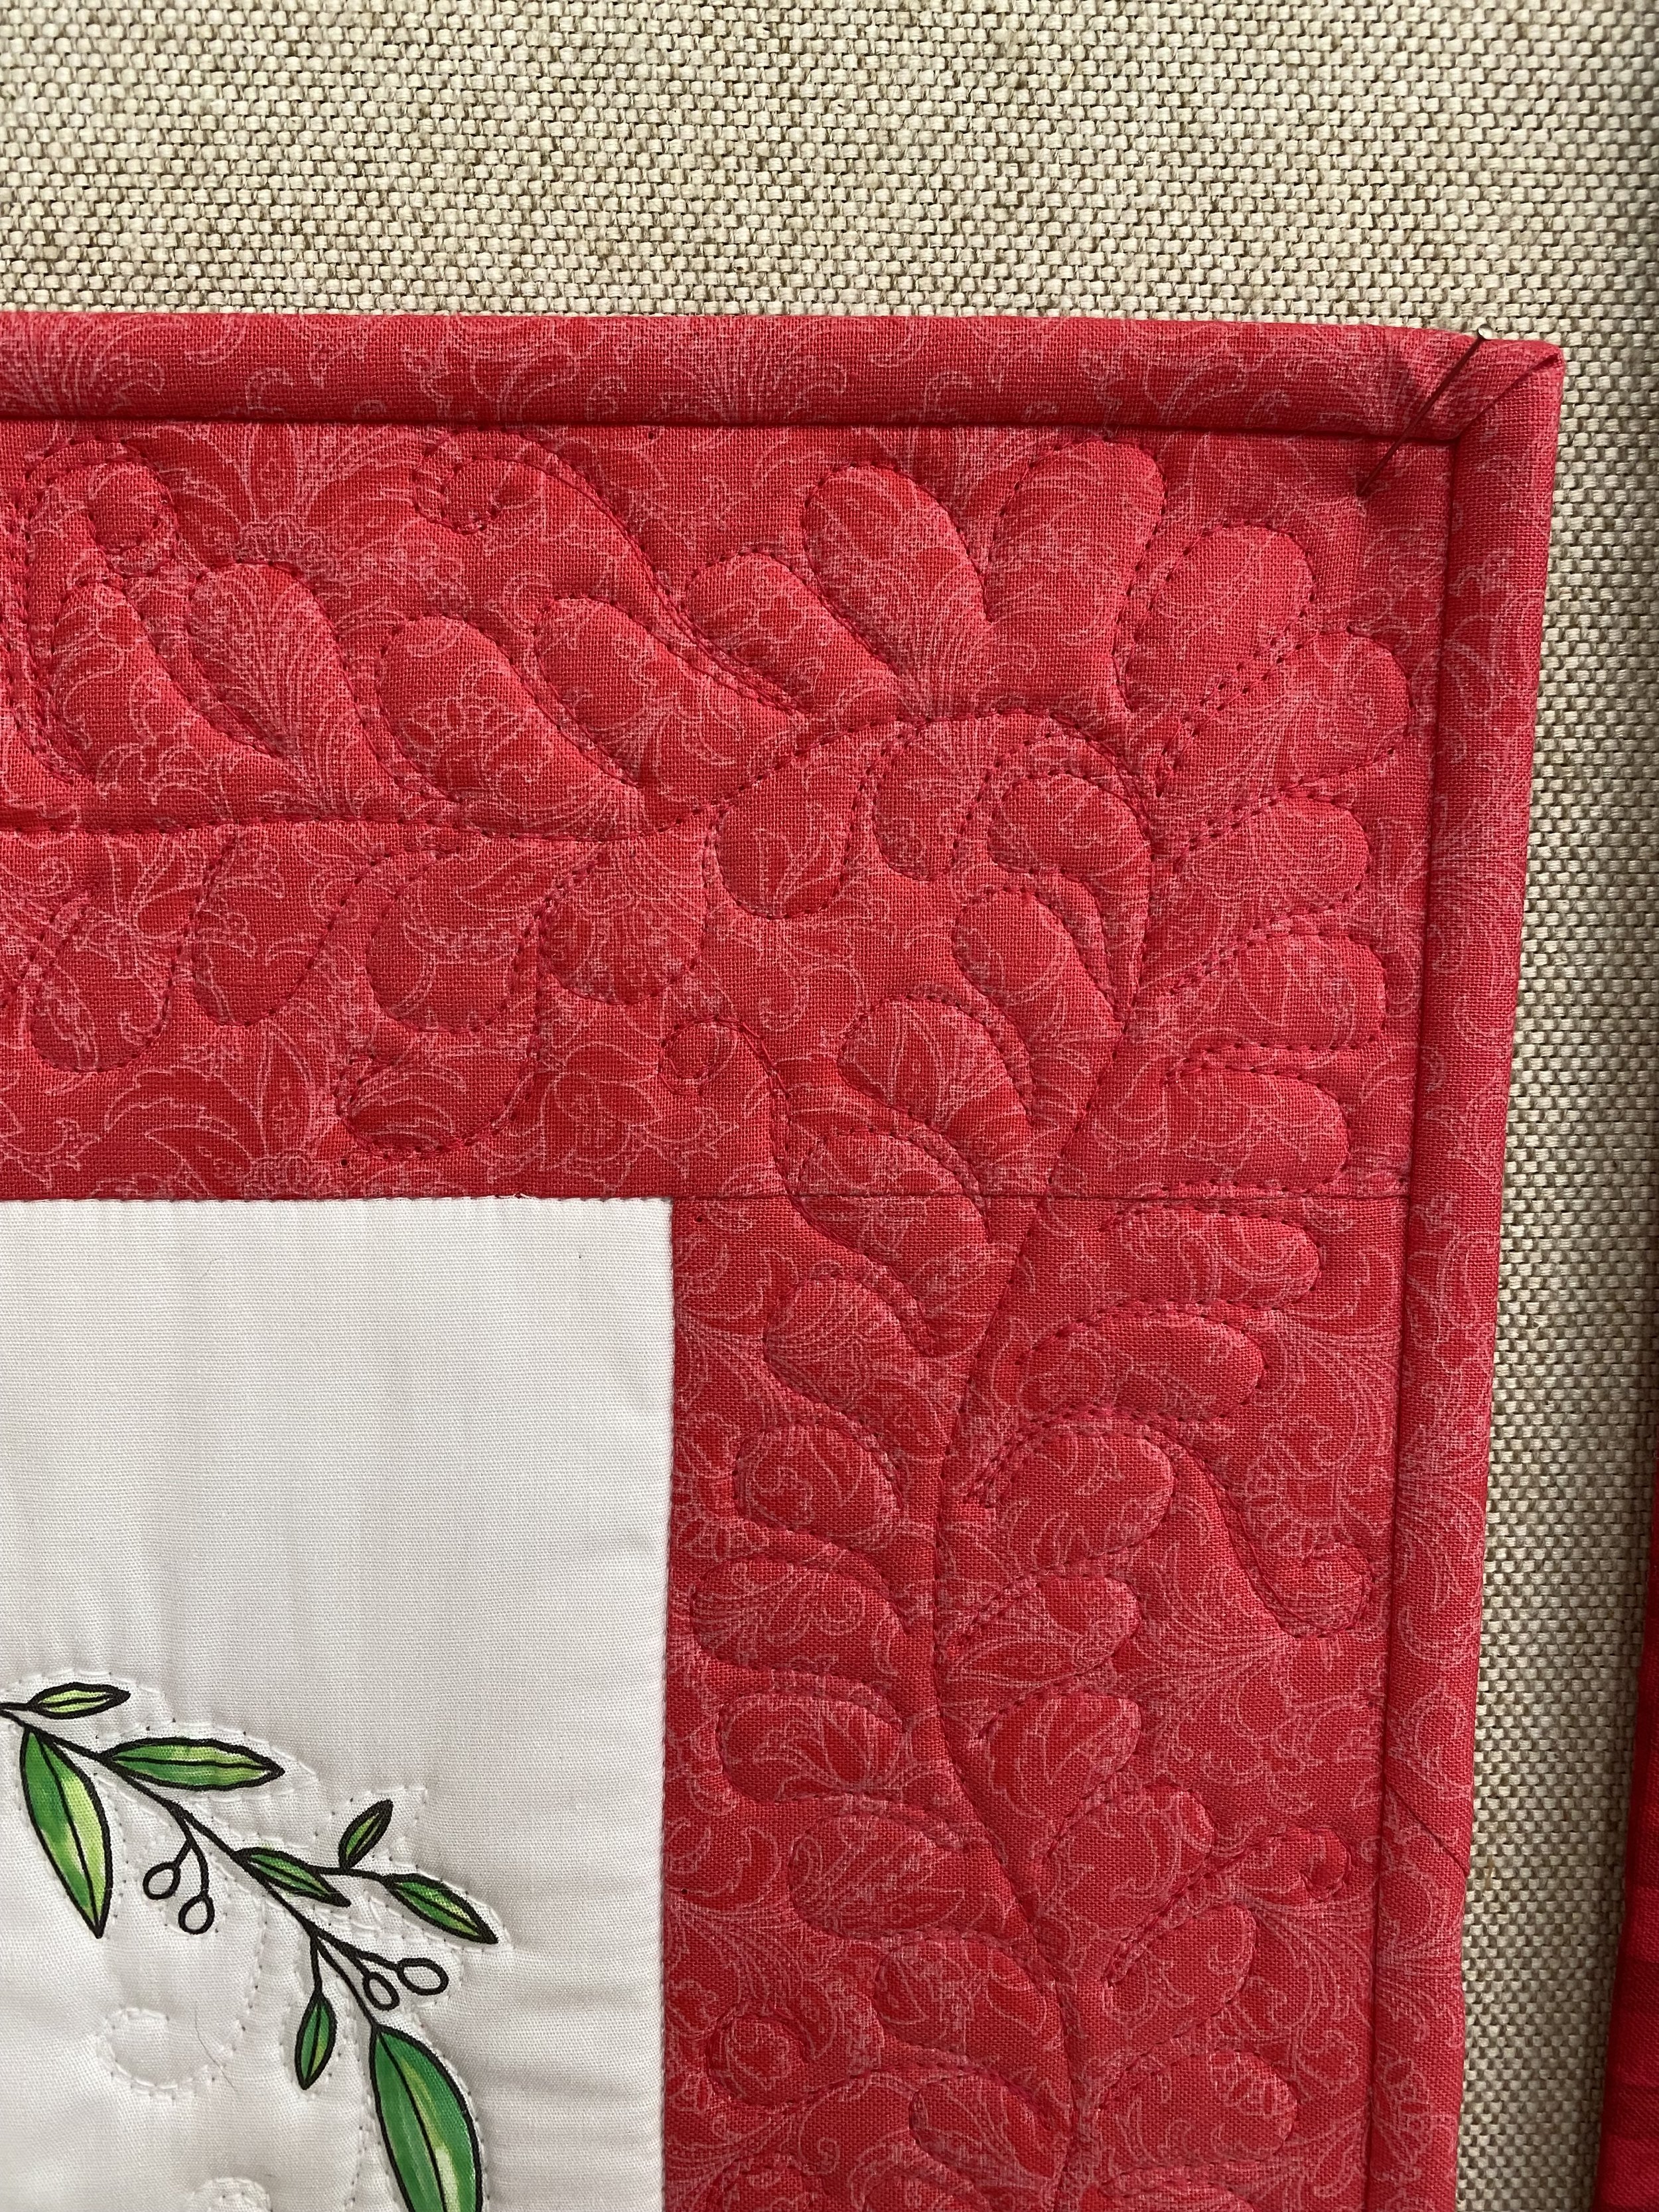
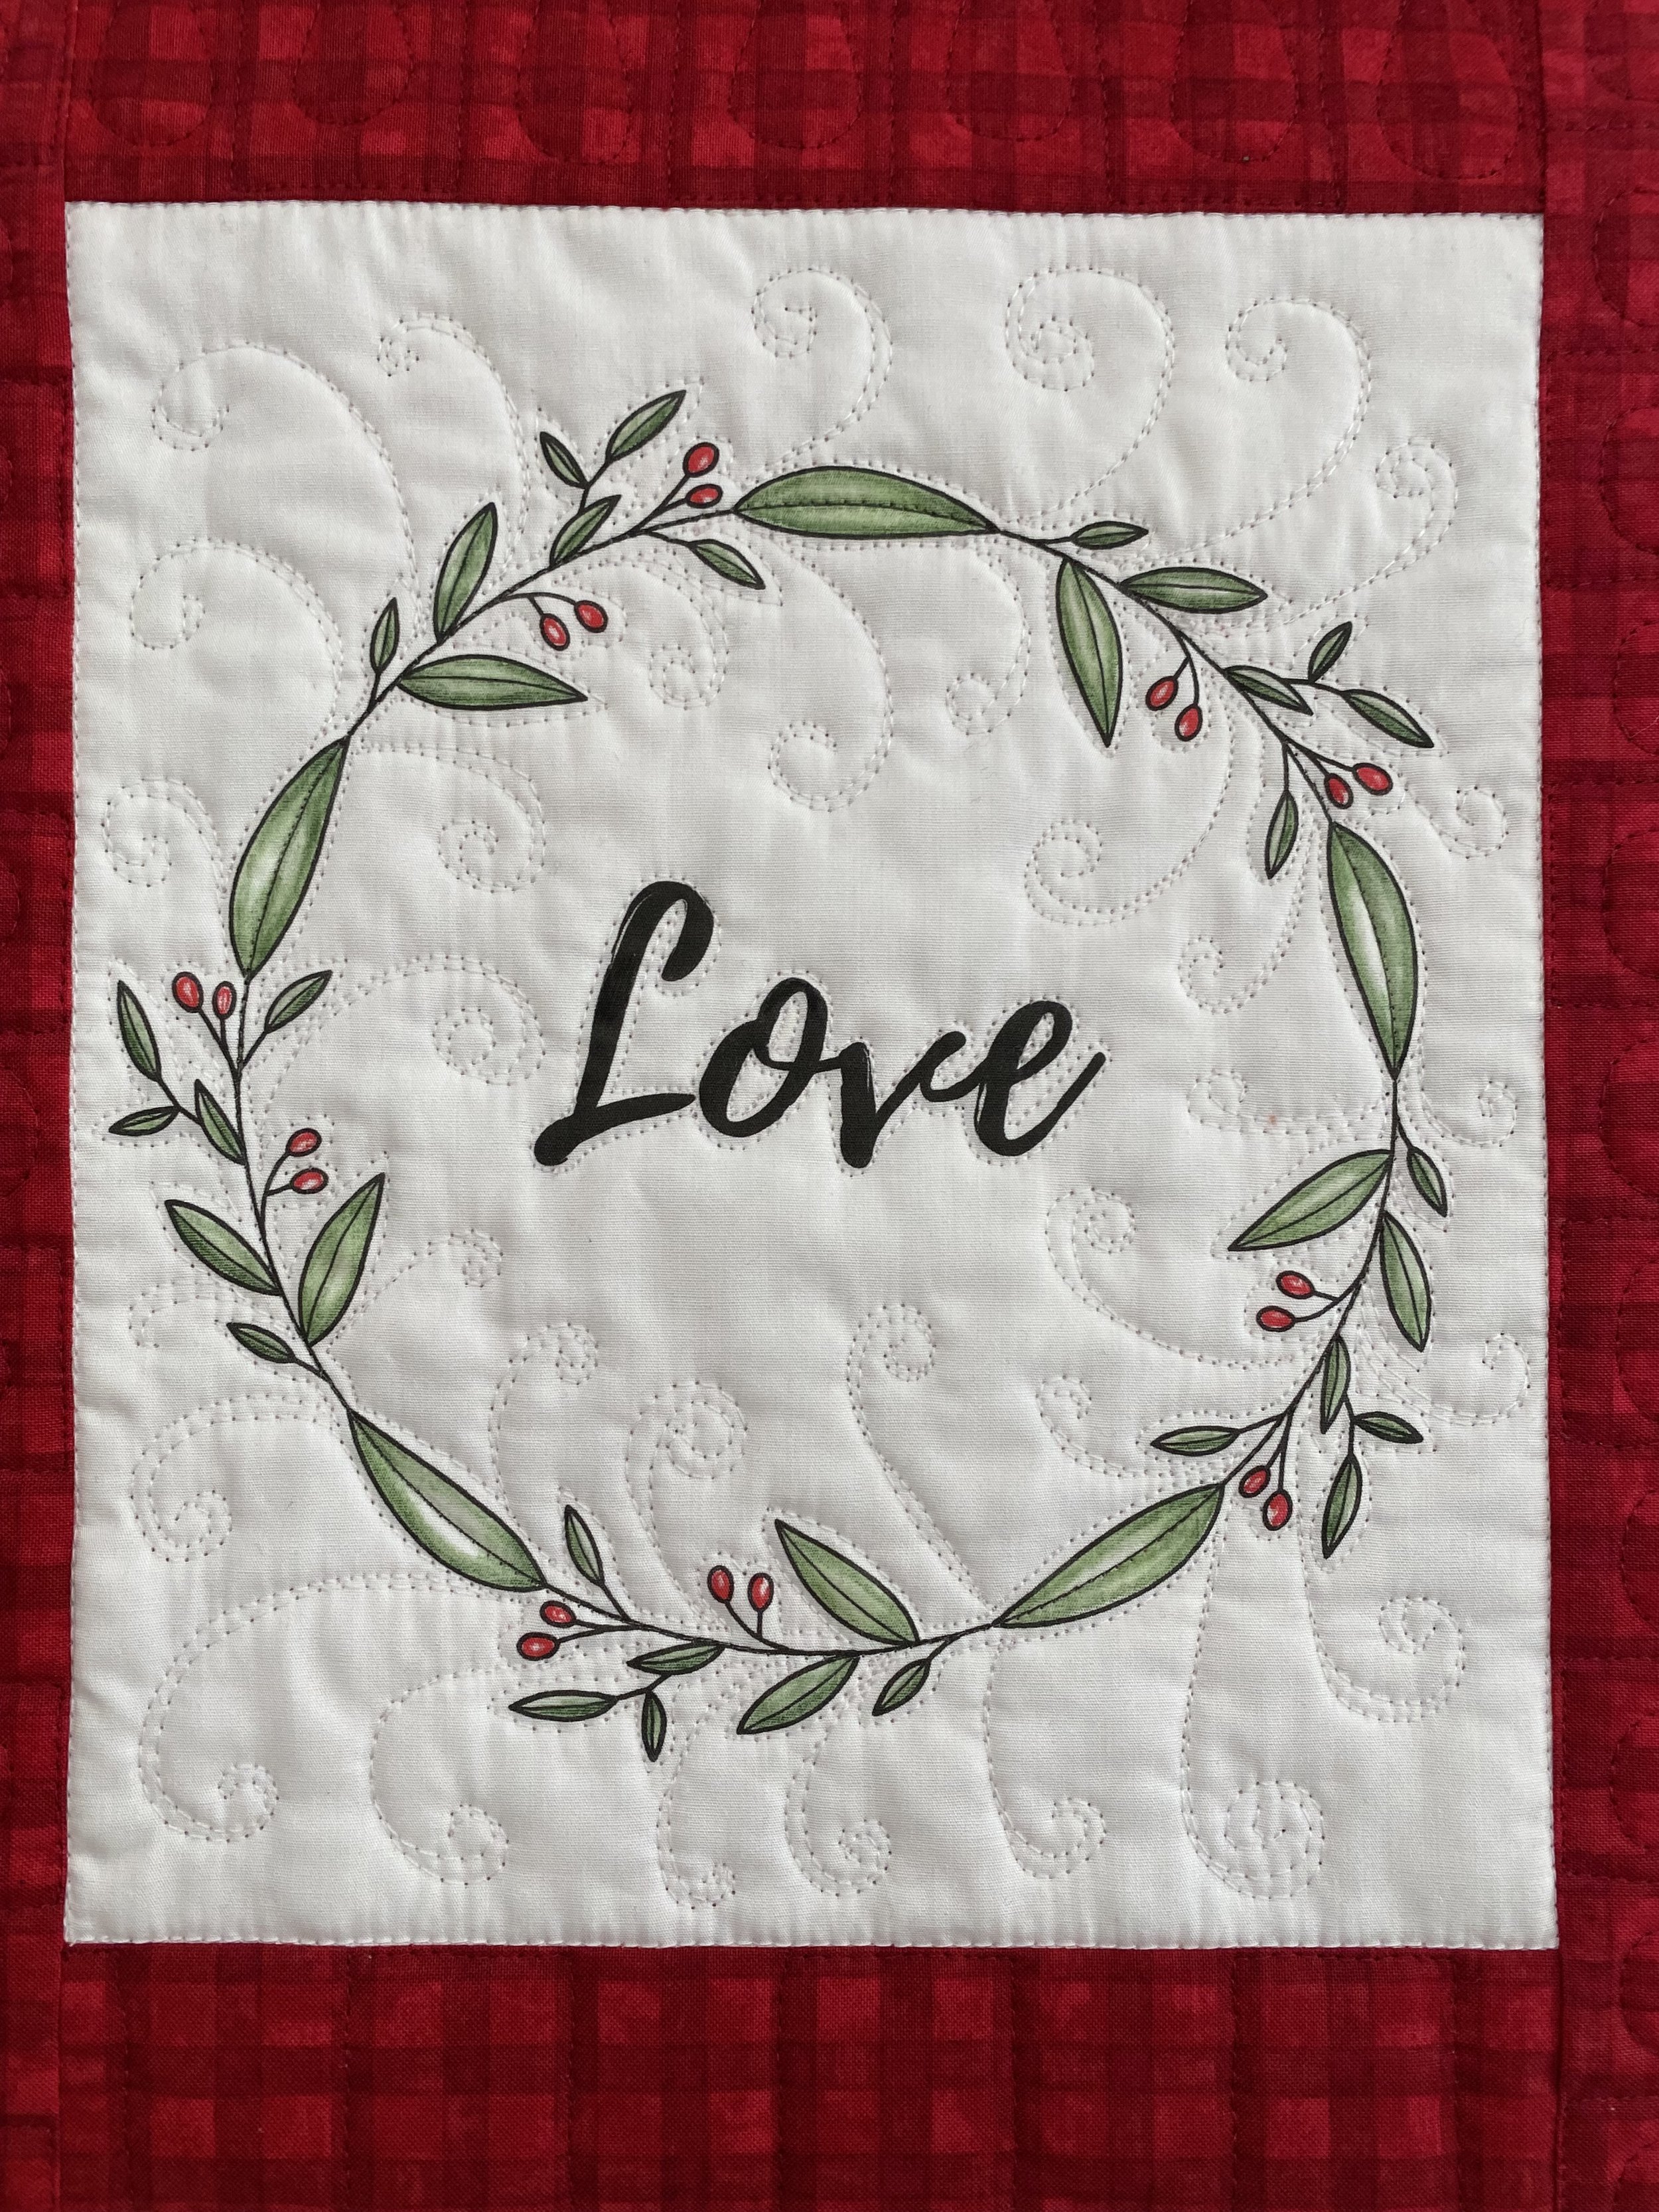
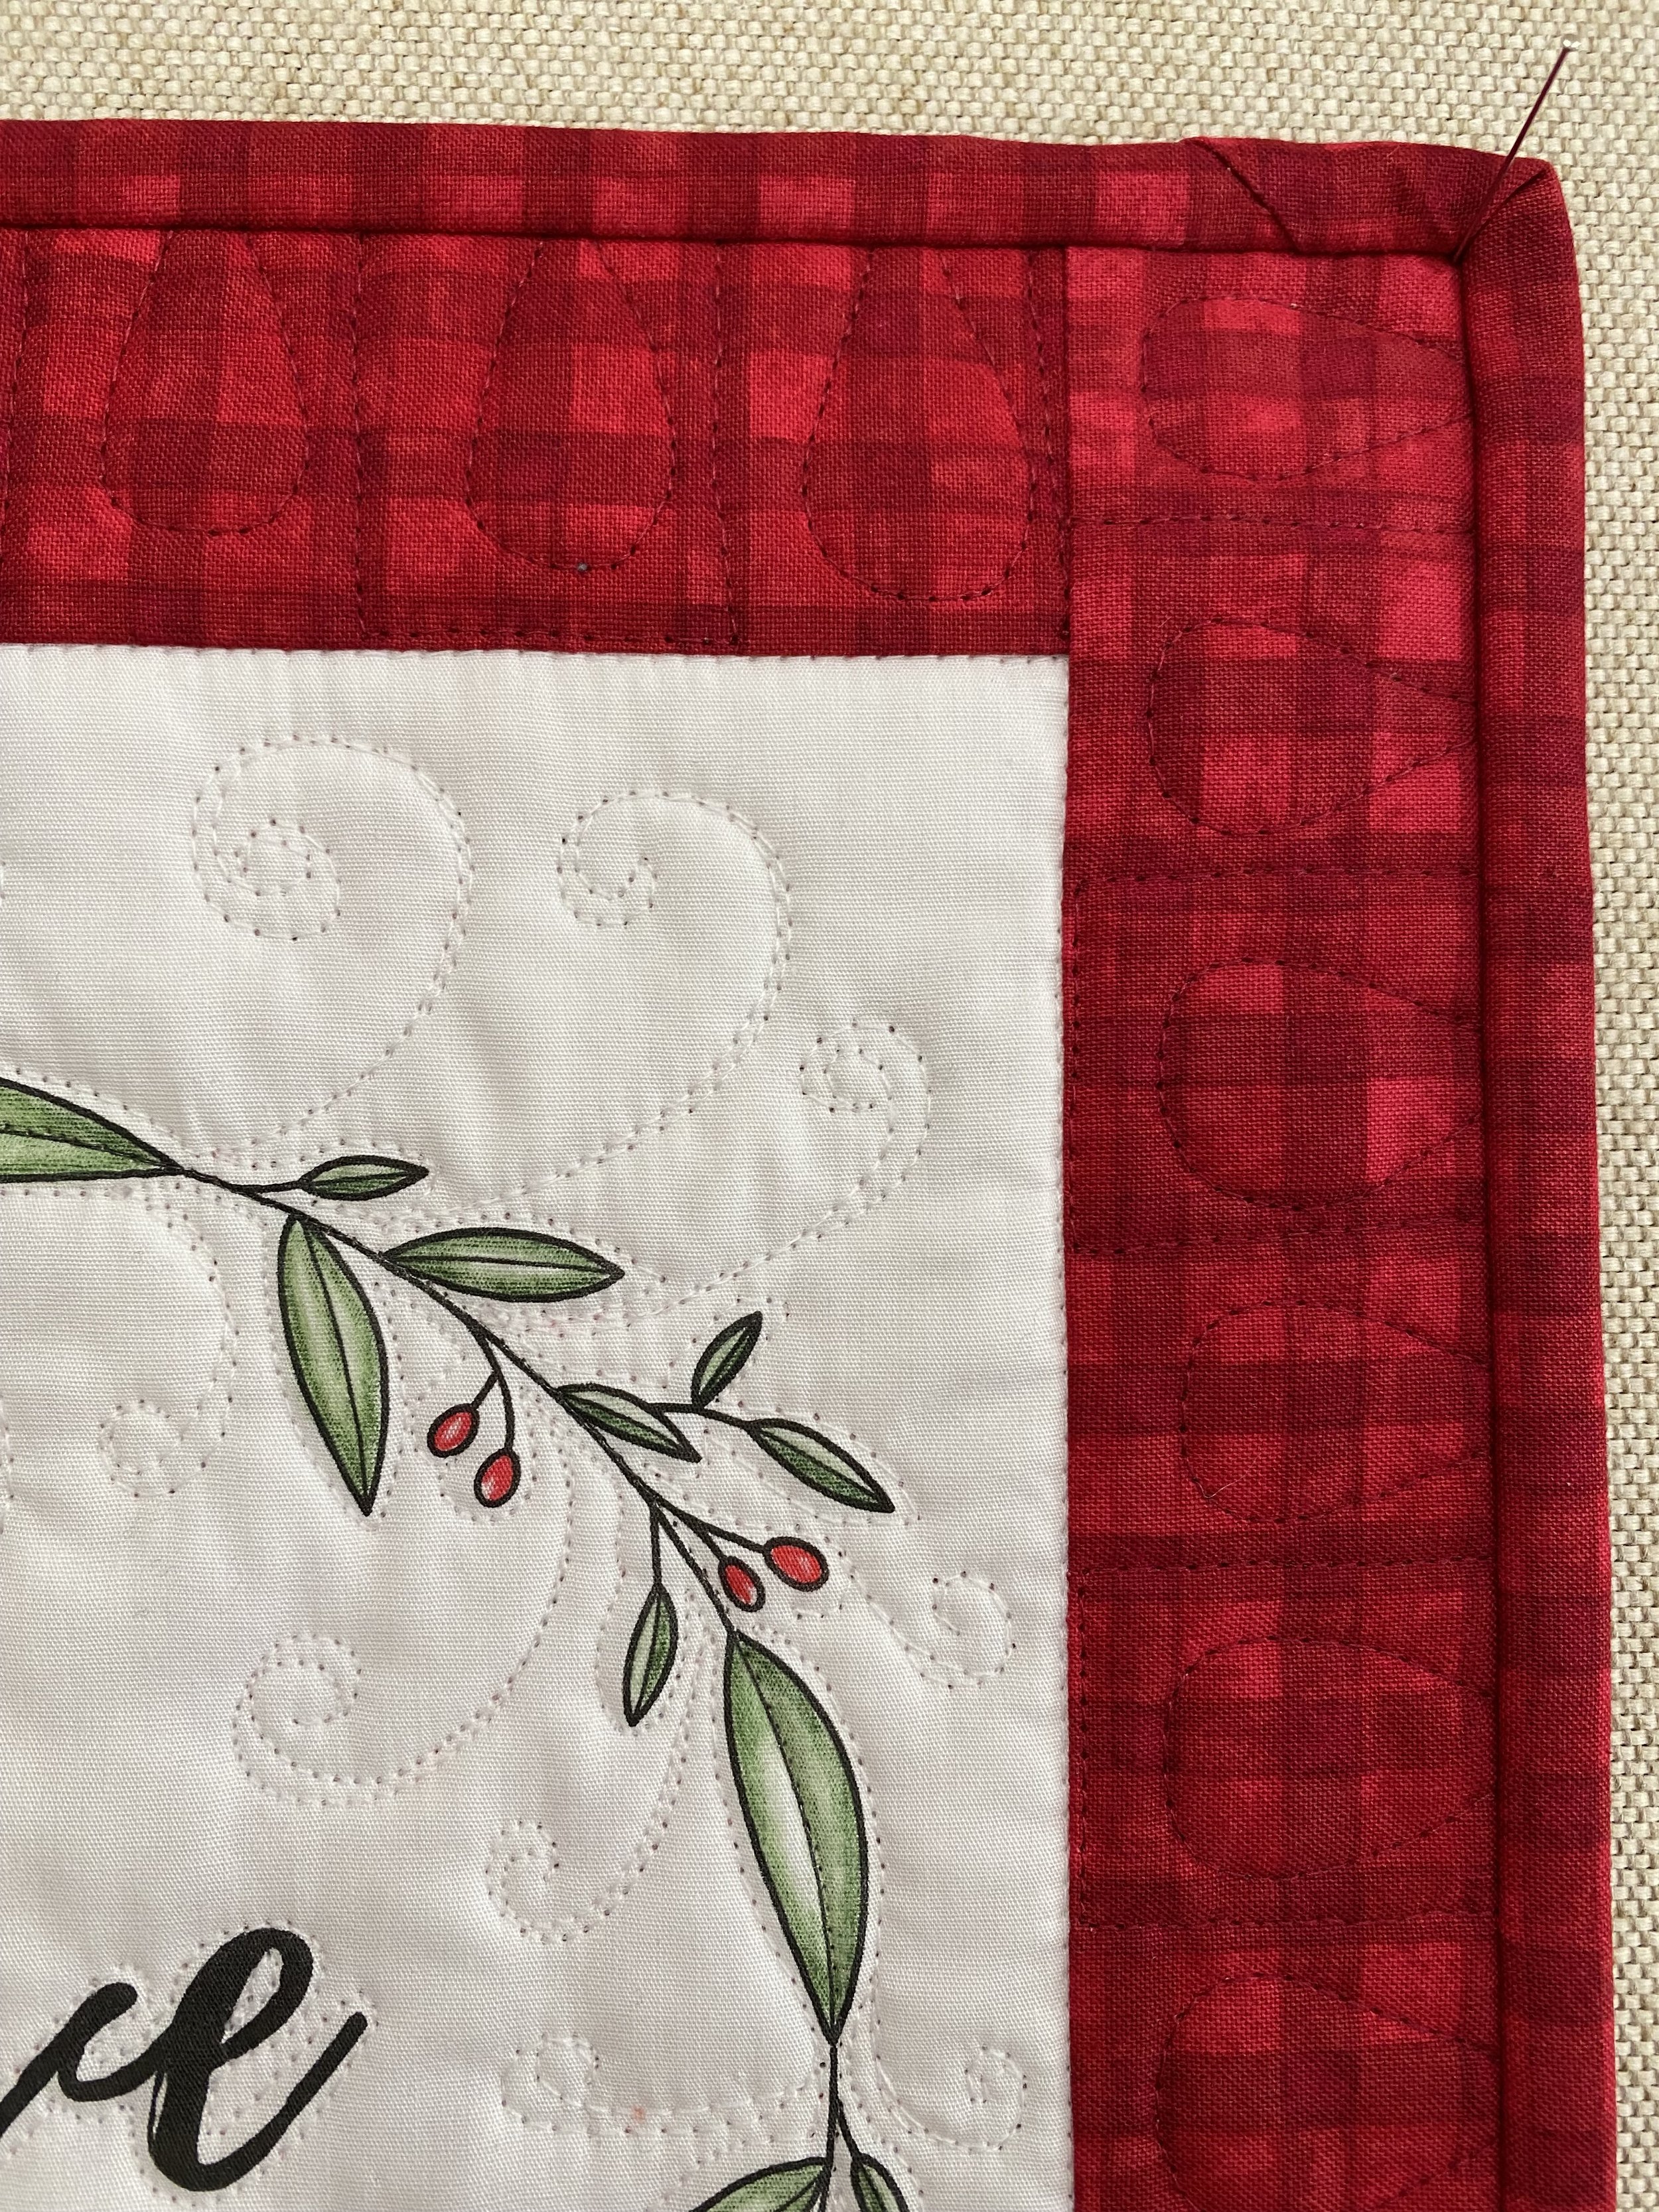
Much of the time I don’t quilt the Mini Quilts until after they have been in the newsletter - working under deadline often means taking a few shortcuts. But this month I had a bit more time, and I really wanted the valentine’s edition for my own wall, (and not as unquilted “textile art”) so I decided to quilt it. I still was unsure how to quilt the negative space around the wreaths, but I stitched around the leaves and buds. (in my mind they are flower buds, not berries for this time of year) adding some curling vines coming out from the wreath into the center. I chose the feather border because I had a pounce-able template, making for fast marking, and chose the undulating version so I could add in some of the curling vines, tying the design back into the quilting in the blocks.
And do you know what? I enjoyed it! As a matter of fact, I enjoyed it so much I decided to quilt the vertical version from Christmas. Since I had already published it unquilted, I wasn’t concerned about publishing it again, so I felt a bit freer, (In other words, more willing to wreck it!) I wasn’t thrilled with the drag lines showing after blocking the horizontal version, due to a lack of quilting outside of the wreath. So, for the Christmas version, I used the same curling vines but added them outside of the wreath, not just inside. I was happy with how that helped fill the negative space around the wreath. The border on the vertical version were much narrower so I couldn’t use the same feather design. I first just quilted straight lines using the plaid border as my guide, I felt that was not quite enough quilting to give me an evenly quilted surface, so I filled in between the lines with teardrop shapes.
In case you would like to make your own, for the horizontal version I used Fabrico markers to color the leaves in the wreath, then trimmed the panels to 8 1/2” x 10 1/2” I used 2” sashing and 3 1/2” borders (cut size). For the vertical version I used colored pencils to shade the wreath and berries, then trimmed the colored panels to 8 1/2” x 10” I used 2” sashing and 2 1/2” borders (cut size)
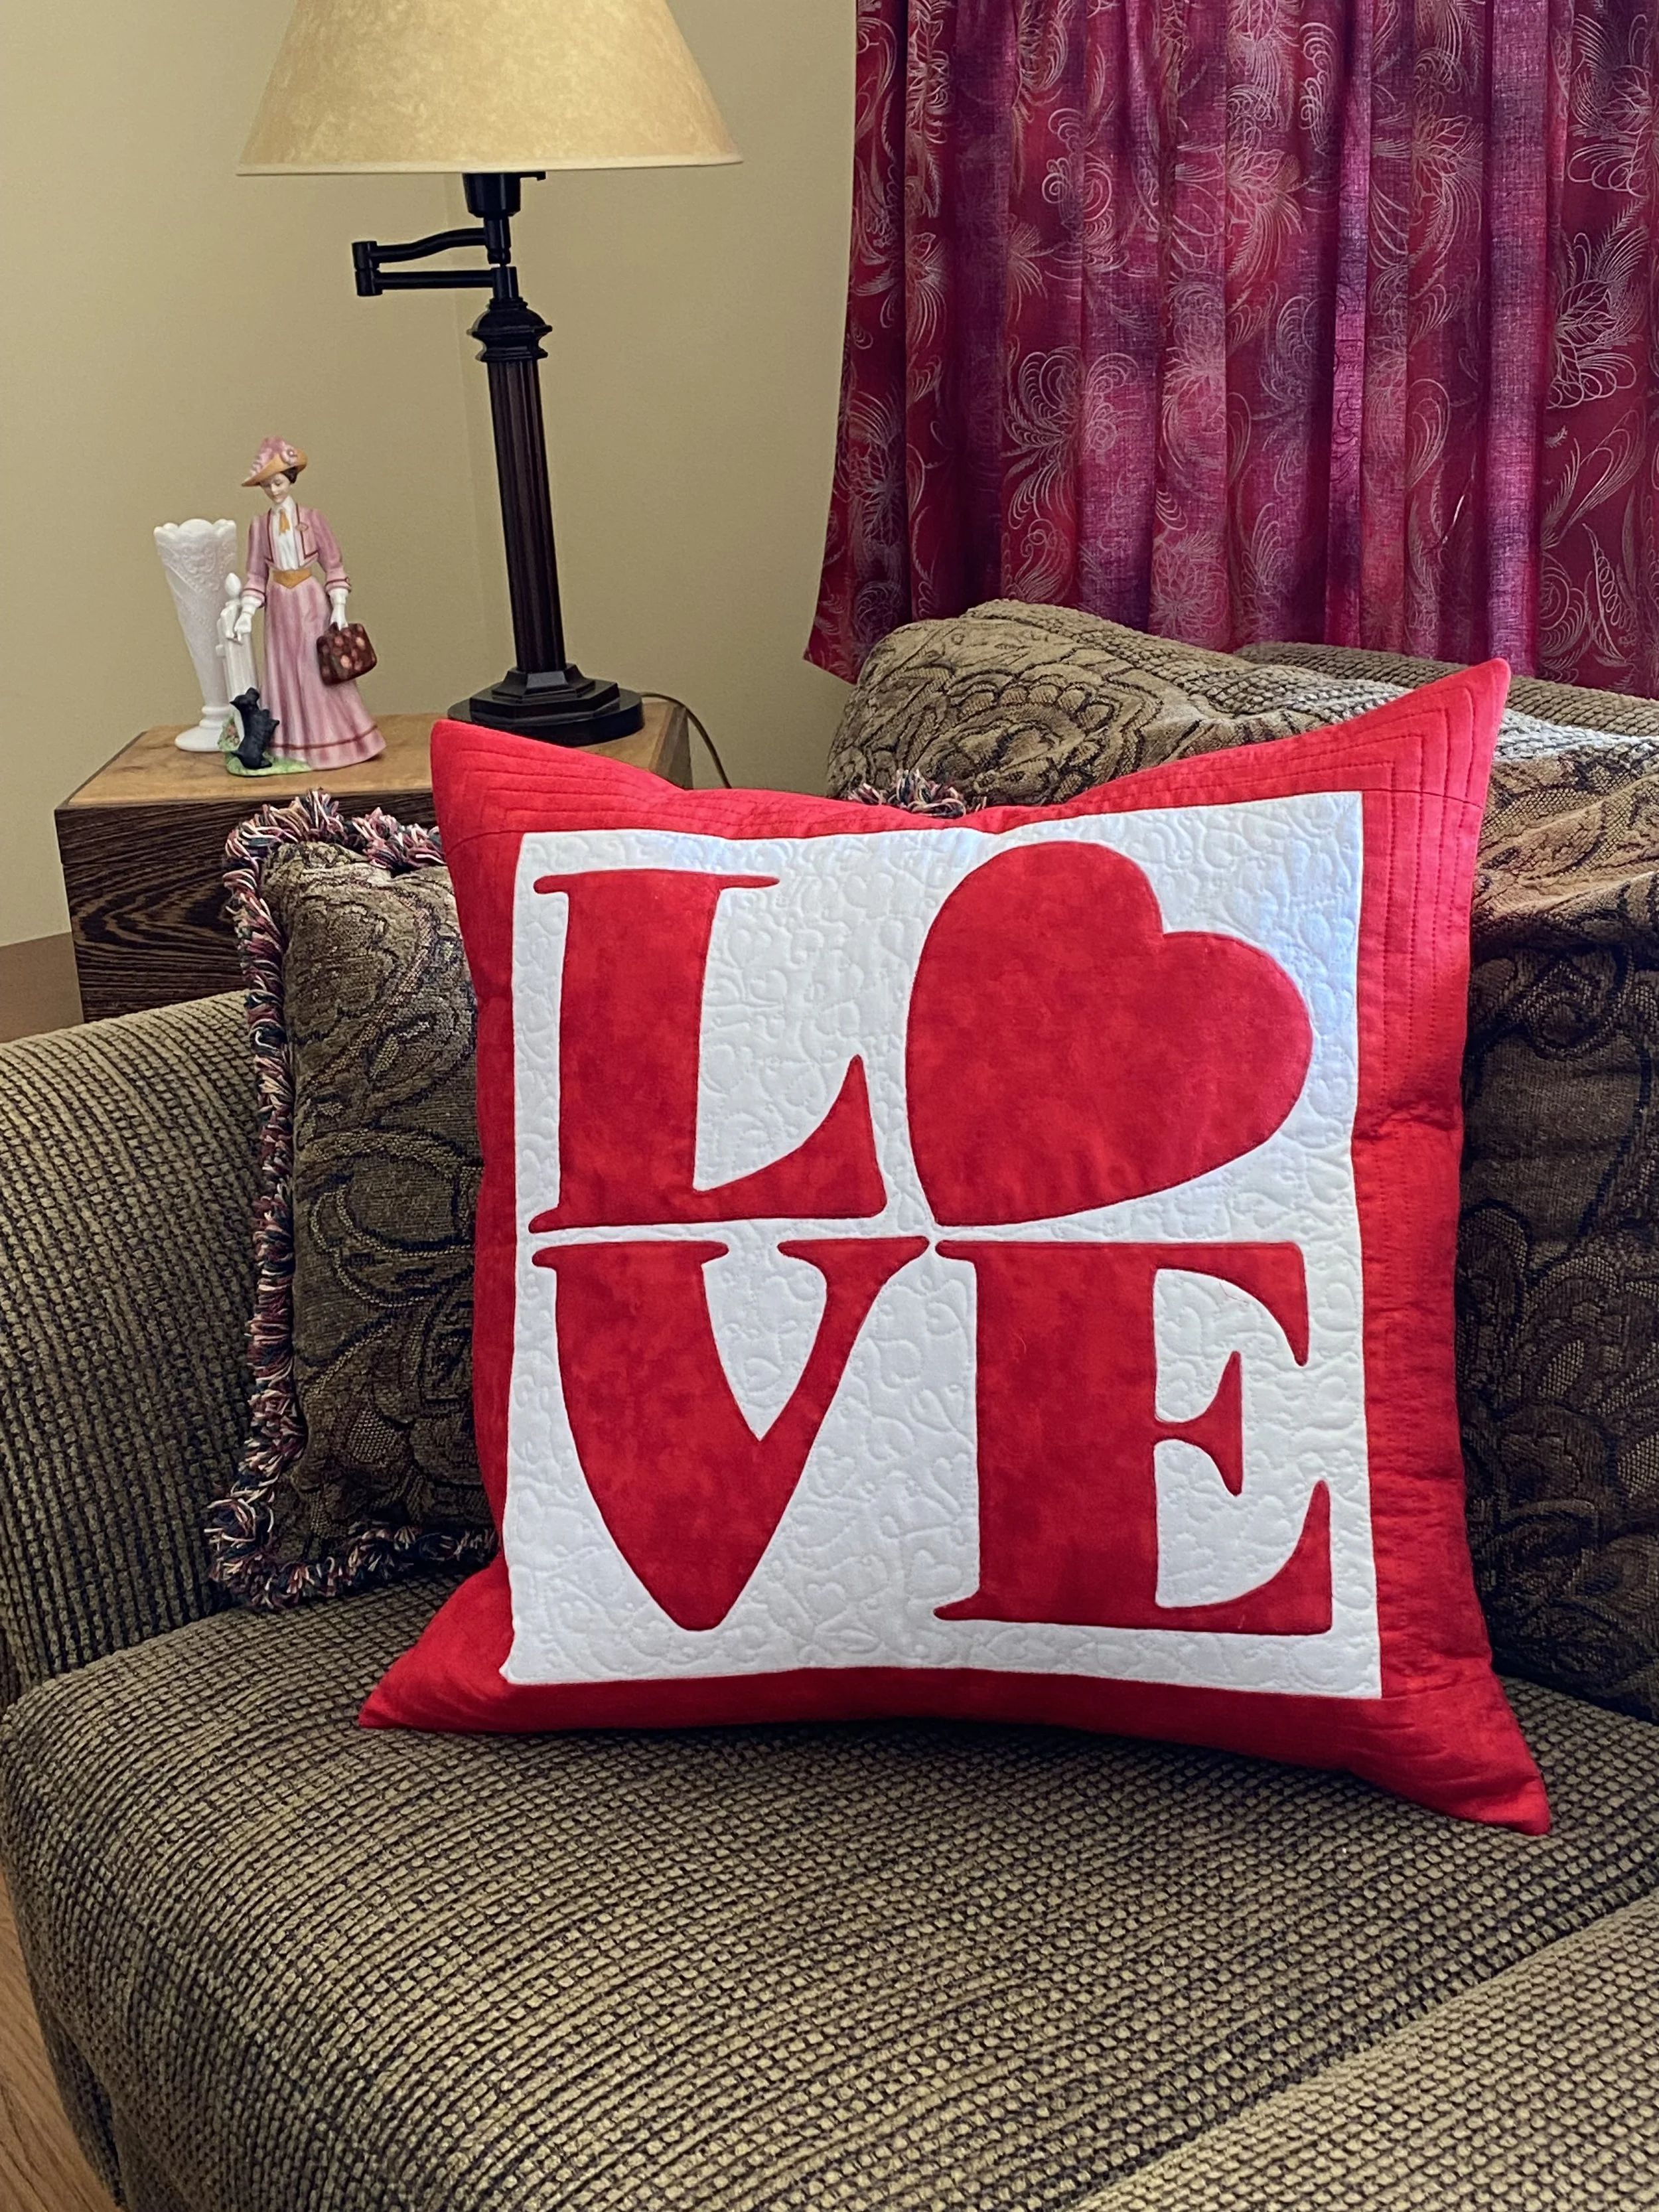
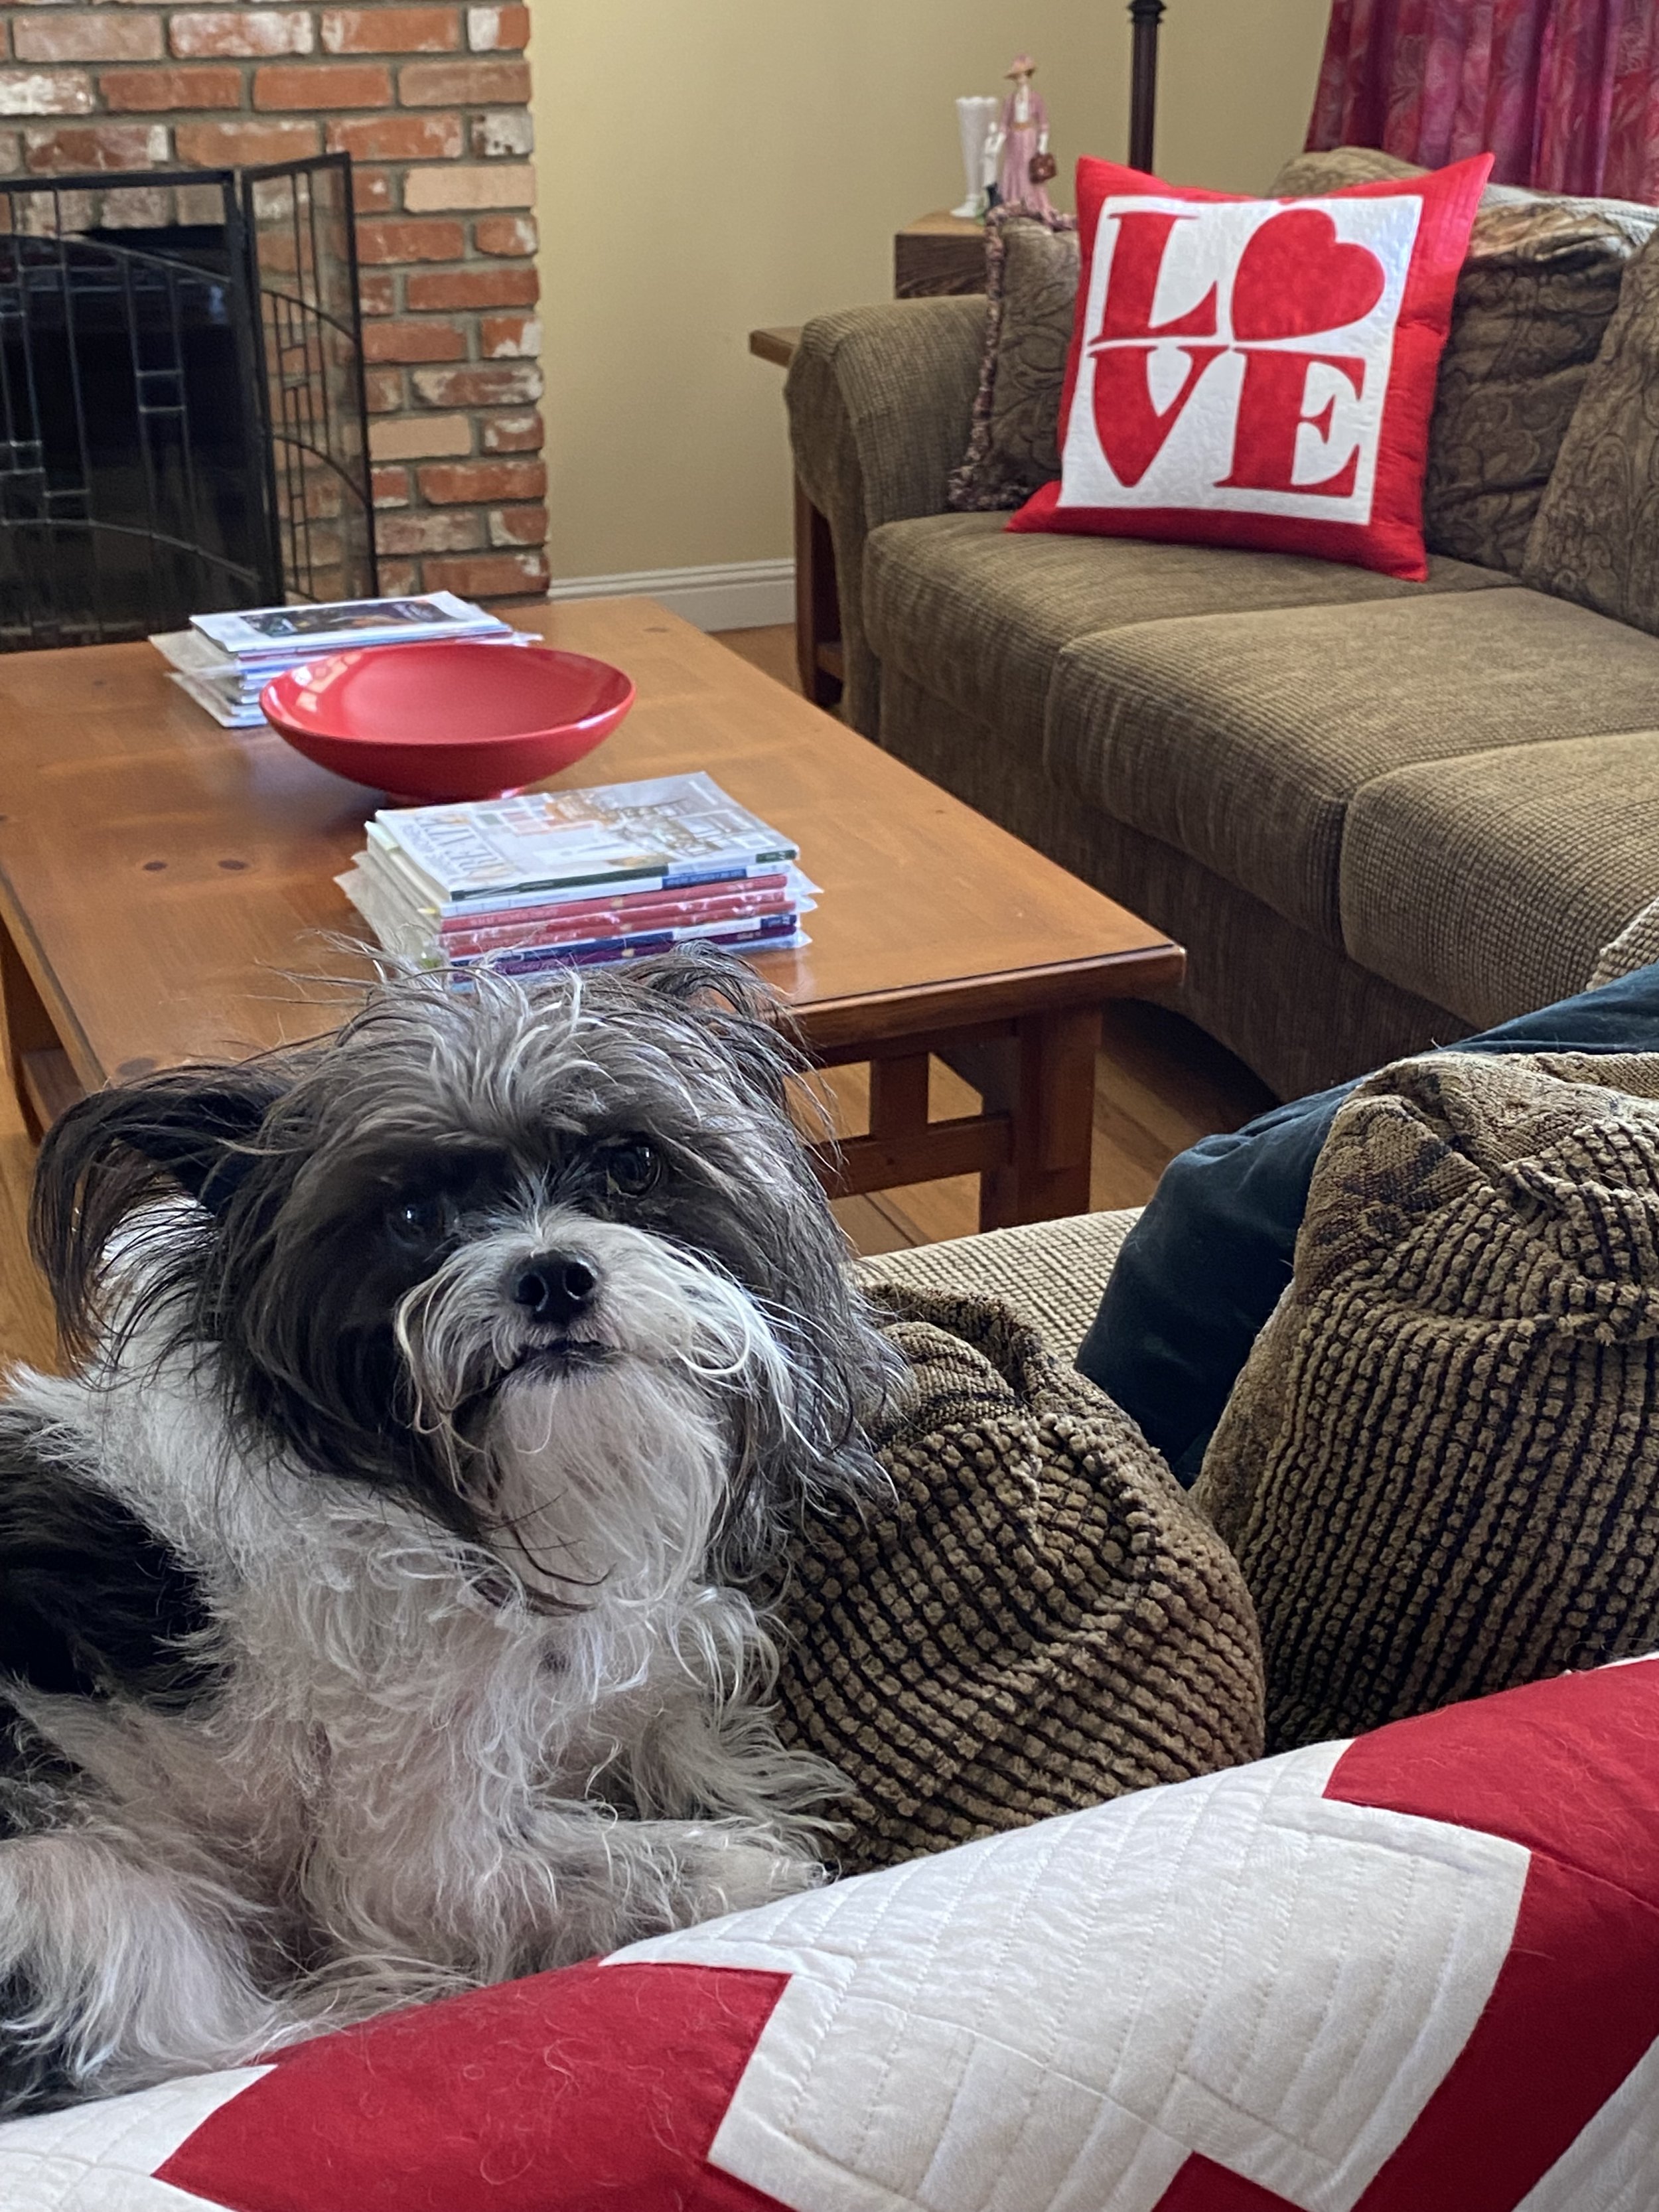
The L❤️VE Pillow my Mini Quilt Conversion
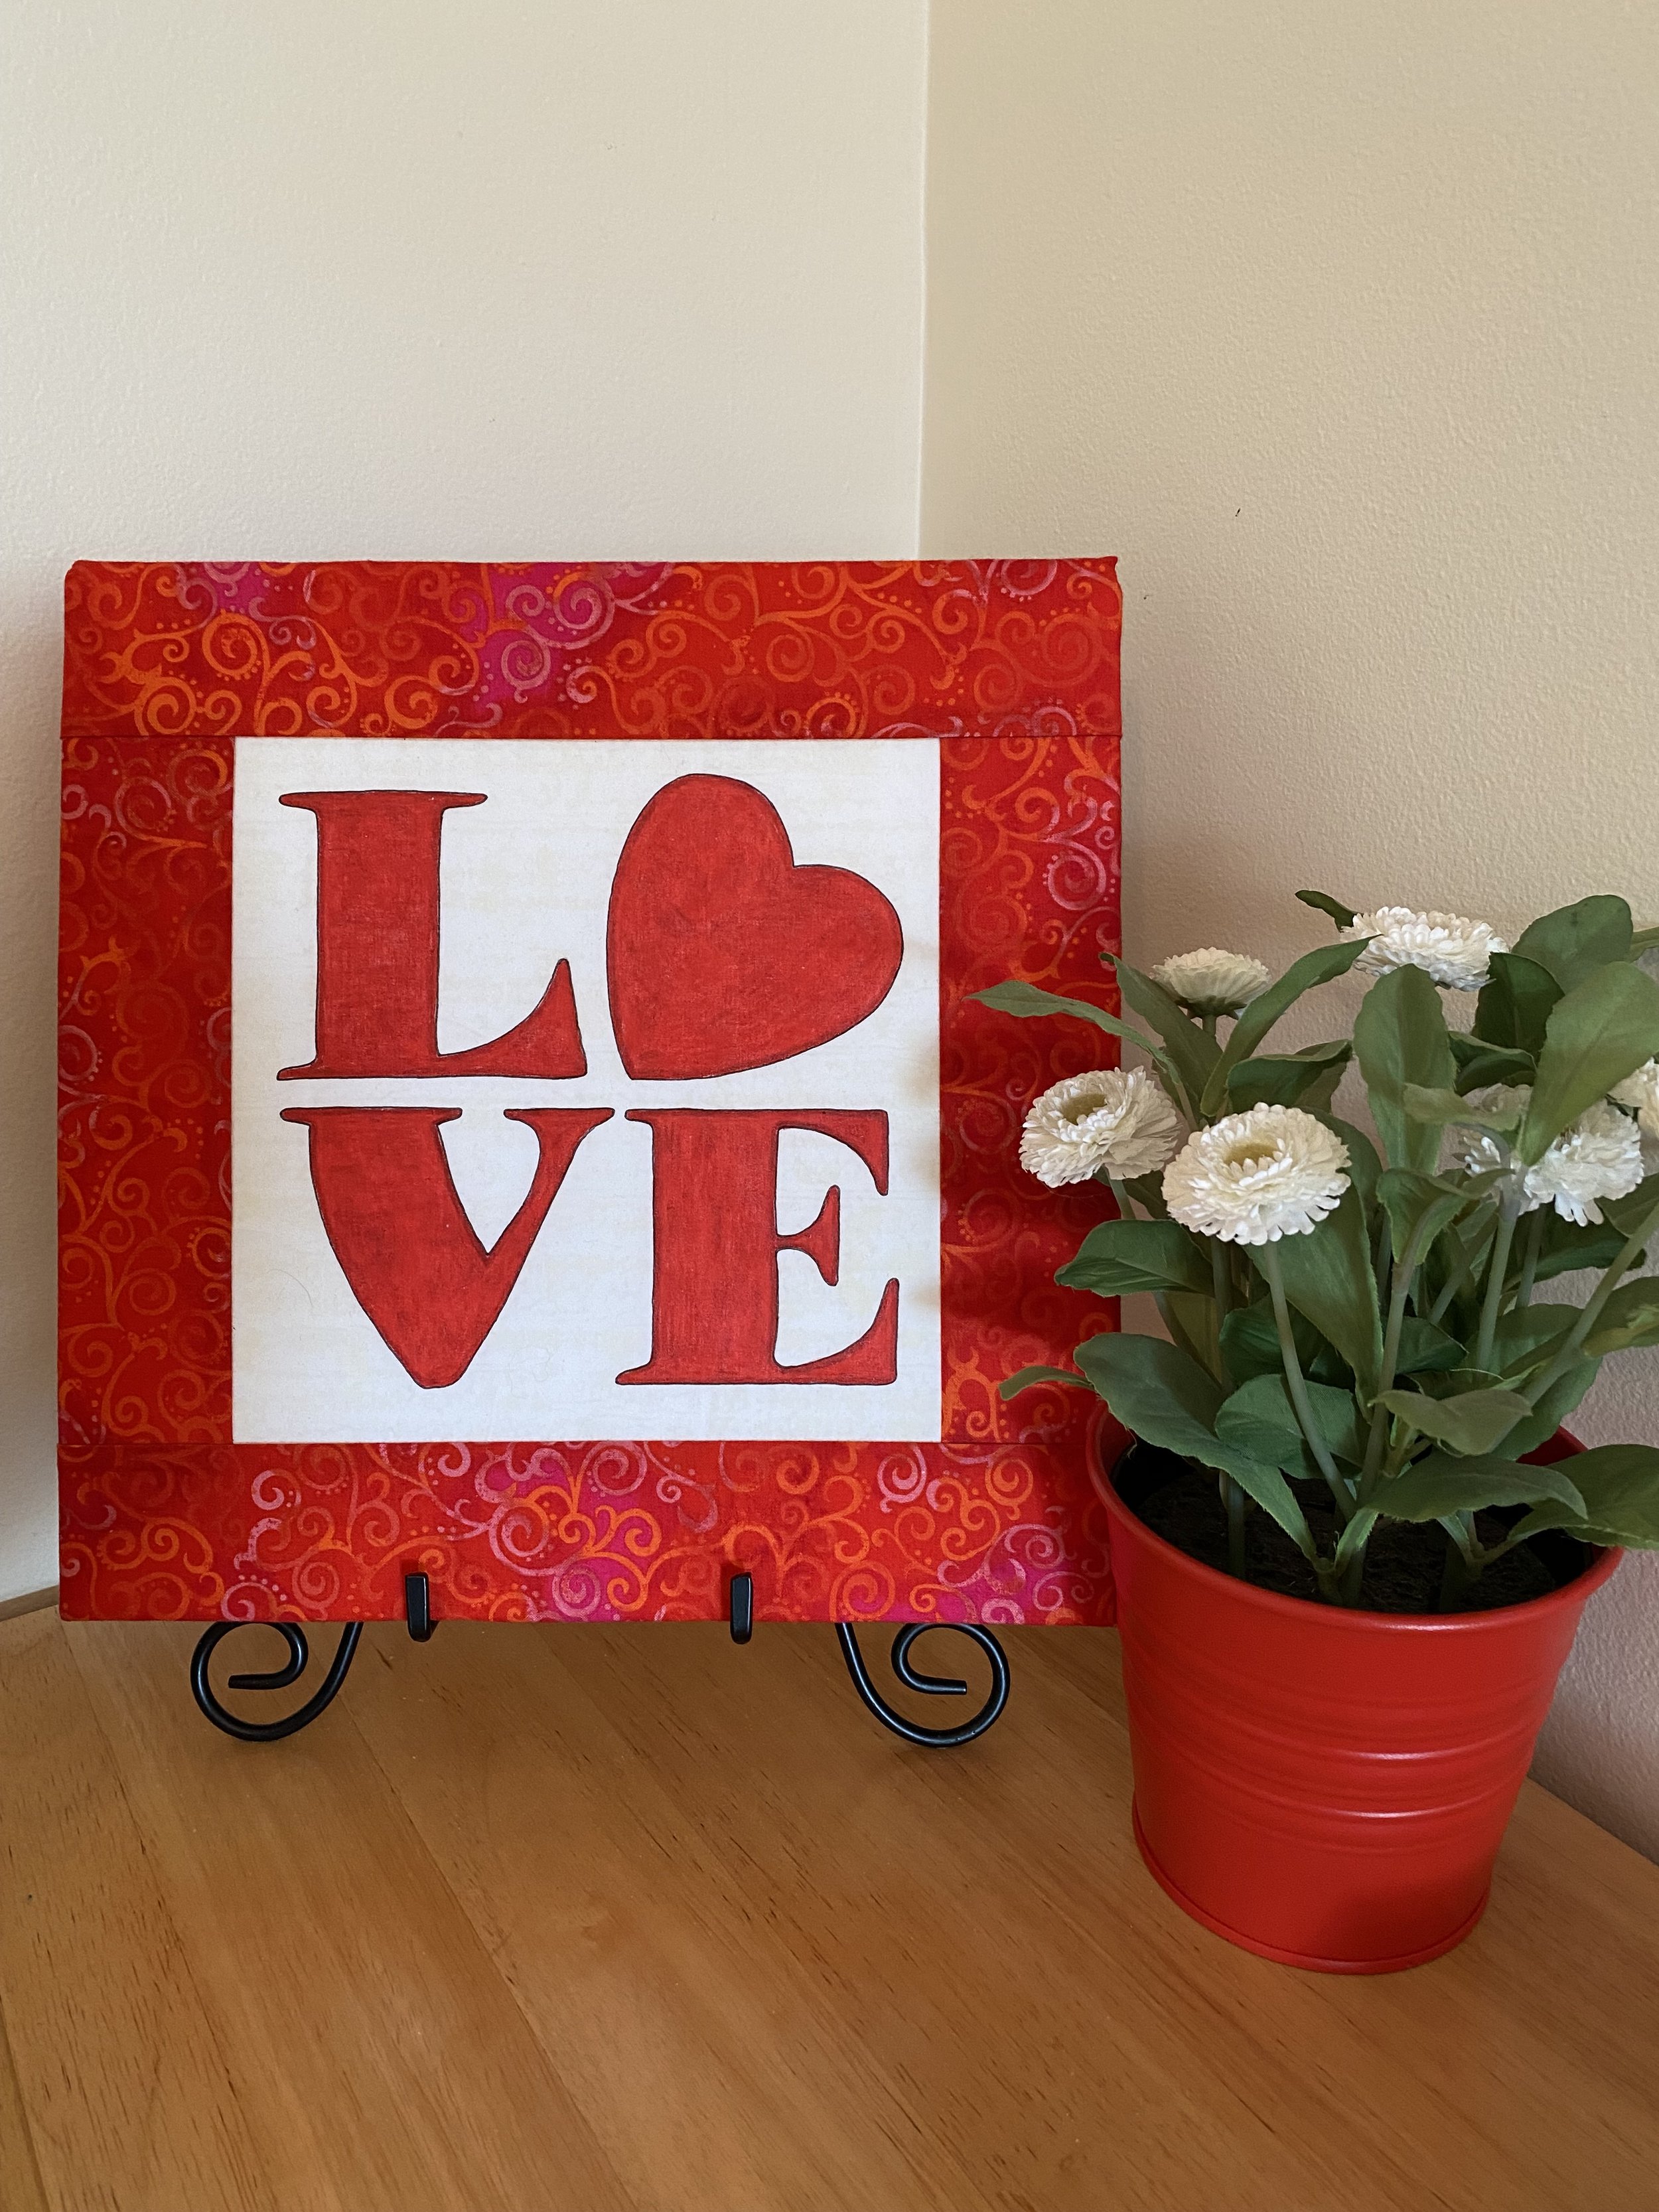
Don’t think for a minute that this is a tutorial, if this were an actual tutorial with all the specifics and details involved, I wouldn’t get this written until Christmas… and its January now. I enjoyed making this pillow based on my mini quilt design and just thought I would share it with you. My original mini quilt was created by printing the image on fabric, and then coloring with Derwent’s inktense pencils. The color was sealed into the fabric using textile medium.
For the larger pillow I first decided what size pillow I wanted and worked backwards. In this case I wanted a finished pillow around 21” to fit a 22” pillow blank. I wanted to quilt it first to “shrink it” before cutting to 21”. I decided a center white square of 16” and borders at 4” would allow extra to square up after quilting.
I then had to decide how much I needed to enlarge the letters, I decided to enlarge the letters from the original 3 1/4” to 6 3/8” which according to my Quilters Assistant Proportional Scale, was 193%. Once I enlarged the letters and heart I traced them, in reverse, onto paper backed fusible web and pressed the fusible web to the back of my applique fabric. Once cut out and fused to the top, I stitched a small zig zag stitch all around each letter.
I layered the top with batting and backing, ditch stitched the applique and did a freemotion scattered heart fill in the background and simple straight stitch quilting in the border.
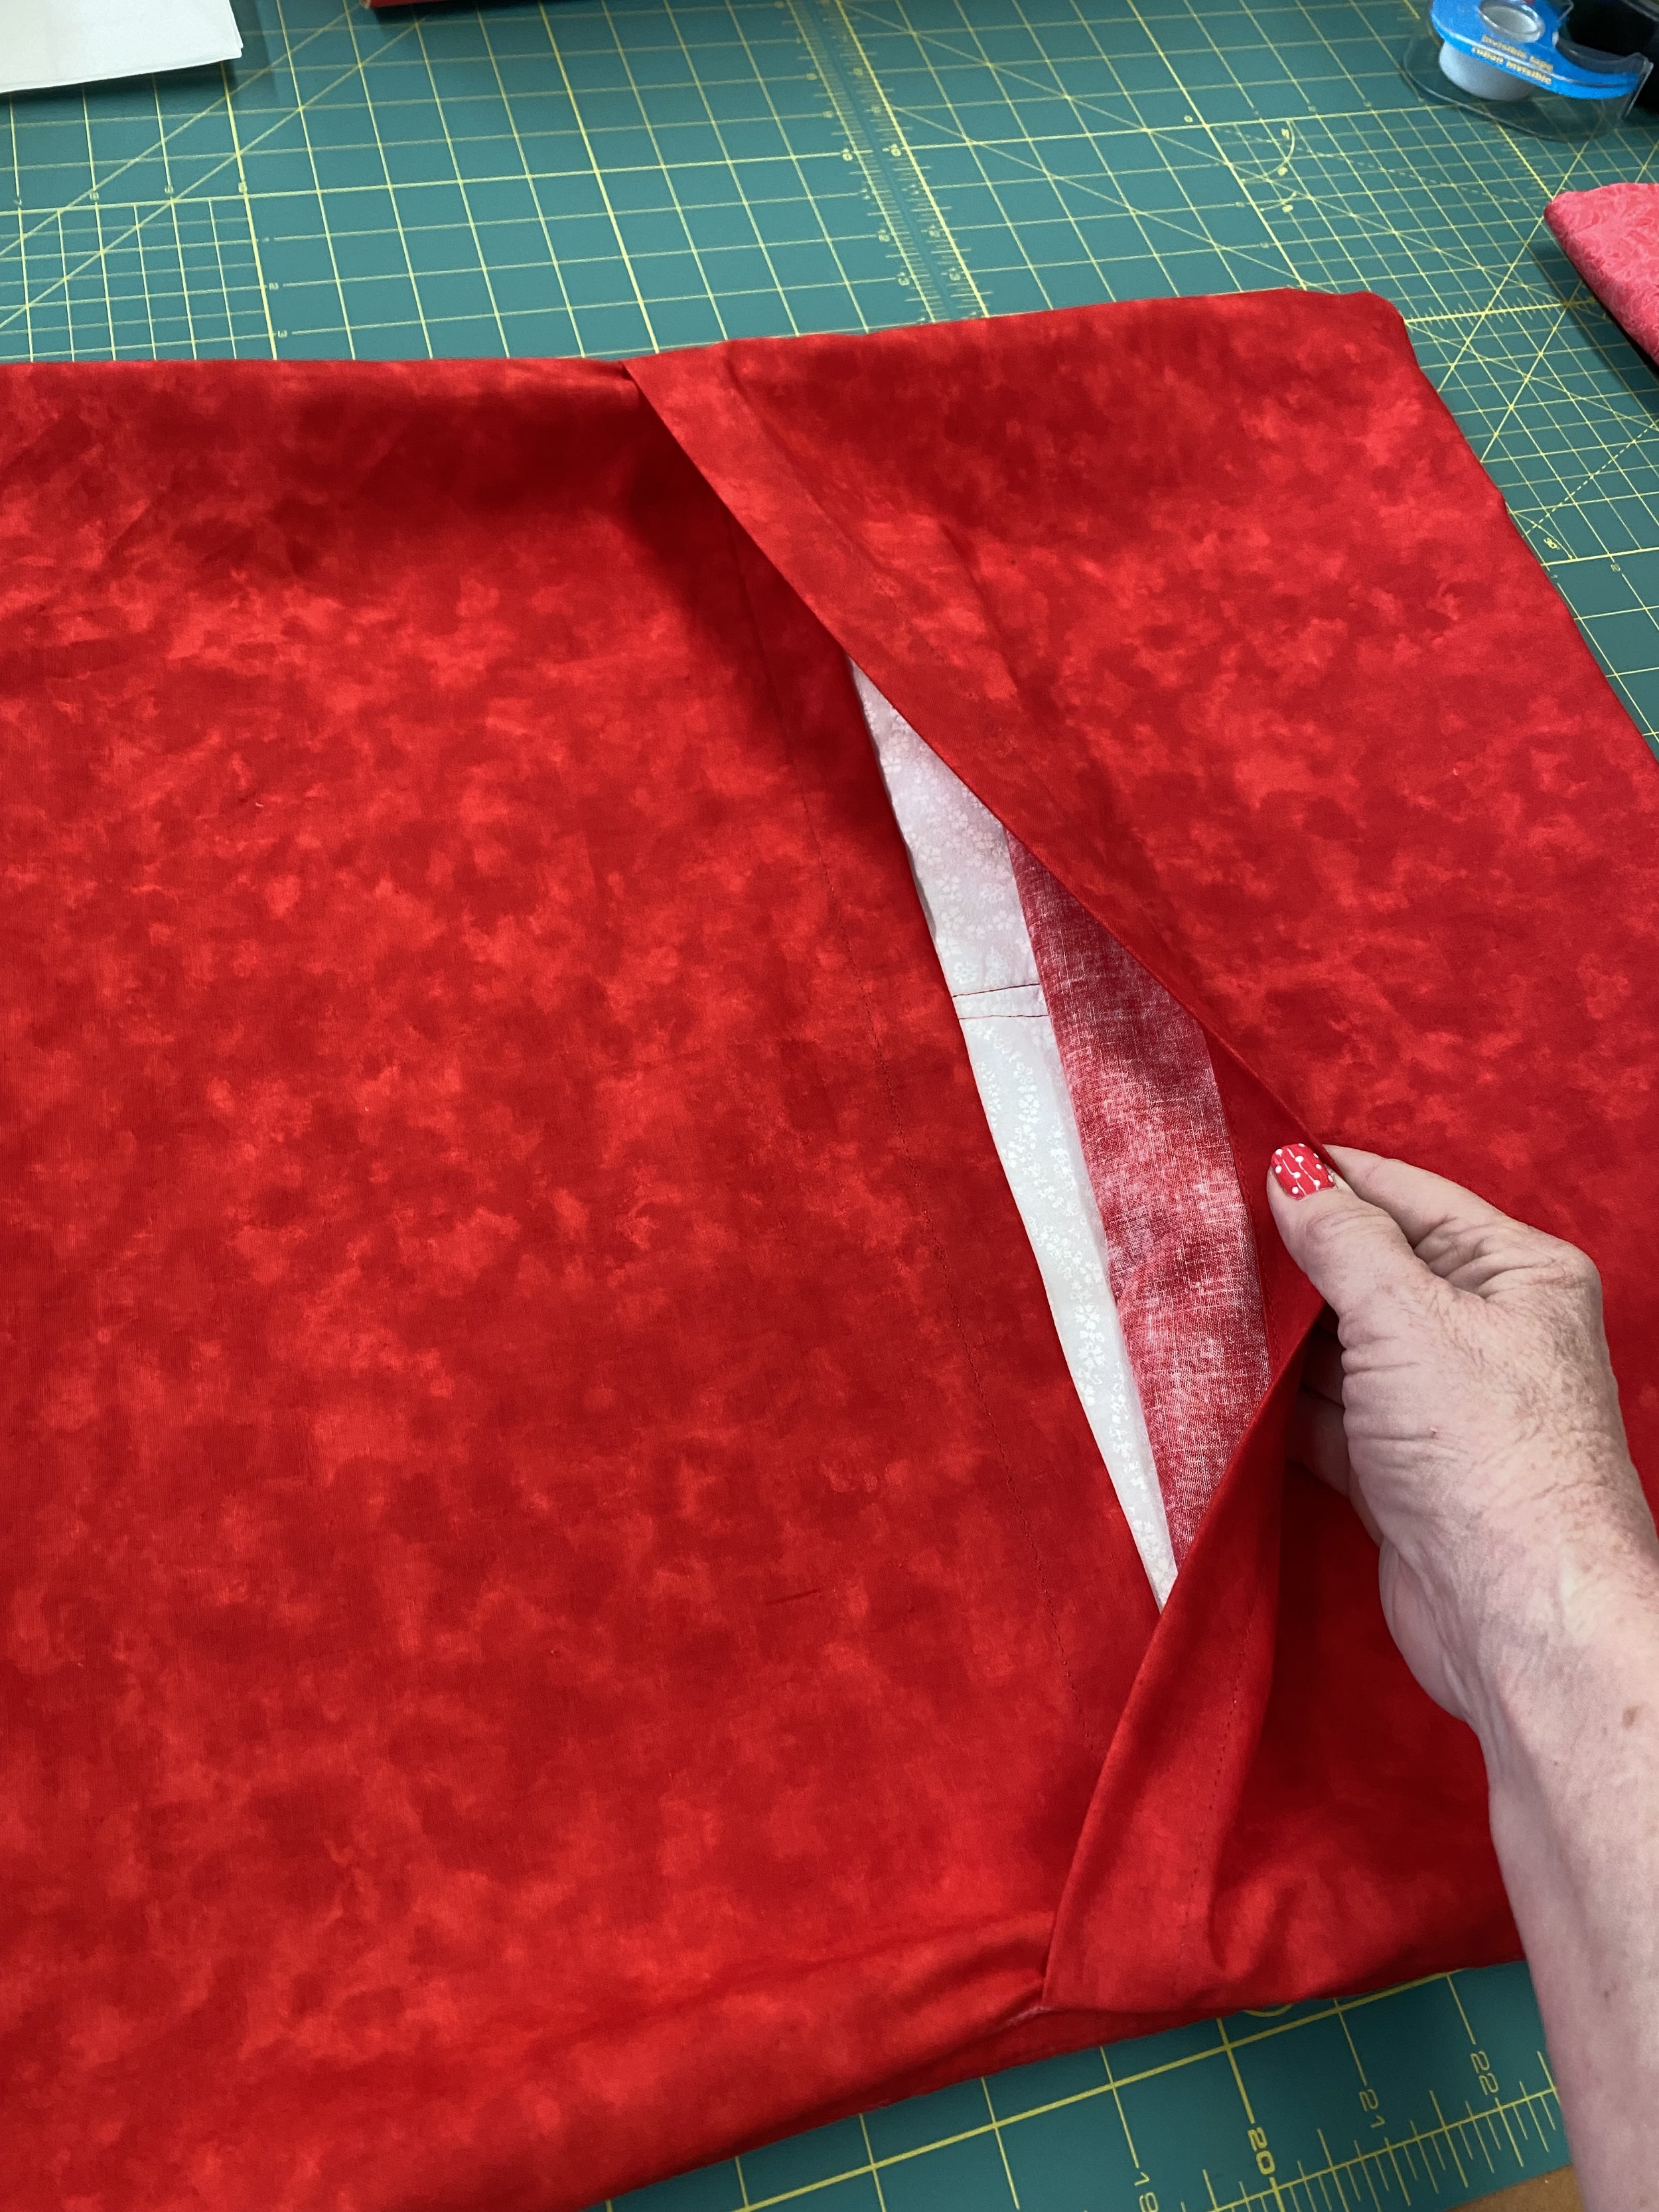
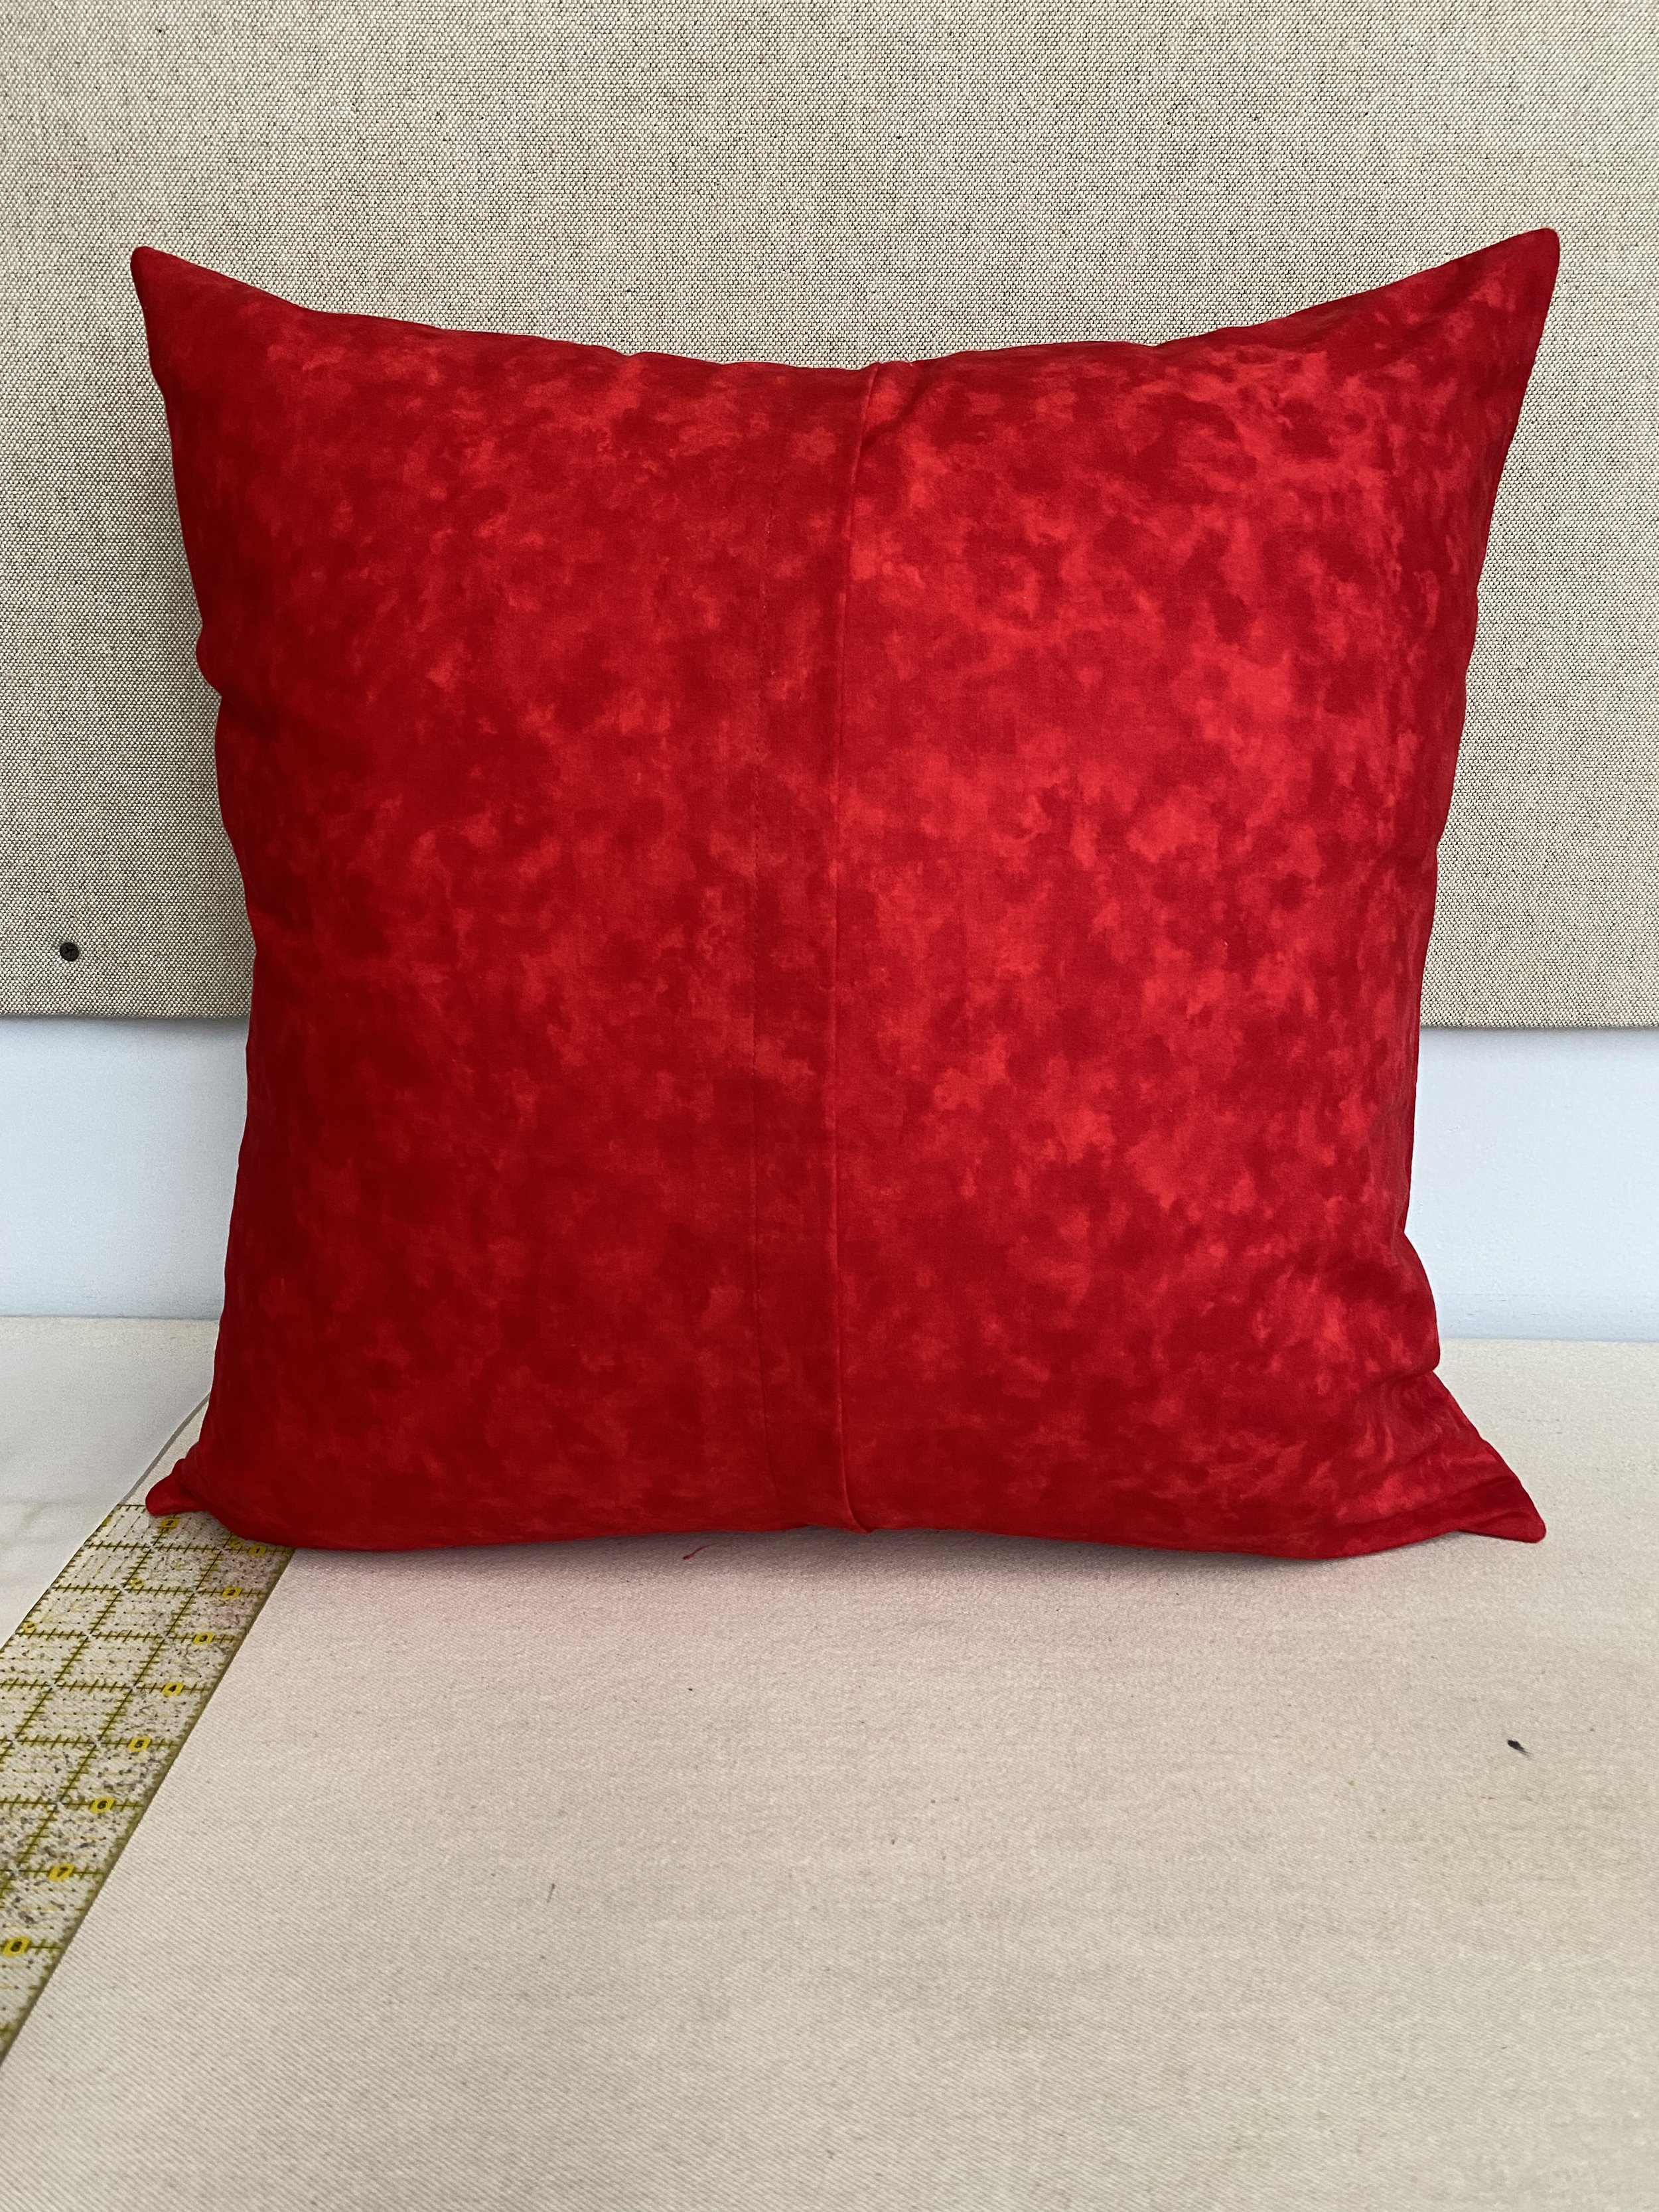
Once the quilting was complete, I trimmed the pillow top to 22” square. I’m both cheap and lazy, so rather than insert a zipper to allow my pillow sham to go on and off, I do a split back. I cut 2 pieces of fabric the height of my pillow, I determine the width as follows: 1/2 the width of the pillow, in this case 22” divided by 2 = 11 + 1” folded back two times on the edge= 2” + 3” overlap divided by 2= 1 1/2”. 11” + 2” + 1 1/2” = 14.5” add another 1” because I’m generally bad at math and so I cut each side of the back at 15 1/2”, on the center back edge of each side, I folded 1” back and pressed, folded again, pressed and stitched. I repeated on the other piece. Once the center overlaps were stitched, Place the folded stitched edges together in the center, overlapping the two sides until there is 3” covered overlap. (I only did a 2” overlap on this pillow but it was so plump, 3” overlap would have been better) I stitch the two halves of the overlap together at the top and bottom using a 5/8” seam allowance (I use a 1/2” seam allowance on pillows) so that the reinforcing stitches are just inside the pillow seam where it is sewn to the top. That way It pulls at the reinforcement stitches not at the seam when I pull the pillow blank in and out of the cover.
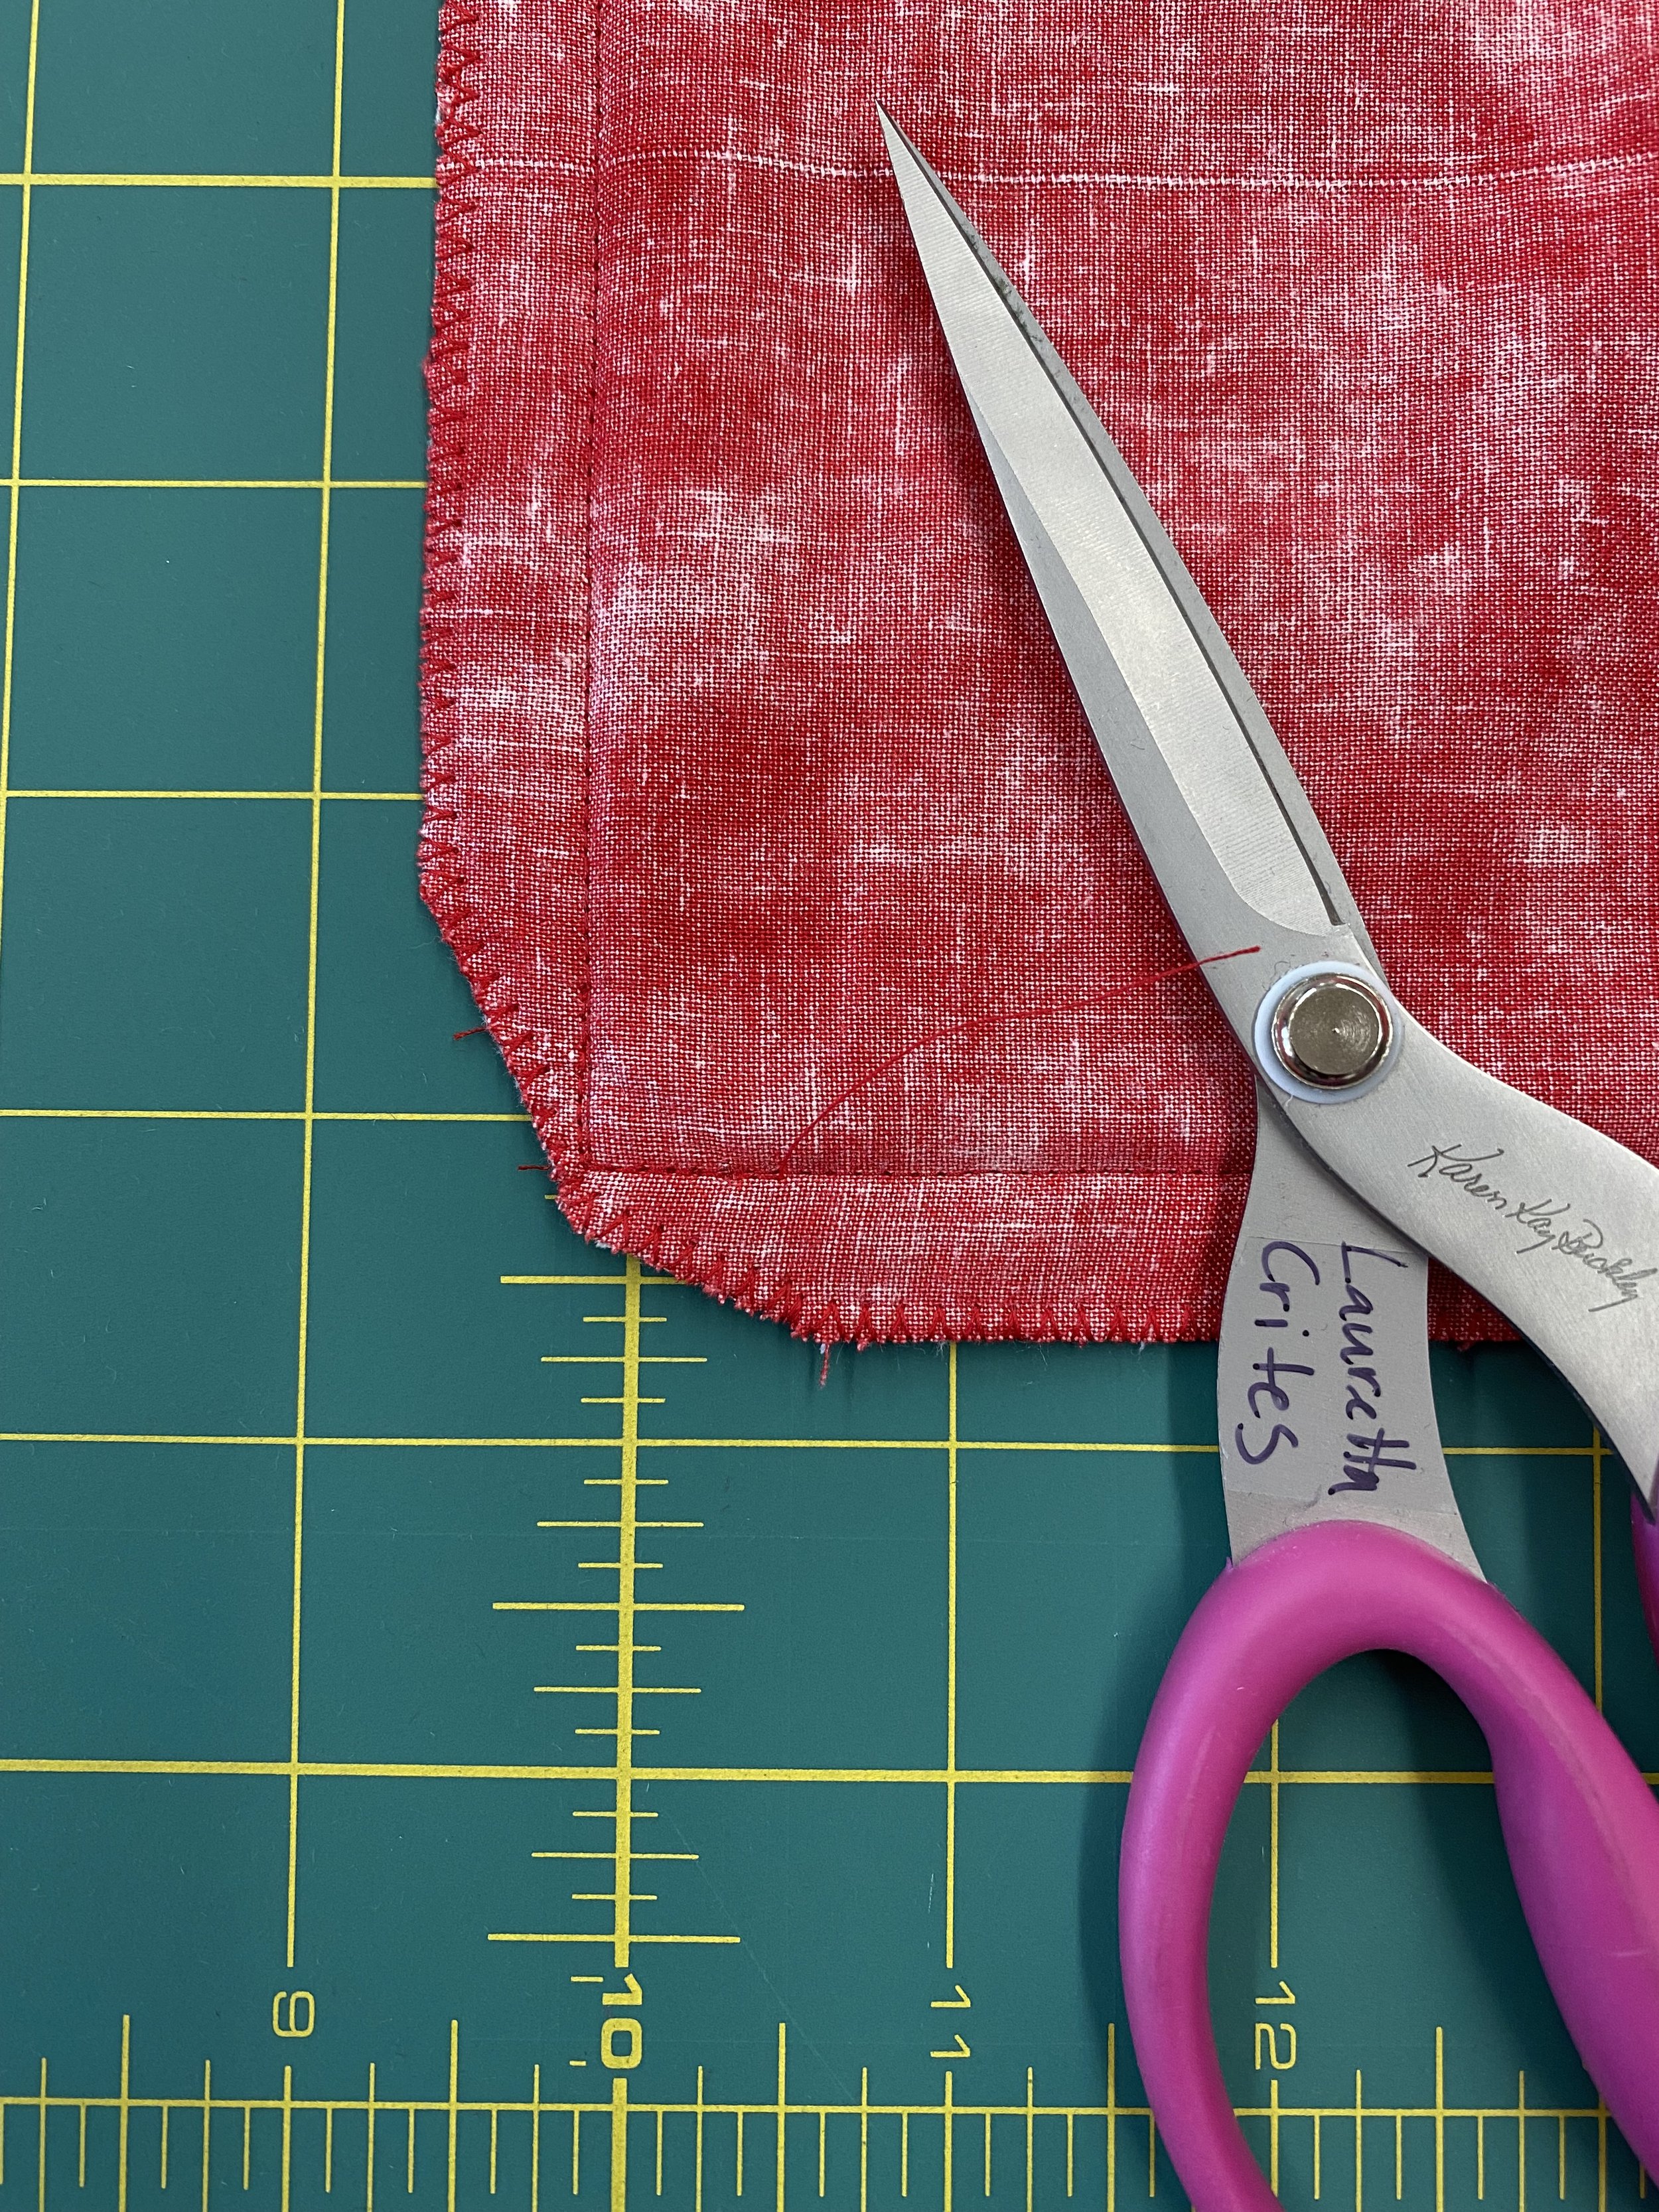
I then placed the pillow top on top of the stitched back and trimmed to match the size of the pillow top. with right sides together, I stitched a 1/2” seam allowance all around the edge. Then I finished the inside with a zig zag stitch and trimmed the corners to eliminate bulk.
Turn the pillow sham right side out and insert your pillow blank.
I hope you enjoyed this non-tutorial, tutorial and I wish you a very happy Valentine’s season.


